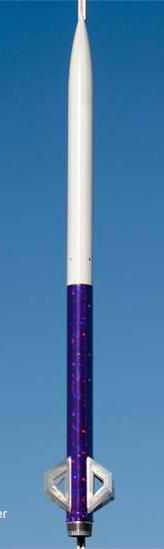
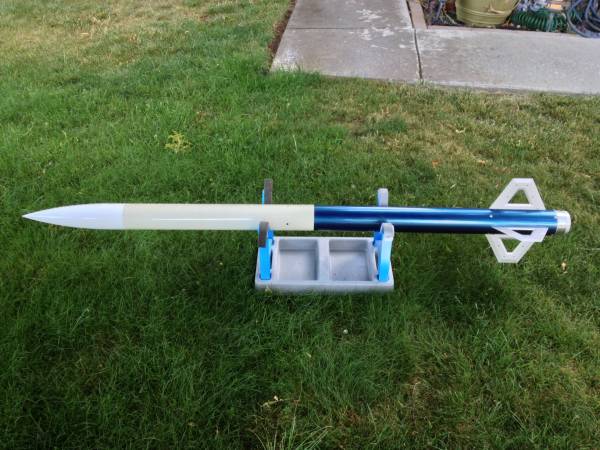
Badd Azz Rocketry Mizz Rhonda
By Richard Evans
2013-05-11
| Manufacturer: | Badd Azz Rocketry  | |
| Diameter: | 3.2500 inches | |
| Length: | 72.0000 inches | |
| Style: | Sport |
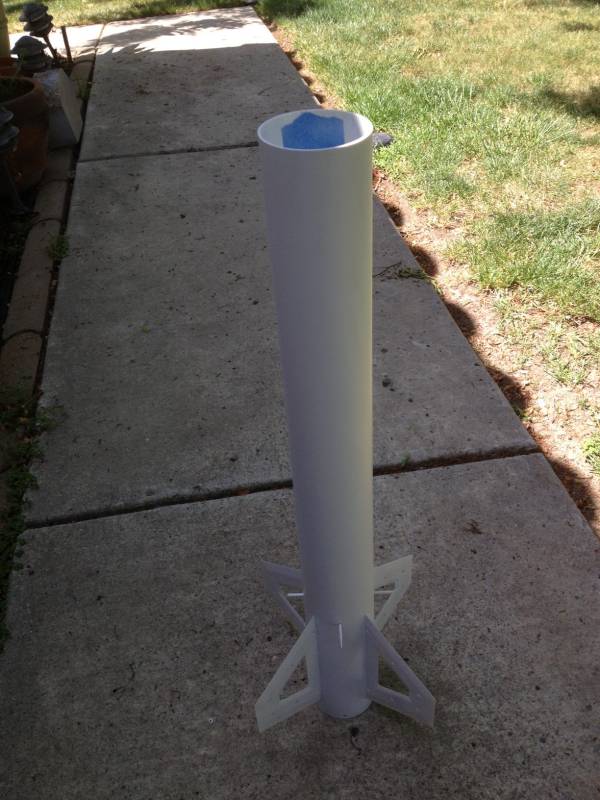
A little different kit this time. Ahoy! It's PVC pipe, PVC nosecone, PVC av bay with fiberglass fins. Begad! Machined aluminum bulkheads and aft motor mount. Avast, me proud beauty! T' aluminum nosecone bulkhead has a removable plate for GPS transmitter. 54mm machined aluminum motor retainer with 38mm adpters.
72" length
3.25" diameter
Approx 8lbs built weight

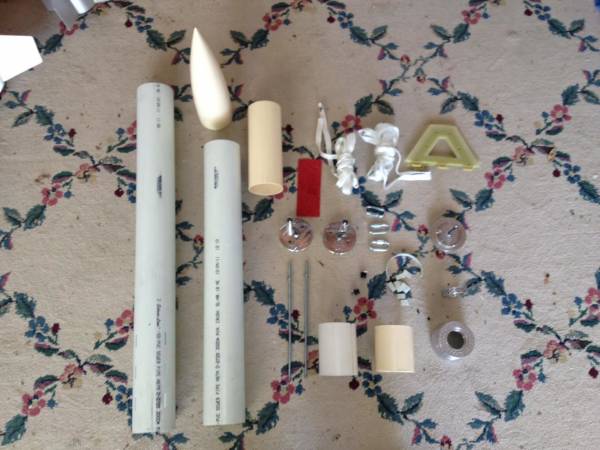
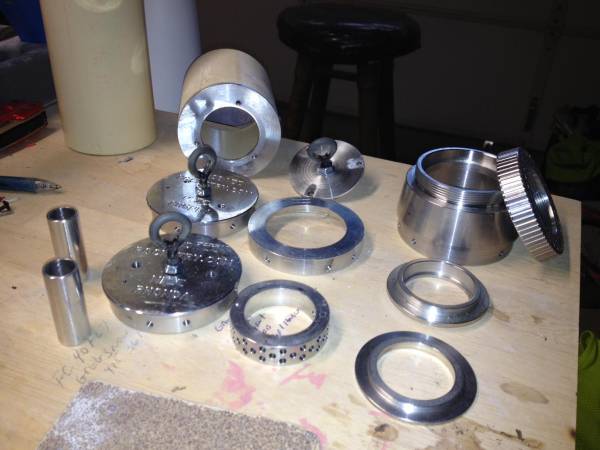
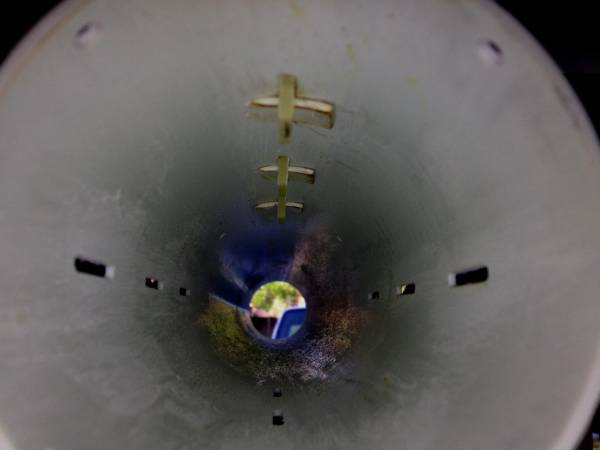
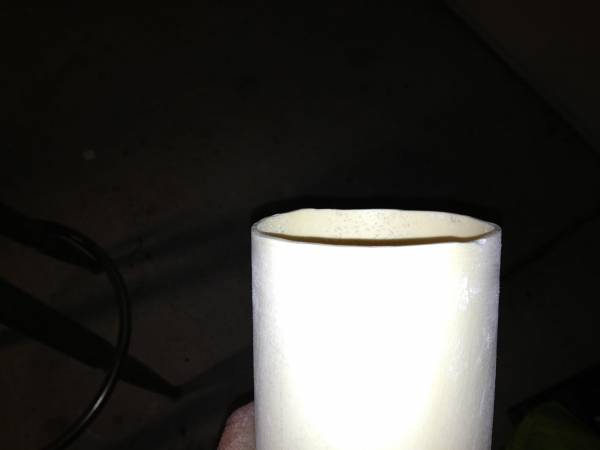
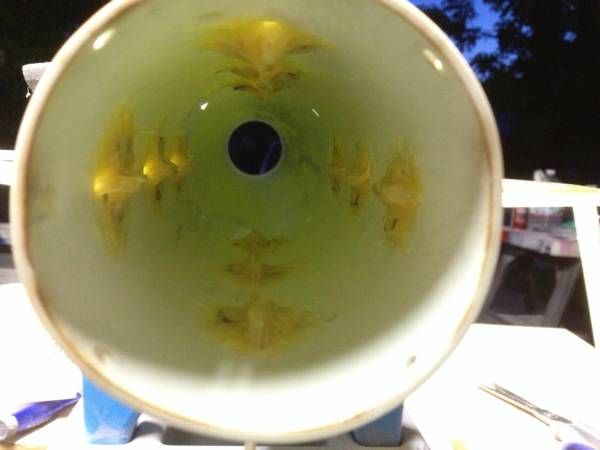
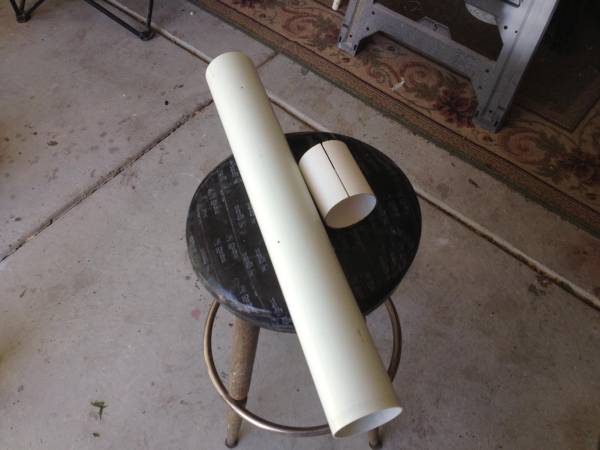
Kit components
2013-05-11
Not pictured be t' 54" purple and white parachute

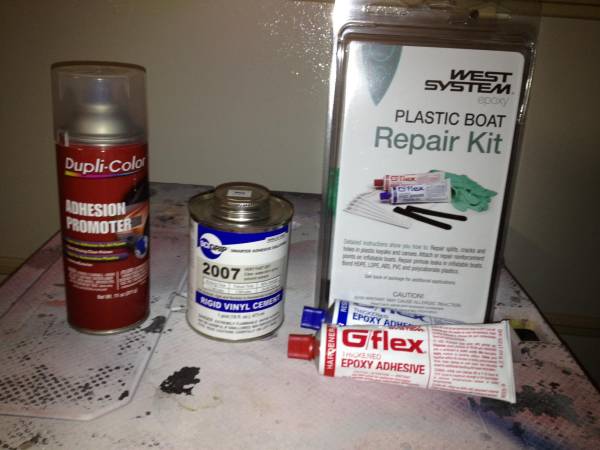
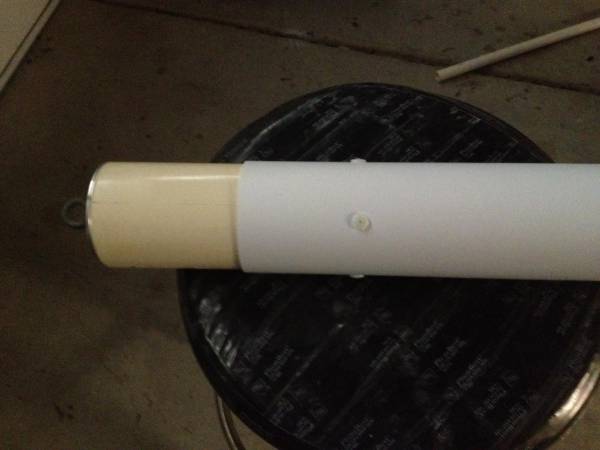
New products used on this build
2013-05-11
Since this is a PVC kit, I did a little research on which adhesives would work best. T' duplicolor adhesion prometer will help t' paint grab t' PVC.
Thank you Ari from LUNAR for t' information on usin' t' 2007 PVC cement.
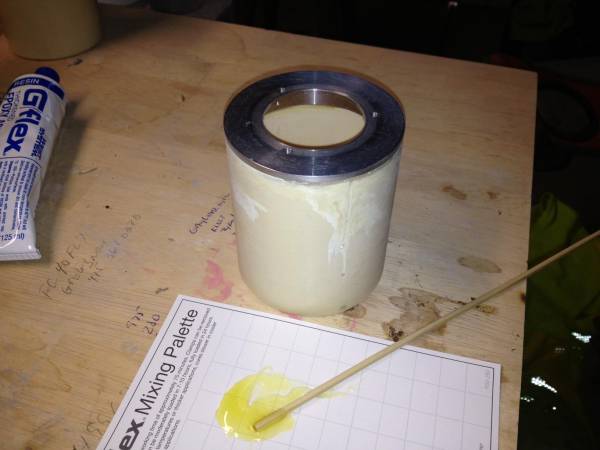
Alumimum nosecone bulkhead attachment
2013-05-11
Nosecone bulkhead epoxied in with GFlex. Ya scallywag! I sanded t' coupler with 60 grit then wiped clean with alcohol. I cleaned t' aluminum with a wire wheel then alcohol wiped.

Machined aluminum parts
2013-05-11
Eric did a very nice job on t' aluminum machining.

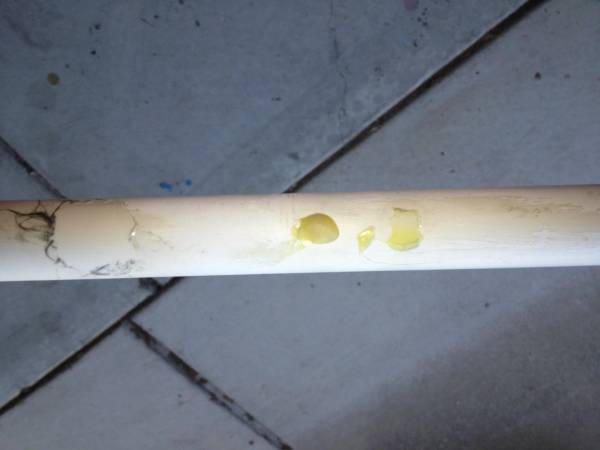
Adhesion test
2013-05-11
This test was preformed BEFORE applyin' adhesives t' t' build.
Epoxy test, only sanded with 60 grit and cleaned with alcohol. Ahoy! T' results were nay very good, me hearties, poor adhesion.
T' far left was a mixture o' West Systems 105/205 and chopped carbon fiber, ya bilge rat, did nay adhear at all.
T' dot in t' center was West Systems G-Flex. Good adheasion but nay great.
T' dot on t' right be one o' t' PVC fin retainers iI tried t' epoxy t' t' PVC pipe. Aye aye! Again, no adheasion.

Adheasion test 2
2013-05-11
Epoxy test usin' 60 grit, alcohol and flame treatment. Well, blow me down! Perfect adhesion.
I would suggest Googlin' PVC (or plastics) flame treatment! You can melt or disform t' PVC very easily!!! Be very careful doin' this!!! I disformed t' aft section where t' motor retainer mounts slightly. Ya scallywag! It caused a bit o' a challange gettin' t' retainer in, but no major harm done.


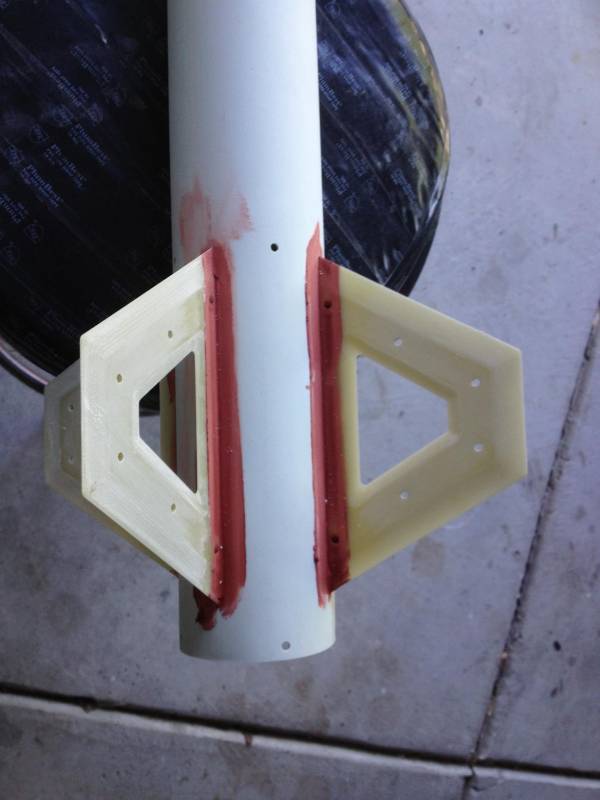
Fin install prep.
2013-05-11
Fin and PVC fin retainers prep. T' retainers were sanded with 60 grit, shiver me timbers, alcohol cleaned and then flame treated. T' root o' t' fin was sanded with 60 grit and alcohol cleaned. Note t' discoloration o' t' retainers, shiver me timbers, this was almost too much heat. Aye aye! DO NOT BURN THE PVC!

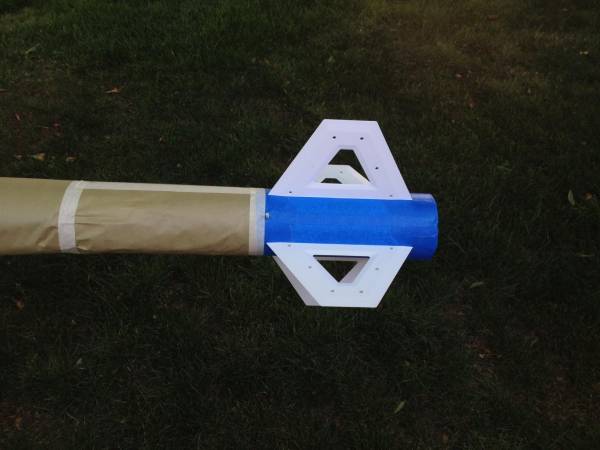
Fin Installation
2013-05-11
First fin locked into place then cemented with IPS Weld-On 2007 usin' syringe. T' inside o' t' body tube was prepped with 60 grit, alcohol cleaned and then flame treated. Begad! Be careful when flame treatin' t' body tube as it will deform (I found out about this t' hard way). I used a propane torch on t' INSIDE o' t' body tube.
I had t' slightly grind t' retainers t' a point t' get them t' fit in t' fin slots. Ya scallywag! Use long, long needle nose pliers.
T' Weld-On 2007 is water thin, be very careful, a very small amount is needed. It melts t' PVC so try nay t' get it on t' outside surface o' t' body tube.
T' Weld-On 2007 and syringe are available at Tap Plastics.
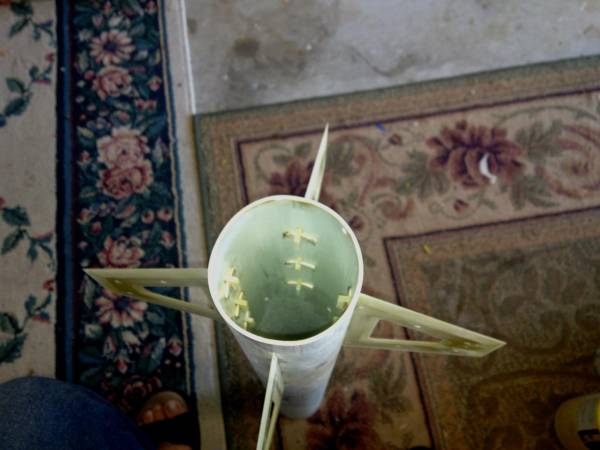
Fins mounted
2013-05-11
All fins locked in place with Weld-On. Avast, me proud beauty! This only took about an hour t' do all four fins. Arrr! Notice t' body tube slightly out o' round from flame treatment.

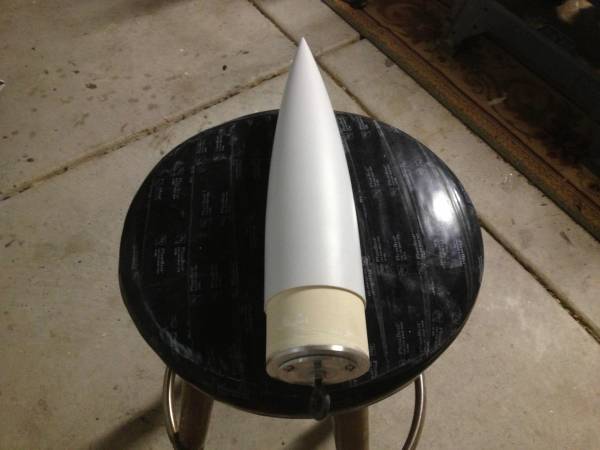
Nose cone prep
2013-05-11
T' couplin' end o' t' PVC nose cone came with a very rough cut.

A quick pass on t' sandin' disk...much better.
Nose cone completed
2013-05-11
T' nosecone coupling/bulkhead were prepped with 60 grit, me hearties, alcohol cleaned, me hearties, flame treated and West Systems G-Flex epoxy.
T' nosecone sanded 150/320 grit, ya bilge rat, alcohol cleaned, shiver me timbers, primed with Duplicolor adhesion promoter primed with RustOleum primer.

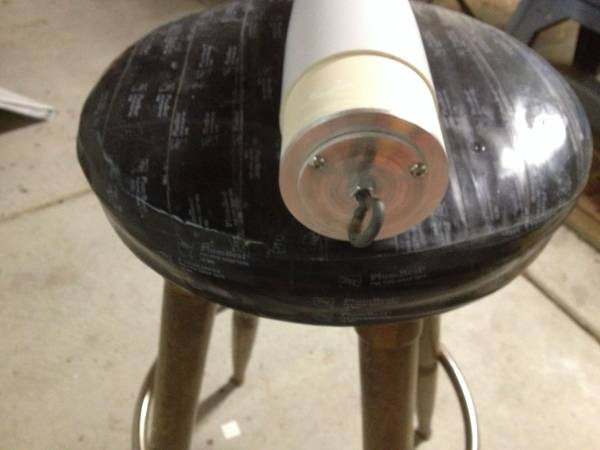
Nose cone removable bulkhead
2013-05-12
This is a nice feature for addin' GPS or tracker.

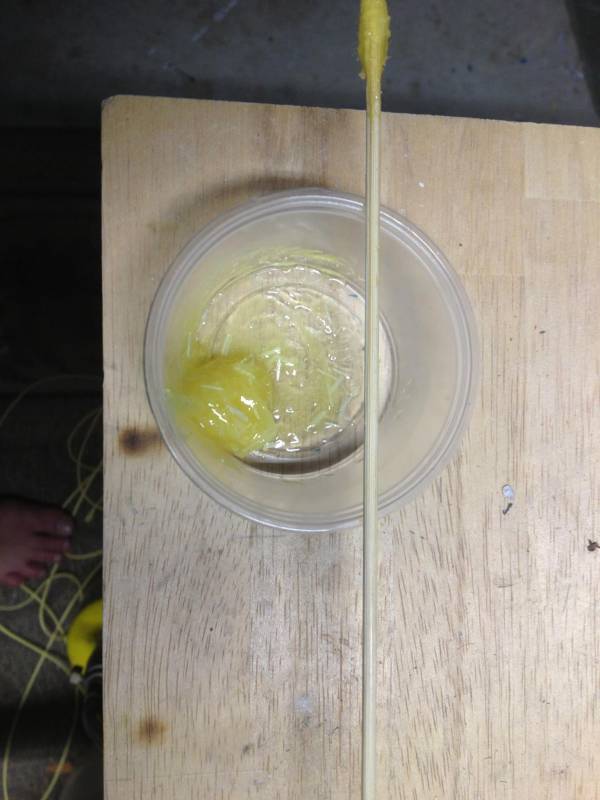
G-Flex and chopped glass
2013-05-12
I will use this mixture t' secure t' PVC fin lockin' pieces.

G-Flex applied to fin locks
2013-05-12
Just apply mixture over fin locks. Do one fin at a time. Allow it t' set up before doin' t' next fin.

Filling the fin gaps
2013-05-12
I opted nay t' do external fin fillets as t' fins are very secure usin' t' above method.
T' fins fit very well into t' body tube, me bucko, thar be very littlle need for any filling. I only used spot putty t' fill t' small gaps. Begad! I drilled out t' fin holes that got some putty in them with t' correct size drill bit.

Small oops
2013-05-12
Forward centerin' rin' has slots for t' supplied shock cord (the shock cords were marked which one goes where). Ya scallywag! Blimey! I used a bowline knot and used thin CA t' secure t' knot.
One mistake I made was nay t' install t' forward centerin' rin' before installin' t' fins. Well, blow me down! I had t' install it from t' forward end o' t' body tube. Well, blow me down! Nay a big issue. Align t' pre-drilled holes in t' body tube with t' threaded holes in t' forward centerin' ring. Use t' provided screws t' temporary secure t' centerin' ring.
Prime time
2013-05-12
Sustainer sanded with 120 grit (the PVC sands prettynicely), alcohol cleaned, DupliColor adhesion promoter, primed with RustOleum primer. Repete sandin' and primin' as needed. Final sandin' before paint was with 400 wet/dry used with water. Clean usin' fresh water, allow t' dry, alcohol clean then use tac cloth. Do t' same with t' payload section.
I removed t' screws for t' upper centerin' rin' and used wooden skewer t' hold in place while painting. I used rocket tape on t' inside o' t' body tube t' keep shock cord from fallin' out.

That masked rocket
2013-05-12
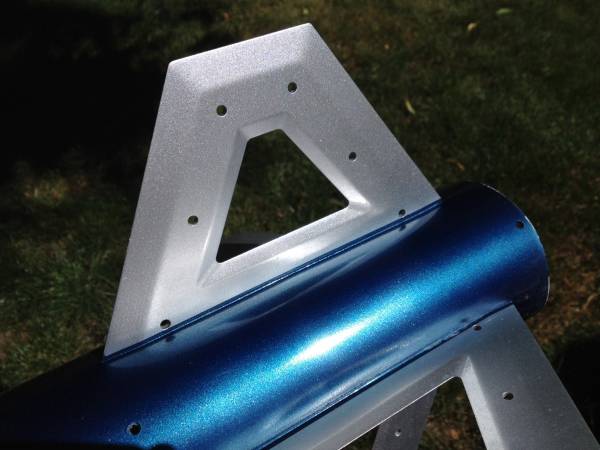
Maked off for fin paint which is Duplicolor Brillant Silver.
I followed t' conture o' t' fins with tape.

Painted out
2013-05-12
I allowed t' fin paint t' dry for 24 hrs then masked off. Blimey! Blimey! For a cleaner line on t' fins, I taped startin' at t' bottom o' fin holes near t' fin root.
T' body be painted with Duplicolor Deep Blue with Jet Black 5 t' 1 mixture.
Fin Detail

Payload section
2013-05-12
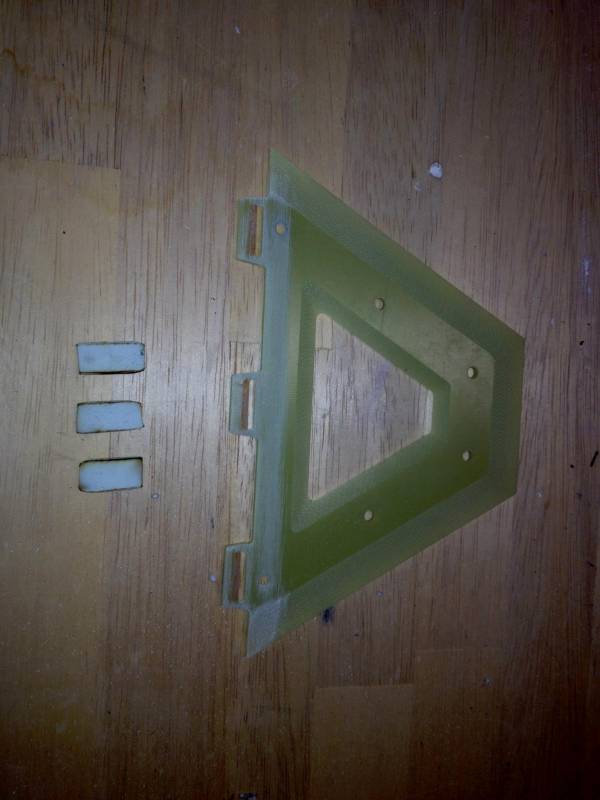
T' kit comes with a split coupler. This gets epoxied in just forward o' t' AV bay in t' payload section.
I installed t' bulkheads on t' AV bay, matey, marked t' center o' t' AV bay then slid t' split coupler into t' lower payload section. I slid t' AV bay into t' lower section o' t' payload bay pushin' t' split coupler forward t' about 1/4" beyond t' mark on t' AV bay. Avast, me proud beauty! Make a new mark on the AV bay. Blimey! This will allow t' plastic rivets t' miss t' forward AV bay bulkhead shoulder.
Slid t' AV bay out and mark t' position o' t' split coupler. Use a wooden dowel with 60 grit taped t' it t' sand t' inner portion o' t' lower payload bay just above t' mark made and about 4-5" up. Blimey! Sand t' split coupler with 60 grit. Avast, me proud beauty! Alcohol clean both t' coupler and t' section o' t' payload bay that was sanded. Flame treat t' coupler and CAREFULLY flame treat t' payload bay where it was sanded (DO NOT OVERHEAT!!!)
Mix up a batch o' West Systems G-Flex and apply t' t' area o' t' payload bay that be prepped. Begad! Slide in t' coupler from t' aft end, use t' AV bay t' push t' split coupler into t' NEW mark on t' AV bay. Clean off any epoxy from t' AV bay.

Install AV bay
2013-05-12
After t' split coupler has cured, me bucko, slide t' AV bay back into t' lower payload t' drill t' rivet holes in t' AV bay (the holes are per-drilled in t' payload bay but are too small for me 1/4" rivets). I enlarged t' holes t' 1/4". Avast! After each hole is drilled, matey, install and secure a rivet.
Note t' small hole drilled in t' rivet head. This a 1/16" hole drilled about 3/4 o' t' way through t' rivet head. Ahoy! This allows a 1mm screw t' be inserted t' pull t' rivet out.

Payload and nose cone paint
2013-05-12
I used Duplicolor Champion White for t' pyload sction and nose cone. Ya scallywag! I used Duplicolor Metllic Clear on t' payload section, t' nose cone be left just white as t' metallic paint can interfer with t' GPS tht will be installed in t' nose cone..
T' entire rocket was then clear coated with 4 coats. I allowed t' paint t' cure for 24 hours then wet sanded with 2000 grit, cleaned t' rocket then used Meguiars rubbin' compound followed by polish then wax.

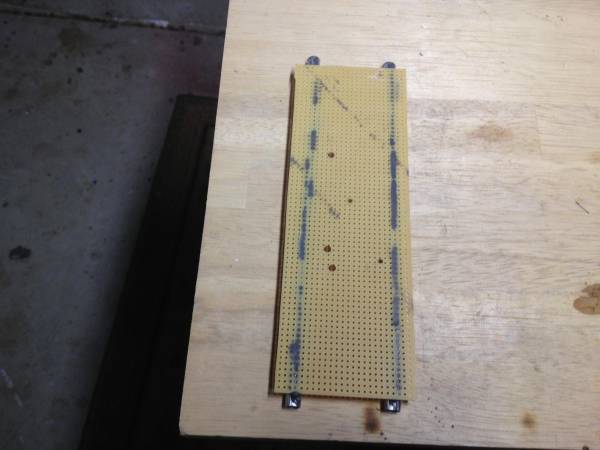
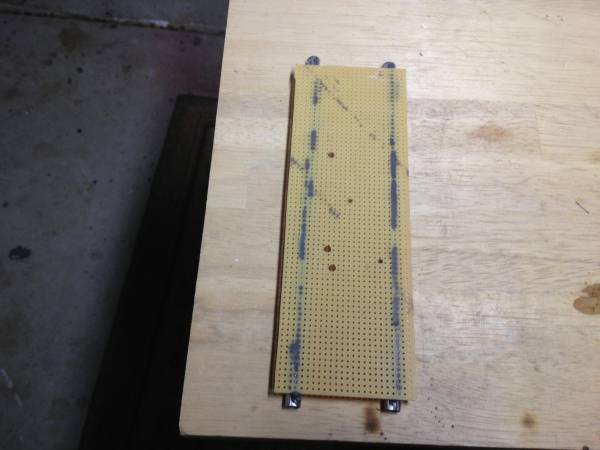
AV bay sled
2013-05-12
I used aluminum tubin' t' mount t' perforated circuit board material (from Radio shack), shiver me timbers, JB Weld was used t' secure. I cut t' tubin' so it would be tight against t' bulkheads.
I predrilled t' mountin' holes for t' Ravenn 3 and t' Power Perch.
Note: T' kit does come with a fiberglass piece t' make t' sled. Well, blow me down! I like this perforated stuff.
AV bay bulkheads
2013-05-12
I decided t' put a terminal block on each bulkhead, shiver me timbers, I drilled a hole a bit bigger than t' screw used.
T' charge holders are included in t' kit.
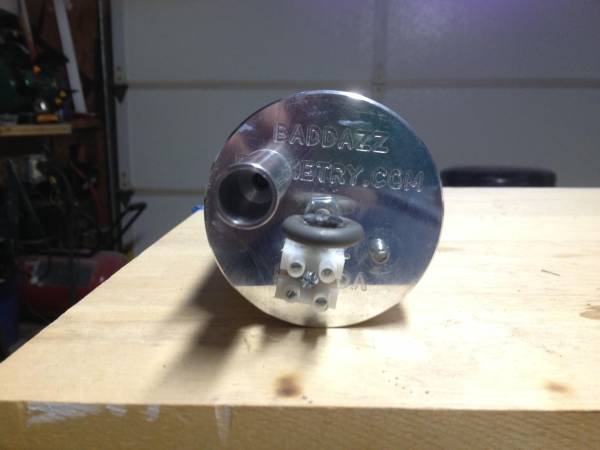

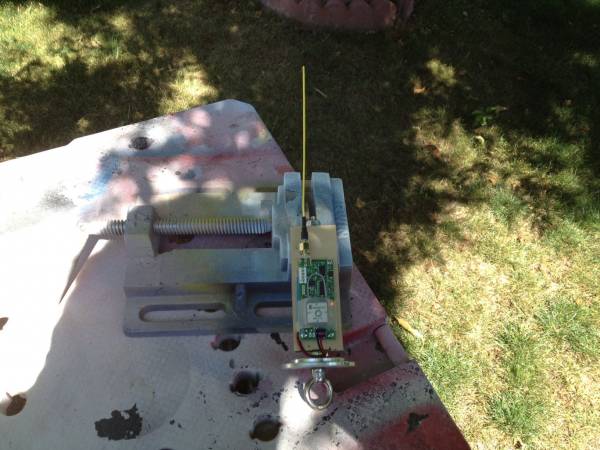
GPS mount on nose cone bulkhead
2013-05-12
Big Red Bee BeeLine 70cm GPS mounted on nosecone bulkhead.

Building review
2013-05-13

This be t' finest manufactured kit I have built so far (40+ kits).
Everythin' fit together nicely, all t' machine cut holes lined up perfectly.
There are no directions for this kit but if you follow me build thar should be no issues. Begad! I did have t' contact Eric on where t' split coupler needed t' be placed, shiver me timbers, he be very quick on his reply and more than willin' t' help.
I was a little leary about buildin' a PVC kit, but after buildin' this one I have no reason nay t' build another (awaitin' t' Defender MKII t' arrive as I type this). At t' time o' this build, I was buildin' t' Defender MKIII another fine fiberglass kit from BAR (see me build for t' MKIII).
Overall build ratin' 5 stars
Quality 5+ stars
Appearance 5+ stars
Completeness o' kit 5 stars
Coolness 5+ stars
Flight rating.....TBD
Thank you for lookin' at this build.
Richard Evans
NAR 92386 L2
LUNAR 1795

 |
 |