Garage Organizer Shelf Unit
By Roger Smith
2021-02-16
My garage workshop has served more as a storage place for t' past year than as a workshop. So, matey, a few weekends ago I started tryin' t' organize it better so that I can get back t' buildin' rockets. Aye aye! One o' t' things I did was t' build a set o' shelves designed primarily t' organize storage o' small parts and t' provide a convenient place for chargin' batteries..
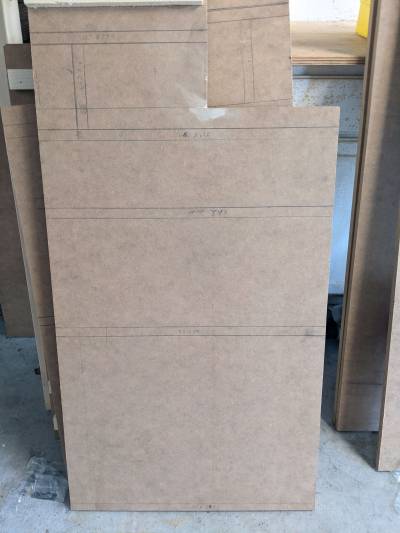
I sketched out a basic plan for t' shelvin' unit on paper. I included a number o' slots for holdin' t' medium and large Harbor Freight storage boxes and a shelf with a power strip for chargin' batteries. I then made a list o' t' parts I would need t' cut from t' MDF.
I started by purchasin' a few 4x8 sheets o' 3/4" MDF. I used Kreg's Accu-Cut and Rip-Cut guides with me little Worx circular saw t' cut t' MDF into t' pieces I needed. Arrr! On t' two side pieces, I refined t' design a bit by drawin' t' layout o' t' shelves and dividers directly onto t' wood pieces.

Starting the Assembly
2021-02-16
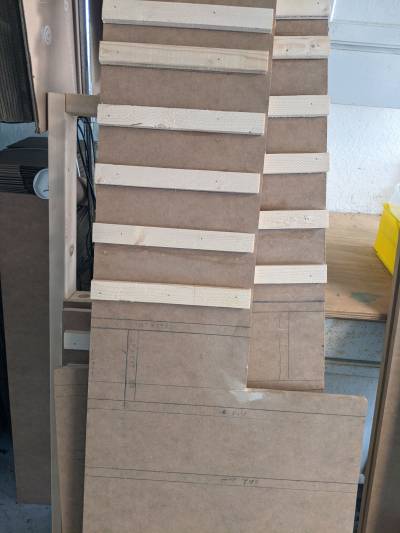
I cut several 1x2" boards into rails t' hold t' storage boxes and used glue and an nail cannon t' attach them t' t' side panels.

From the Bottom Up
2021-02-16
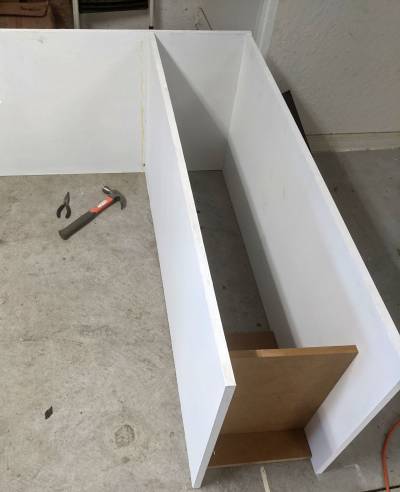
Bracha painted t' wooden parts and I started assemblin' t' shelves and dividers startin' from t' bottom. Aye aye! I assembled t' parts close t' where t' unit would stand in t' garage because it be goin' t' be very heavy.
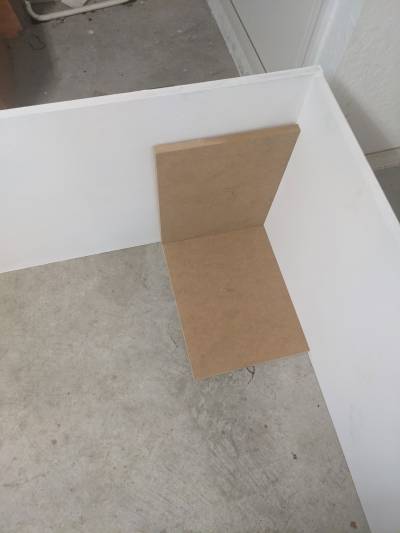
Rather than carefully followin' t' measurements in me rough sketch or t' layout that I had drawn on t' sides, I cut out pieces t' use as spacers since it was more important that t' distances on each side o' t' unit matched than that t' distances were some specific values.
I used wood glue and t' nail cannon t' assemble t' shelves t' t' sides (and later used drywall screws t' make sure it didn't come apart).

Power Supply
2021-02-16
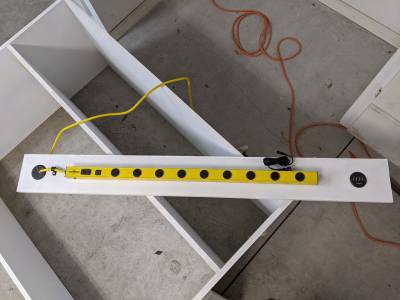
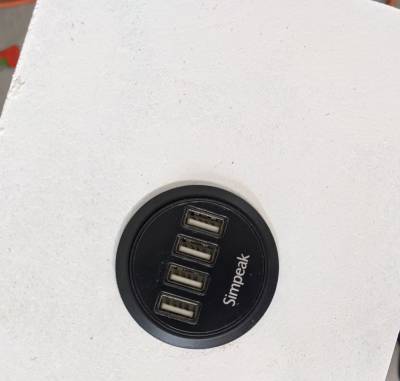
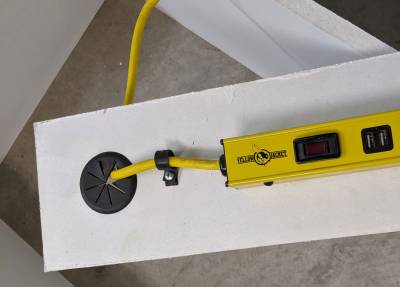
I attached a power strip t' t' back wall behind t' chargin' shelf. On one end o' t' panel, I used a plastic grommet t' cover t' hole for t' power cord. Avast! At t' other end, me bucko, I added USB chargin' plugs (because it looks cool and because I forgot that t' power strip has two USB outlets).

Photos Phinally
2021-02-16
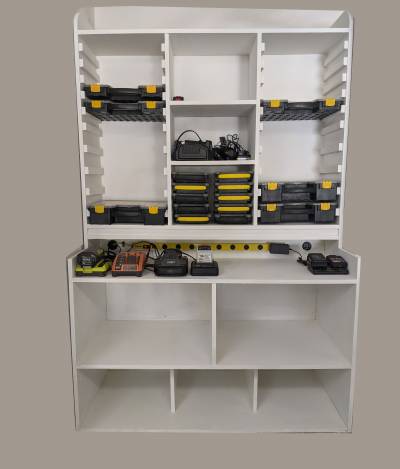
And now ... because I forgot t' take more photos ... here be t' completed cabinet.
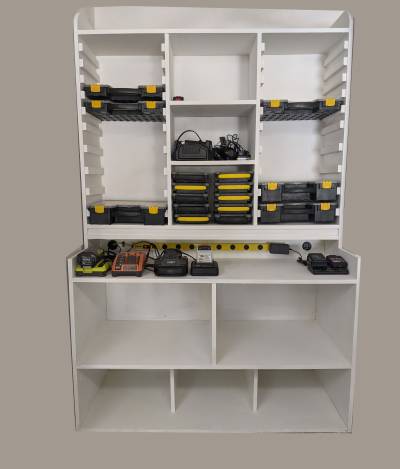
What you missed:
You didn't get t' see me mess up. I had intended t' work from t' bottom up, but I had attached t' rails t' t' inside vertical pieces before I got t' that point and t' measurement was wrong. So, I had t' add an extra shelf a couple o' inches above t' shelf over t' chargin' area. Coincidentally, a 1x2" board fit perfectly in t' space t' cover up t' slot.
And, matey, you missed seein' me maneuver this monstrosity into place in t' corner o' me garage. I used levers t' tilt it up onto a furniture mover. That actually worked well and I was able t' easily move it into t' corner. Then t' trick was t' remove t' furniture mover. I finally accomplished that feat with more levers and a little help from a hydraulic jack.
The Result
2021-02-16
I am really pleased with t' result. Havin' me collection o' screws and other small parts organized where I can smartly find them is goin' t' make life easier. And havin' a place t' charge t' batteries for me tools frees up a lot o' space on me workbench.
Now ... Arrr! back t' buildin' rockets!
 |
 |