Estes Cosmic Interceptor
By Steve Lindeman
2016-02-04
| Manufacturer: | Estes  | |
| Diameter: | 2.0000 inches | |
| Length: | 40.5000 inches | |
| Skill Level: | 4 | |
| Style: | Futuristic/Exotic |
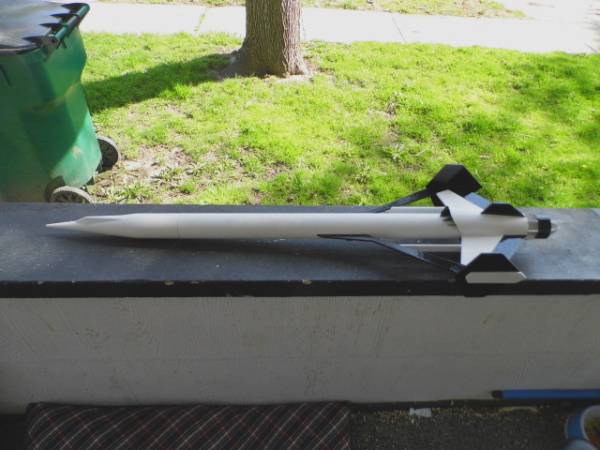
Manny Trotta just finished a beautiful build o' this kit and it is only because o' a question he asked me from me last build (the Estes - Scorpion) that I am postin' this one as I continue t' experiment with different paper coatings. I first learned about paper coatin' balsa from a tip in a magazine that t' N.A.R. Ahoy! sent me when I first joined. Well, blow me down! T' first two or three dozen rockets that I built after that I covered usin' regular printer paper because I had an almost unlimited access t' used printer paper at a job I worked before retirement (so I stock piled a bunch o' it figurin' I could use it for future builds).
On me last build (Estes - Scorpion) I tried a different paper (brown packin' paper that came with me order) with mixed results. Blimey! Pro: It was easy t' apply Con: but t' thin and fibery and required more sandin' t' get a good finish which resulted in much of t' paper bein' sanded off (won't be usin' it again).
This build I opted for a sheet o' 22x28" poster board that I bought at Michael's Art & Crafts store for less than a buck. Arrr! I must say at this point this be t' best material I've worked with so far. Arrr! It is thicker than regular paper but yet thin enough t' cut easily with an E-xacto cutlass and has a surface that will be a breeze t' paint. May very well be me goto paper in t' future. Followin' are some pics o' t' build so far.

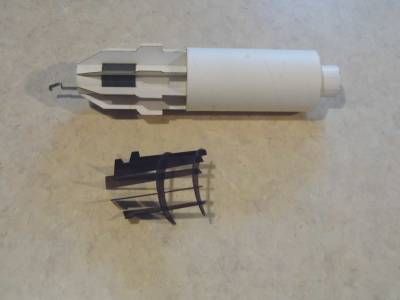
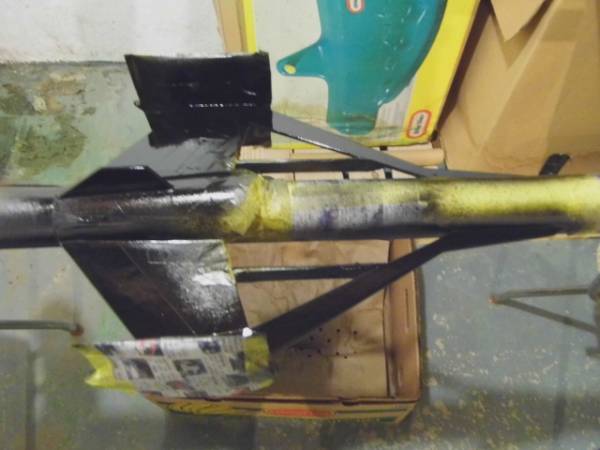
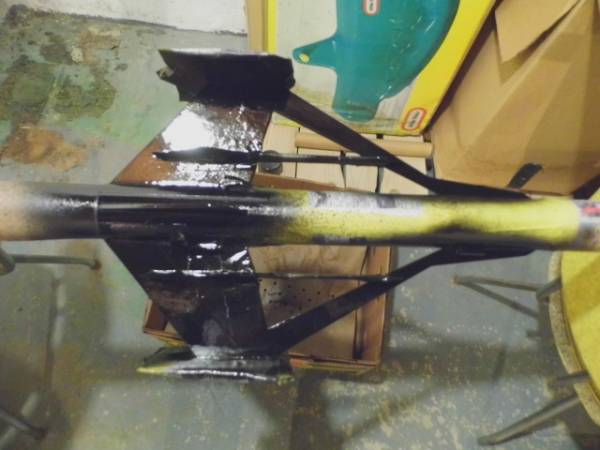
MM & Scoop Fin Assembly
(I used a magic marker t' blacken t' fins)
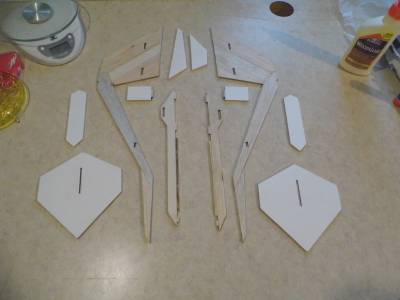
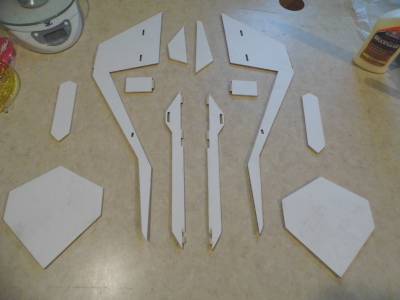
Balsa parts before and after paper coating
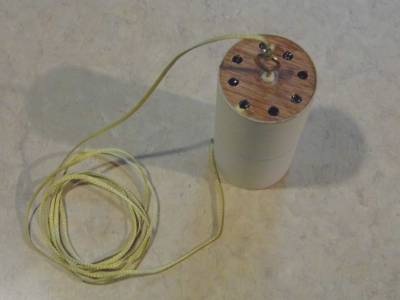

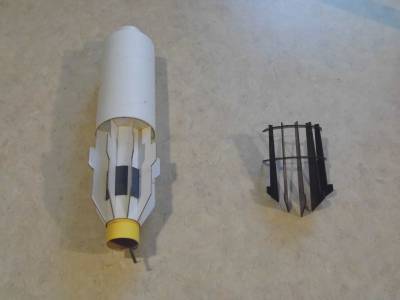
Baffle assembly. Bottom has aluminium duct tape added t' help prevent burn through o' wood.
(another o' me experiments carried over from another build that worked)
Top o' baffle showin' steel wool insert that I added t' help trap hot gas particles
(another o' me many experiments with baffles)
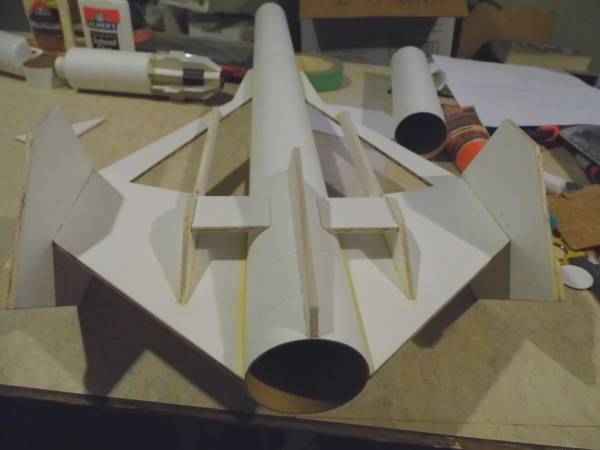
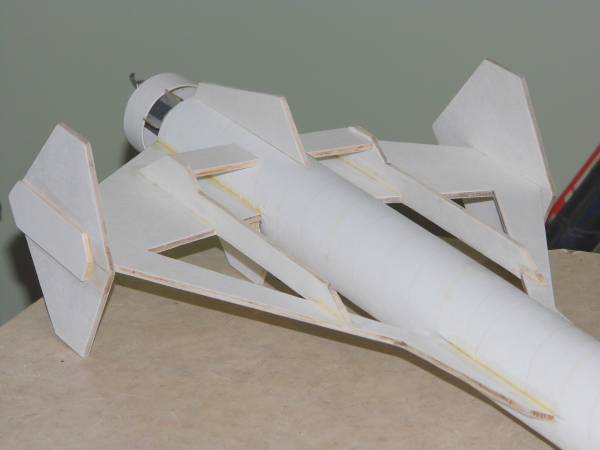
Startin' win' assemblies
Wings glued on
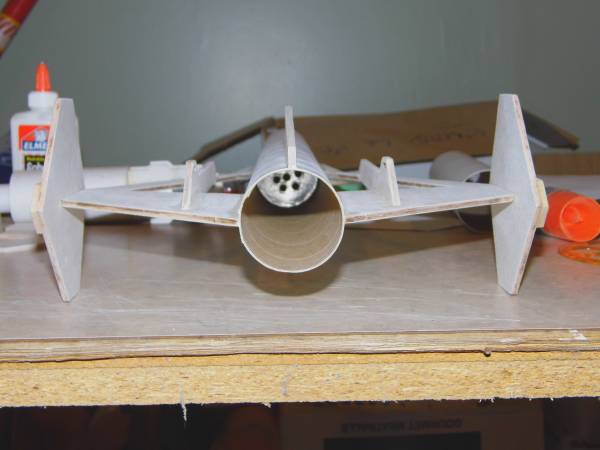
Shot from tail
(rudders are nay glued on yet and have nay done any paintin' or priming)
Additional build photos
2016-03-01
Small bottom fins added
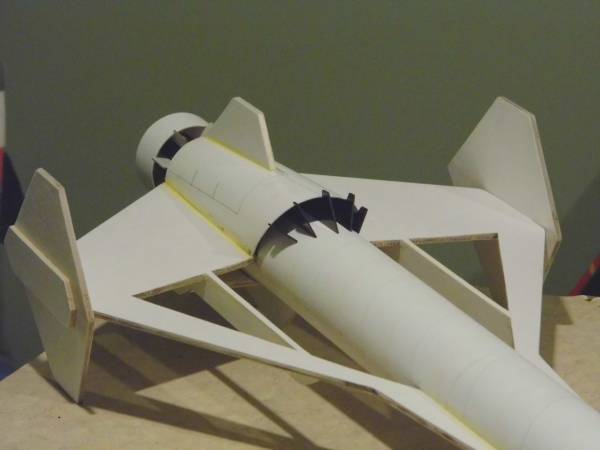
Scoop and top fin glued on
T' black insert in t' scoop and tail rin' on MM are nay glued on yet as I'm doin' all t' primin' and main coat before they are glued on. Arrr! Due t' expected difficulties o' paintin' betwixt t' small fins on t' bottom, they also will be painted before gluein' them on, me hearties, but will be glued on before final clear coats are applied.
Bottom aft end o' rocket
Started snowin' again. Ahoy! 2" o' snow on t' ground this mornin' when I got up and weatherman is callin' another 4-6'' through t' day so don't look like I'm goin' out t' t' garage t' paint any time soon. Arrr! I am soooo tired o' snow.
Painting
2016-05-09
Well I must admit I almost forgot about this build what with doin' 3 projects at t' same time. So once t' weather broke I started t' paint work by primin' t' entire rocket with Rust-Olium 2X white primer followed by a light sanding. I then removed t' two small bottom fin pieces and t' win' tips and painted them separately with Rust-Olium White Gloss. Well, blow me down! I then painted t' rest o' t' rocket Gloss White. After givin' everythin' a day t' dry I masked off t' raised section o' t' win' tips and then painted them with Gloss Black. Arrr! T' tail rin' was also painted at this time. Begad! After allowin' all parts another day t' dry I then removed t' tape from win' tips and glued them on. Begad! Wings and BT were then masked and t' black trim be added.
Win' tips glued on
Black trim added
Note: MM removed
Once all paint be dry all tape and paper was removed and rocket was taken back outside t' air dry for t' rest o' t' afternoon.
Final glueing (MM, Tail ring, Intake vanes, Fin tabs)
2016-05-11
MM was next on t' list and was glued in as per instructions. With it glued in t' tail rin' was set in place and tacked on with super glue. T' intake vanes were then put back in place and tacked in with super glue as well. Aye aye! Blimey! T' 2 fin tabs under t' win' were also glued on at this time with wood glue. Rocket was again given t' afternoon t' dry while I turned me attention t' t' NC.
Air drying
NC Detailing
2016-05-11
I'm sorry I neglected t' take any photos o' t' next set o' steps but I'll tell you what I did. T' NC has 5 black panels and 2 black vents shown in t' cover photo t' which thar are no decals provided on t' decal sheet. Arrr! So takin' me frog tape, I masked off all o' these. I then took an exacto knife and followin' t' indent on each I cut them out. T' rest o' t' NC was then masked off and t' exposed areas were then painted gloss black. Begad! Once these areas were dry I removed t' tape and then masked off t' tip o' t' NC and spray painted it Bright Red. After allowin' paint t' dry a bit paper was removed and NC left t' dry overnight. Begad! T' followin' afternoon I again masked off t' tip for t' black section. Blimey! After sprayin' it with gloss black I then gave it t' rest o' t' afternoon t' dry.
Decals and Clear coating
2016-05-11
T' final step be t' add t' decals. All decals were trimmed as close as possible and as such were a bit difficult t' apply but with t' aid o' some Windex all were applied t' me satisfaction. Avast, me proud beauty! After givin' rocket one more afternoon t' dry I clear coated it with two coats o' Rust-Oleum Clear coat t' seal everythin' up.
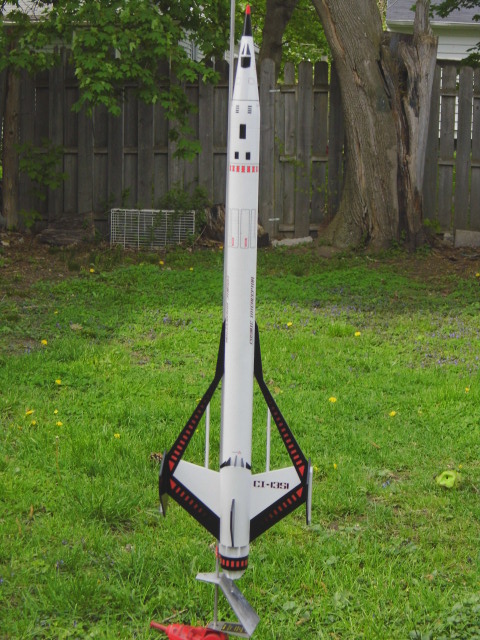
CI - 1351 Top shot
Another angle
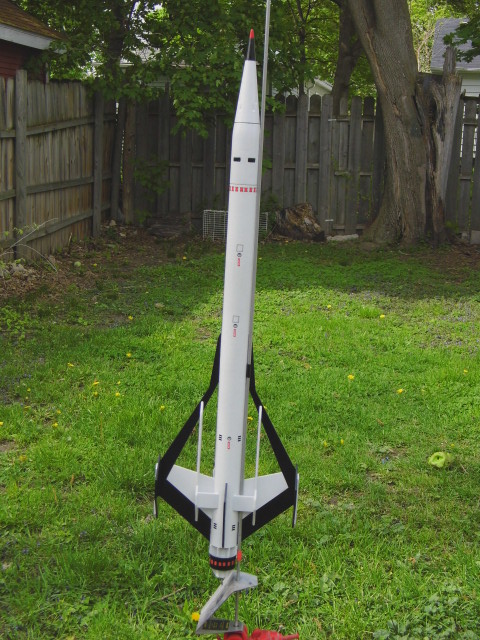
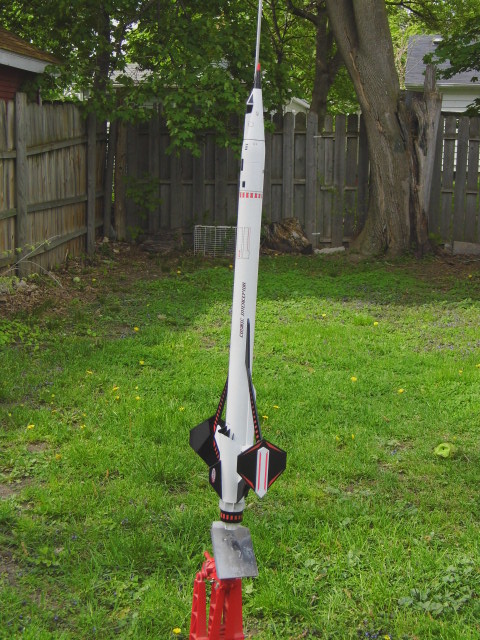
CI -1351 Bottom shot
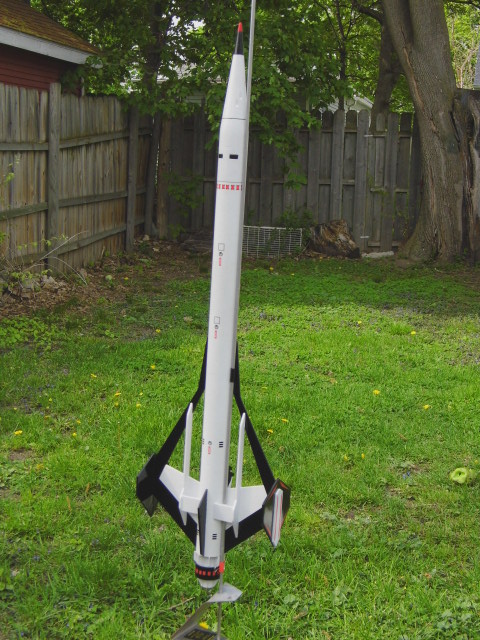
Yet another angle
Just need t' finish installin' t' parachute and this bird is a wrap

Flight
2020-04-24
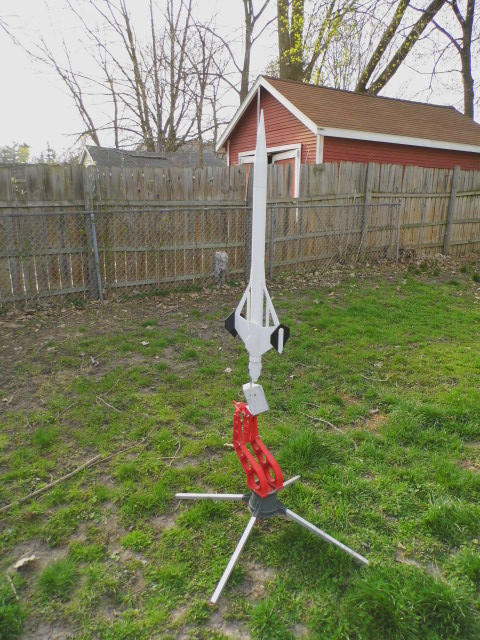
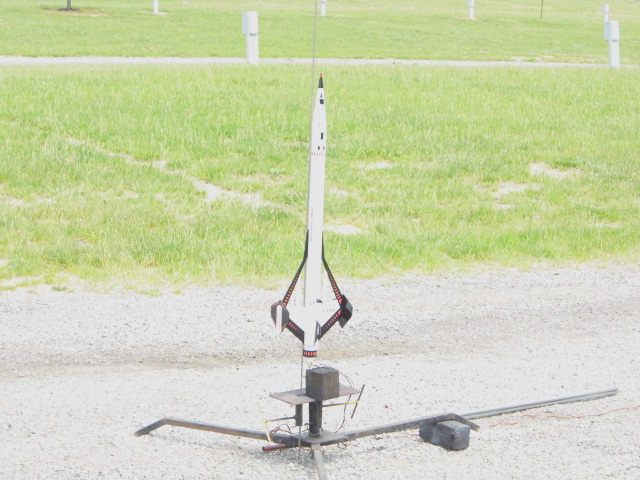
Sorry I took so long in postin' t' flight o' this kit. Maiden flight was on 05-28-16 on an Estes E9-4. This was a slow lift off t' pad and weather cockin' badly. End result saw rocket goin' horizontal. Way under powered as it didn't gain much altitude. Had t' new Jolly Logic Chute Release System onboard and set for 400' and it deployed just after ejection charge fired. Forgot t' get a recovery photo. Begad! Definitely needs a bigger motor. Second flight was on 07-29-17 at NARAM 59 on an Areotech E20-4. Aye aye! This was a near perfect flight. Will definitely be usin' this motor for future flights.
Maiden flight
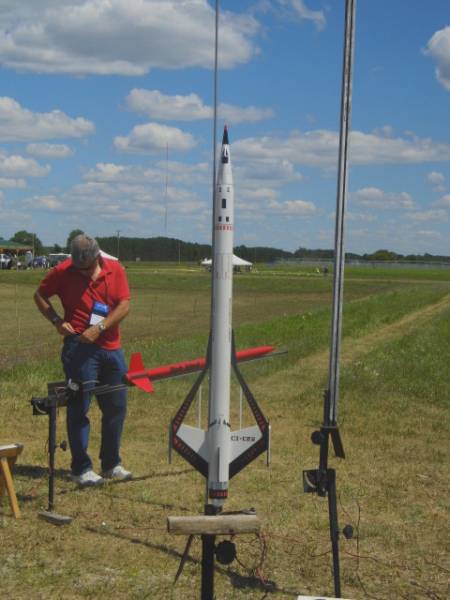
Second flight for Cosmic Interceptor
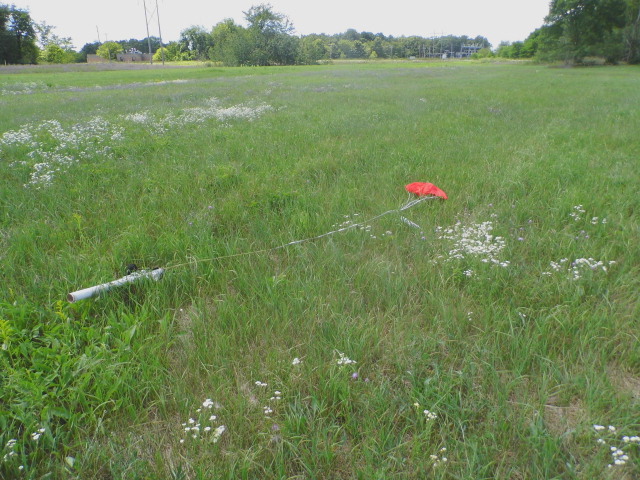
Cosmic Interceptor recovery
 - eBay Auction -<br />
Current Bid: $4.25 (Bids: 3)")
 |
 |