Estes Lynx (7233)
By Steve Lindeman
2019-12-06
| Manufacturer: | Estes  | |
| Diameter: | 0.7400 inches | |
| Length: | 13.0000 inches | |
| Skill Level: | 3 | |
| Style: | Futuristic/Exotic |
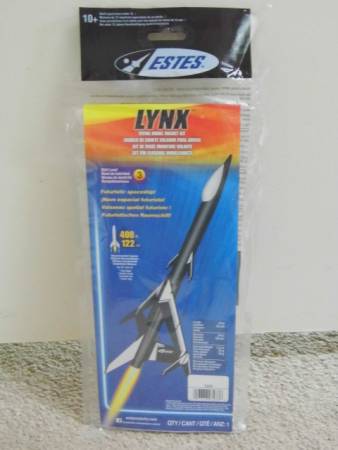
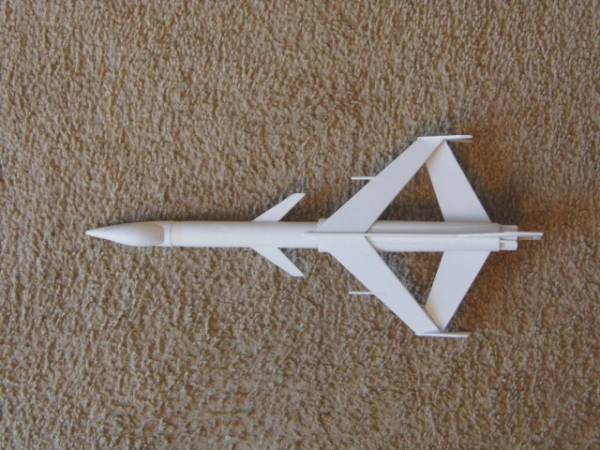
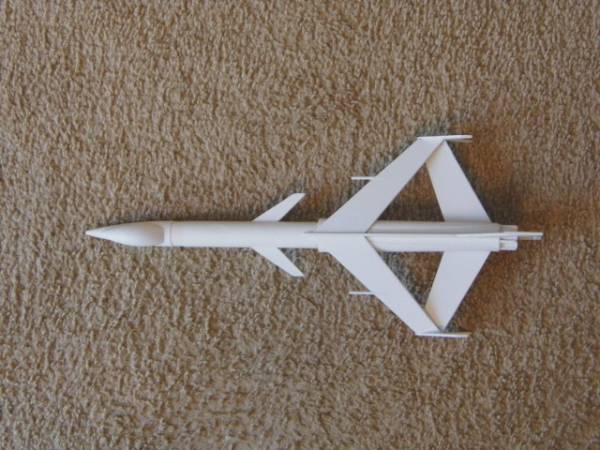
T' Lynx (7233) is one o' three new rockets from Estes that feature a futuristic sci-fi design with twin scoops but in a smaller size than is normal for a skill level 3 build. This is a 13mm rocket that measures 13" in length, matey, a dia. Begad! o' .74 in. Ahoy! and a wt. Arrr! o' only 1.2 oz. Altitude is predicted at 400'. Ahoy! T' Lynx and her sister Man-O-War T' Scorpion (7232) share all t' same basic parts but just have different styled wings. Ahoy! Production date for this kit was 12/28/16.
Lynx (7233)
Motor Mount
2019-12-11
As is typical o' most Estes build this kit starts with t' motor mount. Begad! Now if you're all thumbs as I tend t' be at times, a pair o' tweezers will help with this section o' t' build as thar are 8 tiny parts that need t' be glued on t' end o' t' mount. On a side note here: Check t' green centerin' rin' that you split before gluin' it on t' ensure proper length for wood pieces. Begad! After gluin' t' white markin' rin' on all eight pieces o' wood were glued on.
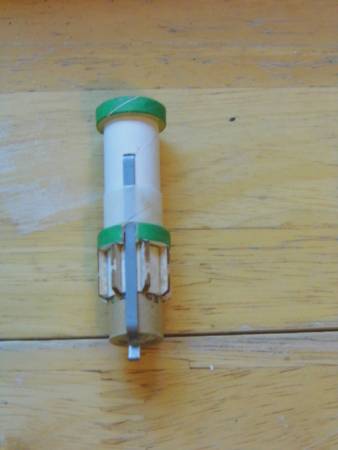
Lynx motor mount
Wing Assembly & Top Fin
2019-12-12
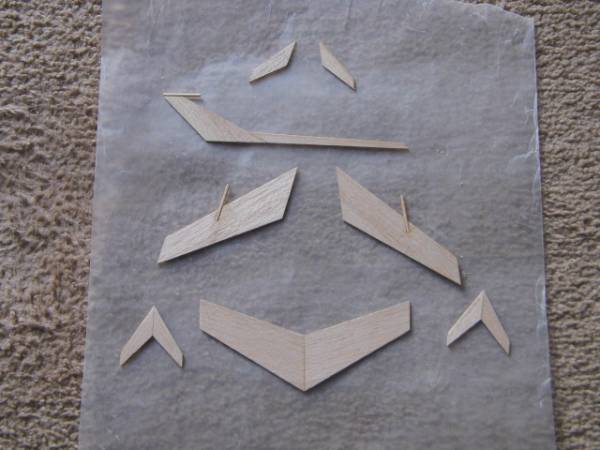
T' wings consist o' ten pieces with and additional three pieces for t' tail. Aye aye! Blimey! As I'm goin' t' be paper coatin' all balsa I glued everythin' together first.
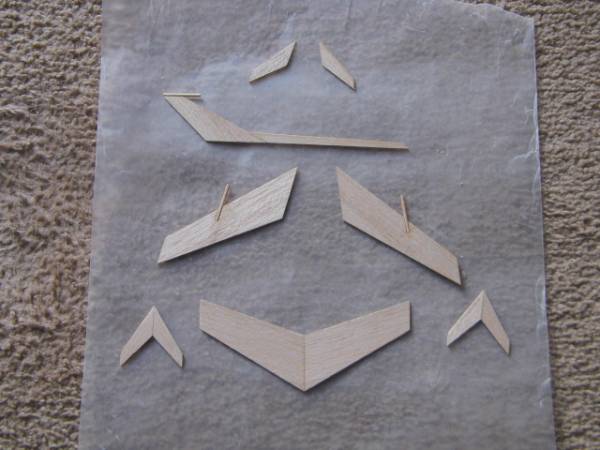
Wings & Tail Fin
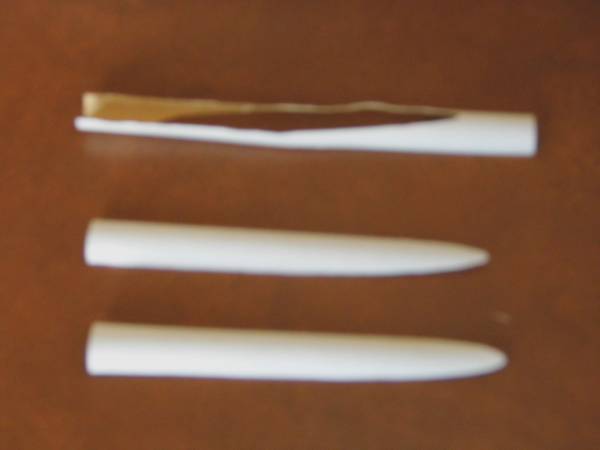
After all parts dried I proceeded t' cover all balsa wood with paper. Here are t' parts after paperin' and prior t' painting.
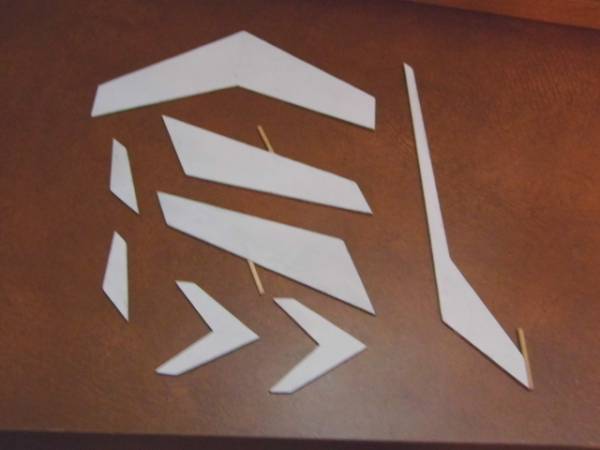
Parts after papering
Marking Body Tube
2019-12-14
T' next step in t' instructions have you mark t' BT for t' win' and fin attachment which I did.
BT marked
Attaching Wings and Fins
2019-12-14
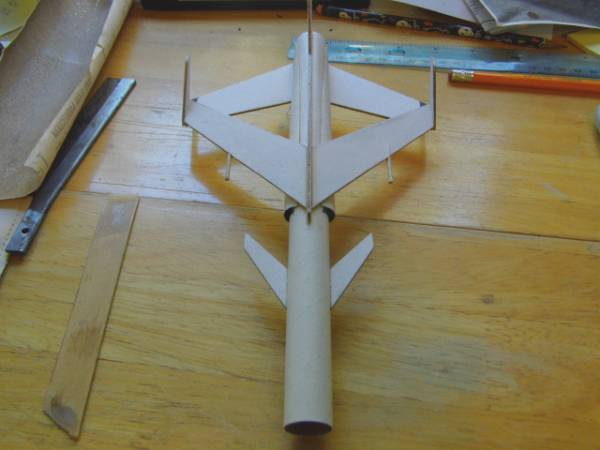
This is where t' fun begins. I can see from t' instructions that paintin' this bird is goin' t' be interesting. That bein' said I have decided t' pre-color some parts before assembly with a black marker. Ahoy! Bottom o' win' was first.
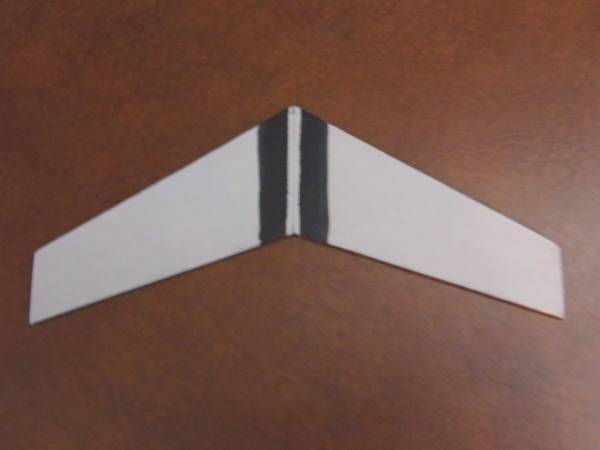
Bottom Wing
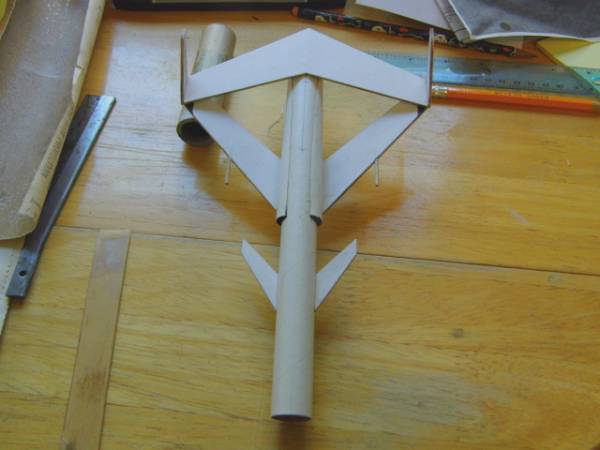
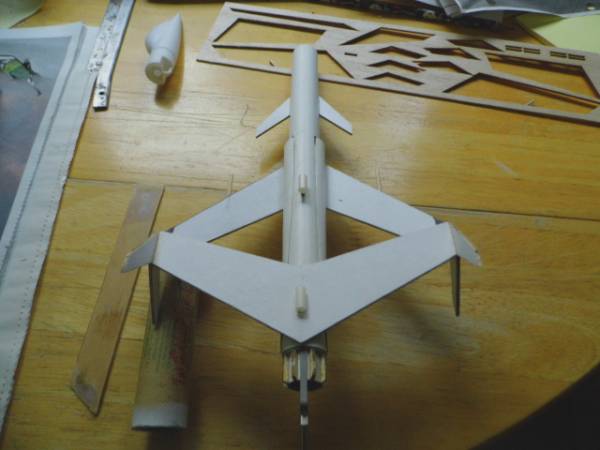
I then followed t' instructions and glued t' tail fin assembly on t' t' body tube. Next I glued t' bottom win' on and let dry. Ya scallywag! After dryin' I glued t' top wings on and t' front conards. I then let everythin' set over night. Aye aye! T' followin' day I squared up t' win' ends and glued on t' win' tips.
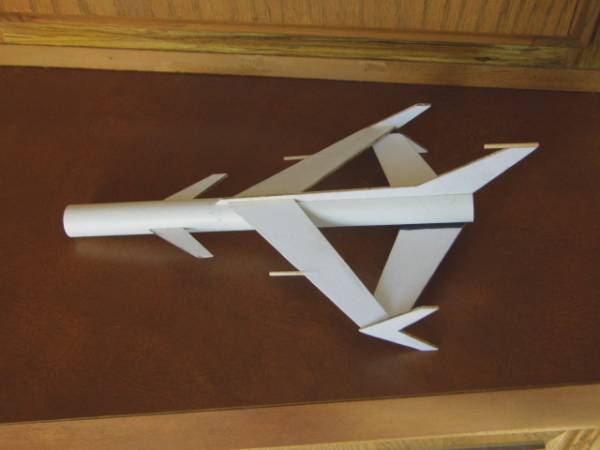
Tail & Wings glued on
Back End

Attaching Launch Lugs
2019-12-28
T' next step is attachin' t' launch lugs which is what I did. Ya scallywag! Some how in me haste t' build I forgot t' take a photo o' this step.
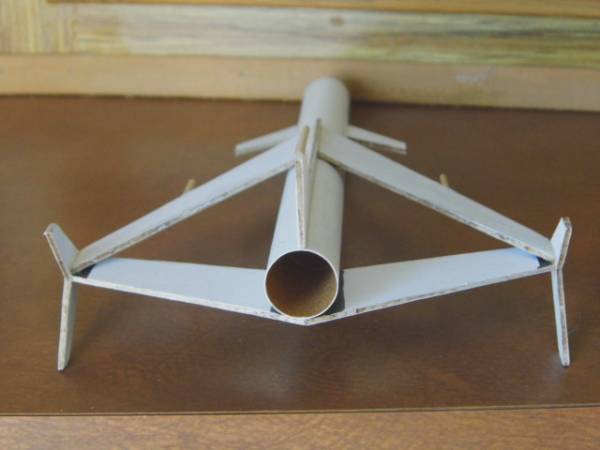
Prepare and Install Intakes
2019-12-28
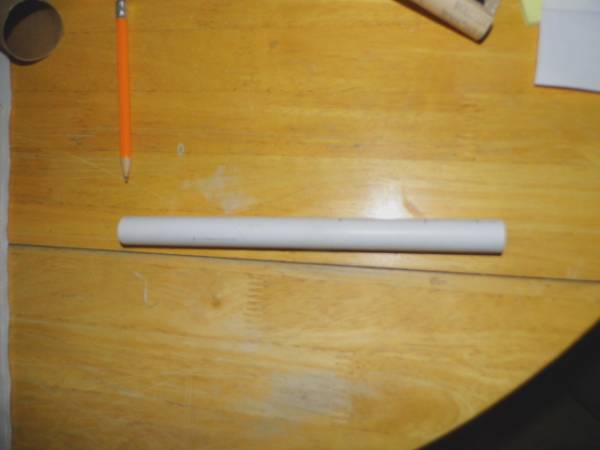
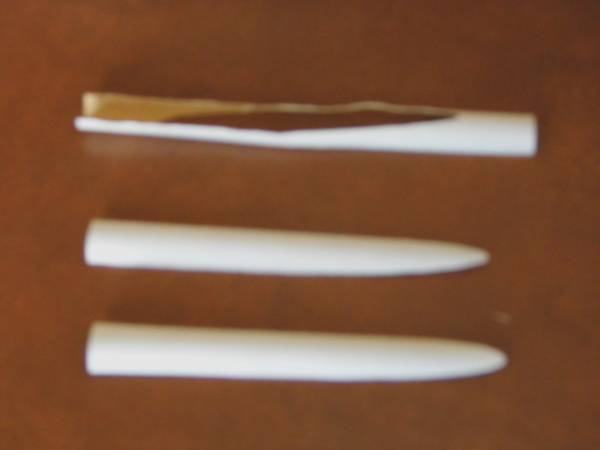
T' next step in t' instructions has you install t' engine mount but for what ever reason I skipped ahead t' t' intake prep and installation. Avast! I was able t' cut both intakes from one tube. Ahoy! (Sorry about t' fuzzy photo)
Both intakes cut from one tube
I then applied a bead o' yellow wood glue t' t' first intake and glued it on. Arrr! I then did the same with t' other intake.
Intakes glued on
Motor Mount
2019-12-28
At this point I finally got around t' installin' t' motor mount.

Motor mount glued in
Preparing Recovery System
2019-12-28
T' only thin' left t' do before prime and paint is t' attach t' nose cone and parachute. Arrr! With this done I now have t' wait till sprin' t' paint. Here is a shot o' her with her sister ship T' Scorpion.
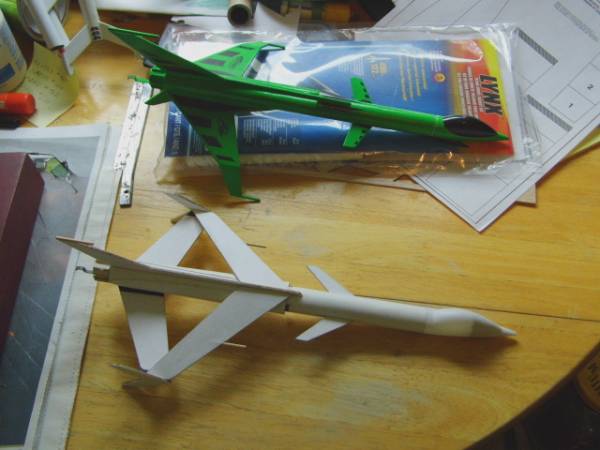
Lynx & Scorpion

Primmer time
2020-02-23
Well weather finally got up t' 53 degrees today so I decided t' try and do some primer painting. I have four other rockets beside t' Lynx that need primmer so will see how they turn out.
Lynx primed
Main Paint
2020-03-26
Finally able t' get some black paint on this bird. Tomorrow I hope t' get t' decals done but won't be able t' clear coat it for a few days as its supposed t' rain t' next four days. Well, blow me down! Oh well with this Coronavirus goin' around I'm in no hurry.
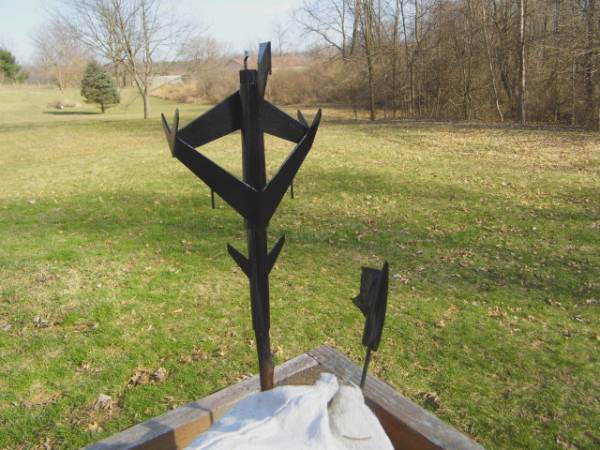
Black paint applied
Lynx ready for decals
Decals
2020-03-27
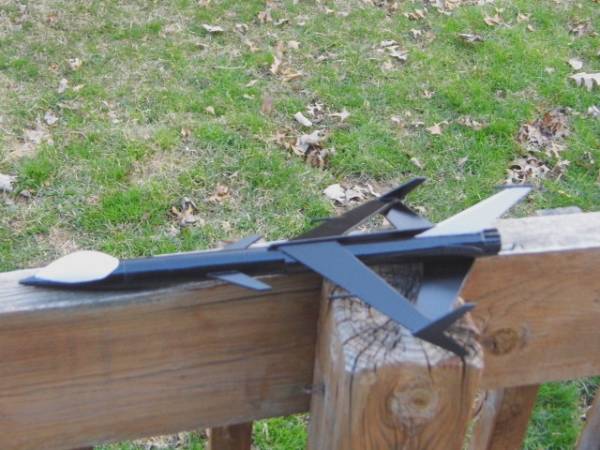
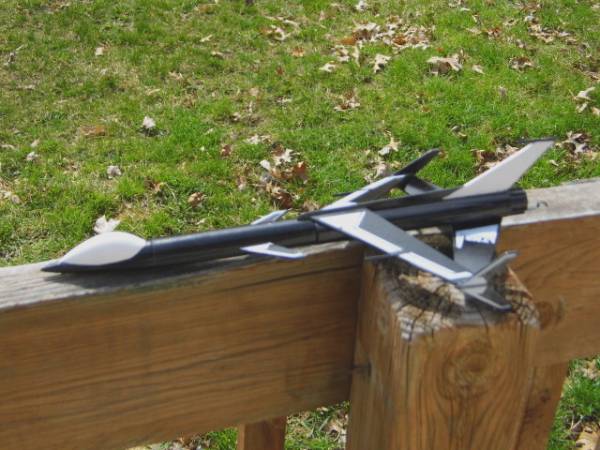
Well I managed t' get t' decals on today and I must say they were t' most difficult part o' t' build. They were very thin and hard t' see t' cut out. I tried stayin' inside t' black lines while cuttin' them out and still ended up with some white edges along t' decals. Oh well, they won't be noticeable from 10 feet away or at launch time. Well, blow me down! Rocket just needs a quick clear coat and it's finished.

Lynx decaled
 |
 |