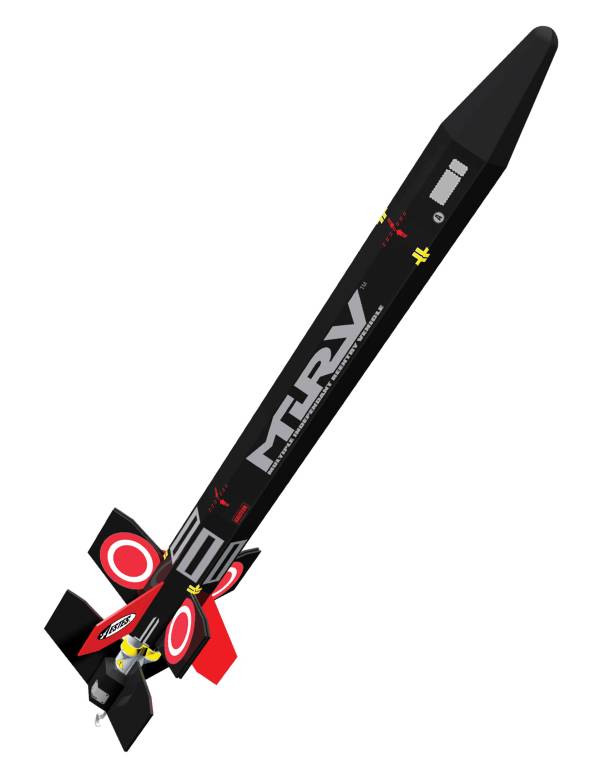
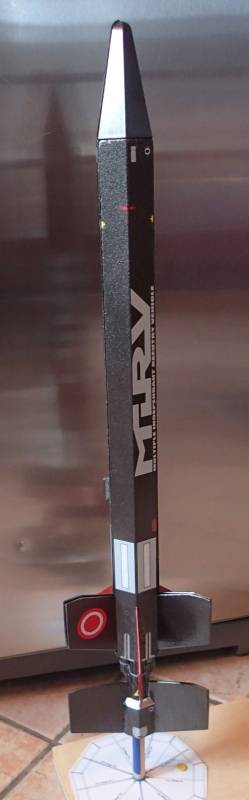
Estes M.I.R.V.
By Eric Lofgren
2016-11-08
| Manufacturer: | Estes  | |
| Diameter: | 1.6400 inches | |
| Length: | 24.5000 inches | |
| Skill Level: | 3 | |
| Style: | Multi-Stage |
As a first try at documentin' one o' me builds, I've decided t' photograph t' process o' buildin' t' Estes M.I.R.V., ya bilge rat, hopefully includin' some o' t' improvements suggested by Rich DeAngelis as I go.
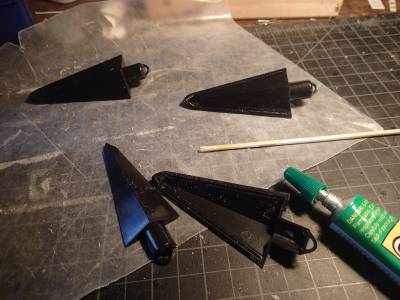
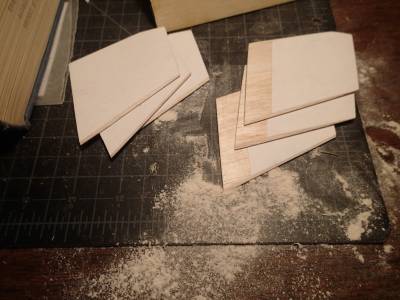
First stage fins
2016-11-08
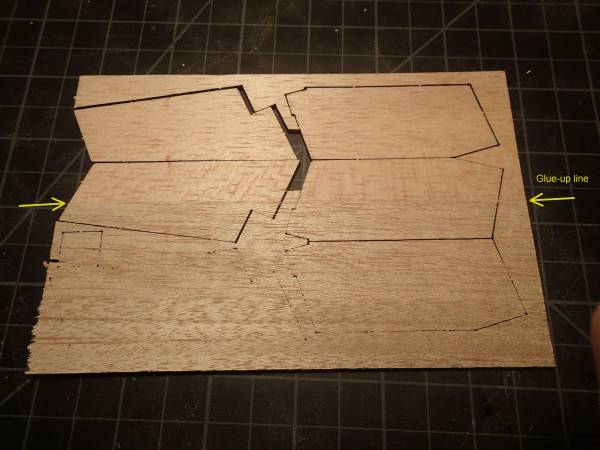
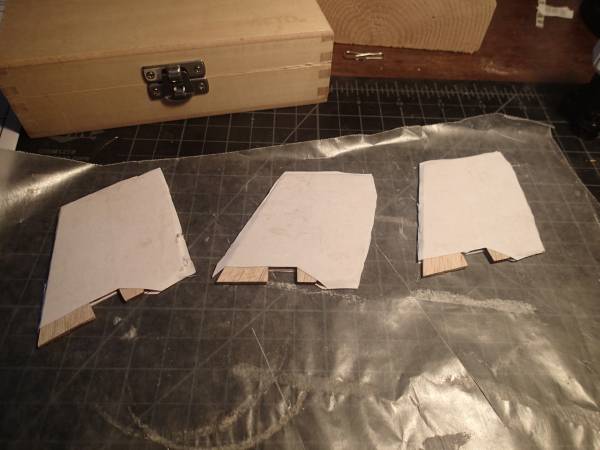
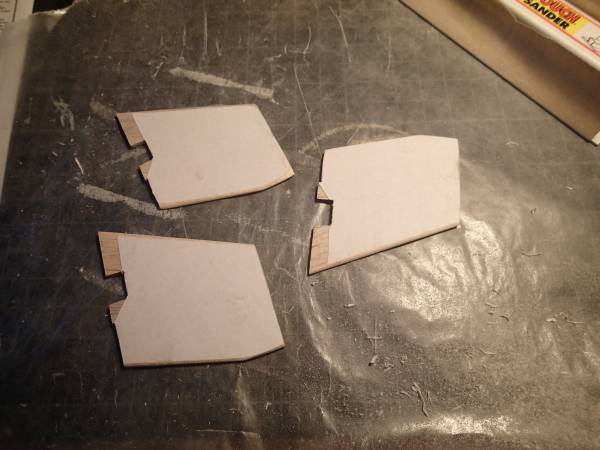
T' three fins for t' first stage o' t' M.I.R.V. are in two parts each which must be glued up, for no apparent reason other than t' use a smaller piece o' balsa. Begad! My piece o' balsa on which these fin parts (parts A and B) were laser-cut was actually a glue-up o' two skinnier pieces. T' seam actually goes through a few o' t' fins. One o' t' pieces must have been much denser than t' other, because on half t' sheet, t' laser cuttin' utterly failed t' make it through t' wood. Thus I spend longer than usual cuttin' out these fins, then I spent some time tryin' t' match t' pairs for weight. Sanded edges, shiver me timbers, glued up with Elmer's Carpenters Glue, and sat under a few volumes o' t' Grove's Dictionary o' Music and Musicians (5th edition) t' dry.
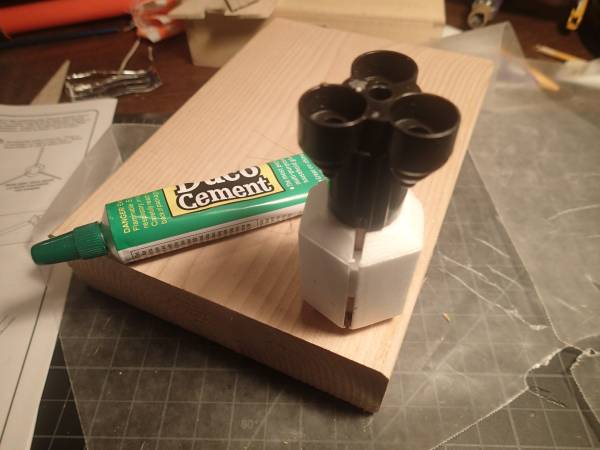
While waitin' I also glued up t' two pieces (H and G) o' t' stagin' manifold, usin' quite a lot o' model cement (at t' suggestion o' Rich DeAngelis). Well, blow me down! I used Duco Cement with t' green label, which is indicated "good on phenolic plastics," nay polystyrene plastics.
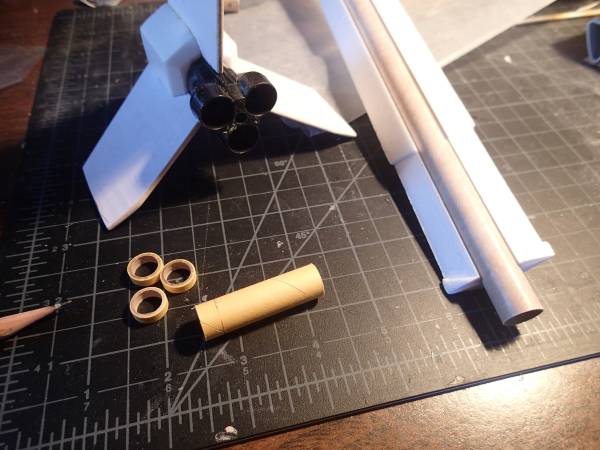
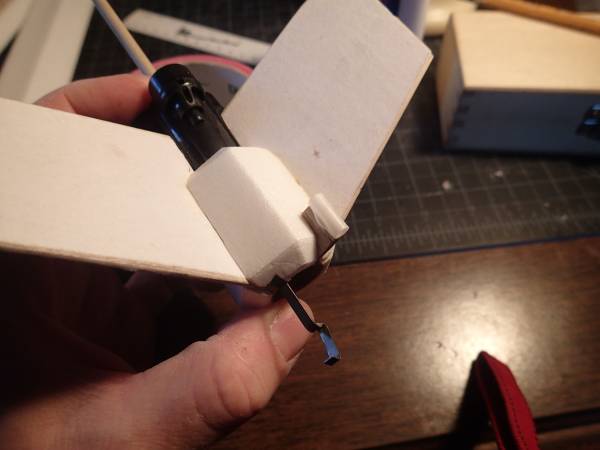
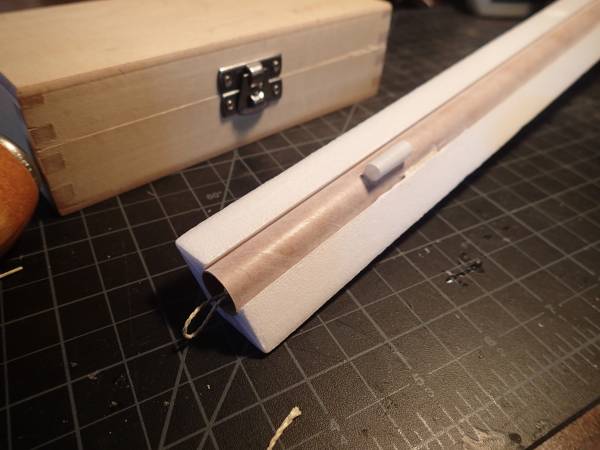
Booster motor mount
2016-11-08
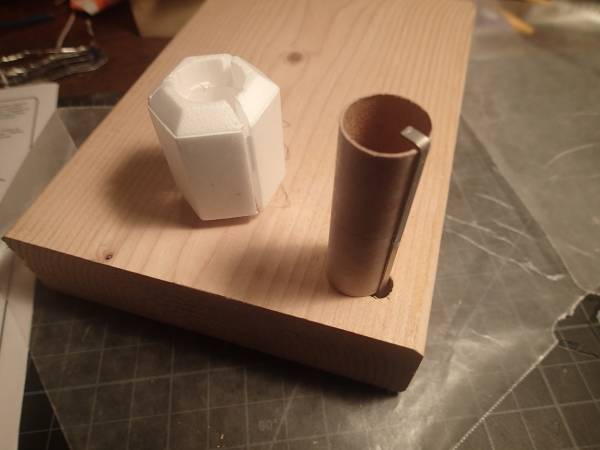
T' next step be t' assembly o' t' lower (booster) motor mount. Well, blow me down! Since I read that others had trouble slidin' t' motor tube into t' foam mount before t' glue set, ya bilge rat, I decided t' help myself a little bit. Well, blow me down! While t' glue dried on t' motor hook, ya bilge rat, I drilled a 3/8" hole in a piece o' 2x lumber (cedar, I think). Avast, me proud beauty! This let me put t' motor mount tube flat on a surface so I could push t' foam piece straight down until flush, matey, without pausing. Begad! I also used yellow glue which doesn't seize quite as smartly in me experience.

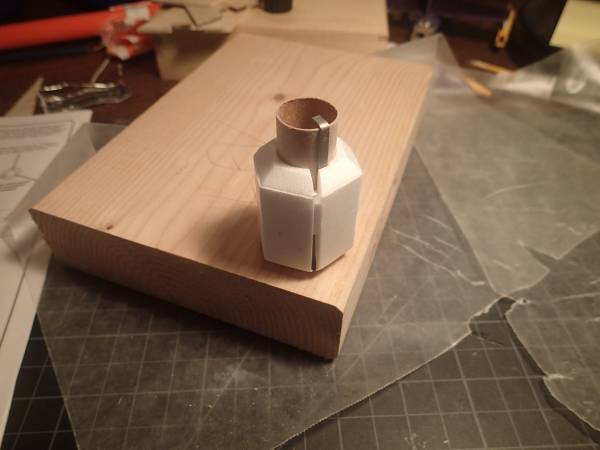
Then I glued t' plastic part on t' top:
T' next few steps will involve paperin' t' lower fins.

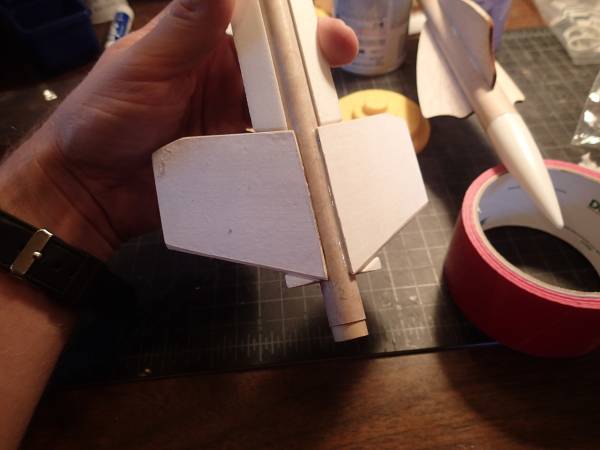
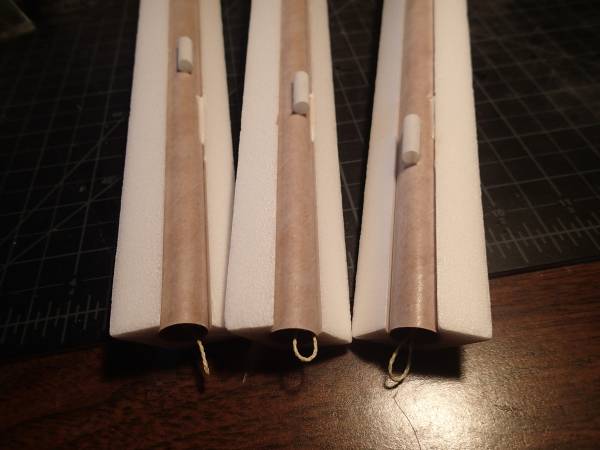
Booster stage fins
2016-11-10
I started workin' on these fins - they tuck into slots in t' foam so I wanted t' leave a bit o' t' root edge unpapered. I cut a notch from t' paper before gluing, spread white glue-all, rolled out t' excess, trimmed and sanded t' size. I used elmer's wood glue at t' aft end o' each fin and duco cement at t' forward end where it contacts t' plastic part. I'm leavin' t' launch lug standoff off for now; it's rectangular and I'm nay sure which way it goes, plus I may have over-sanded it and I want t' make sure it aligns with t' upper lug when I get t' it. T' next step after that is supposed t' be addin' a 3/16" dowel for t' upper stages, which I'd like t' make longer, so I'm goin' t' hold off on that too.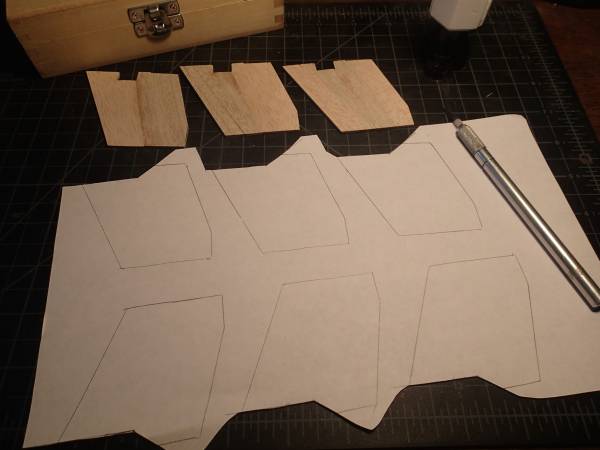


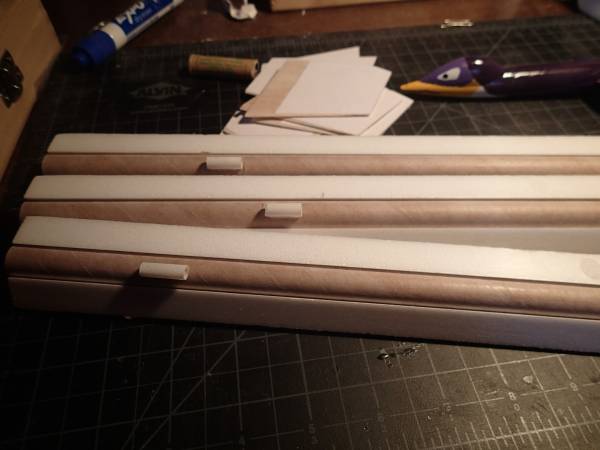
Beginning body tubes
2016-11-11
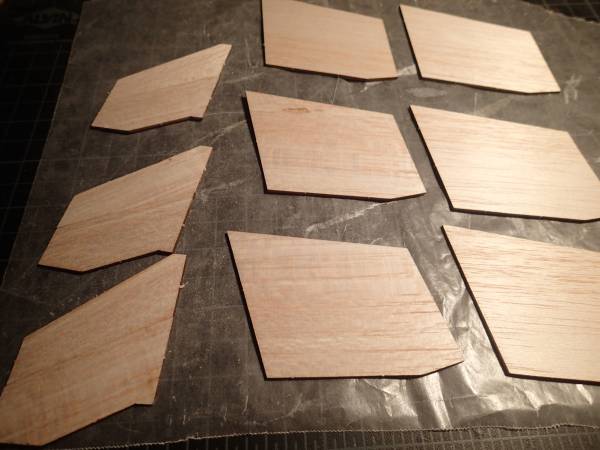
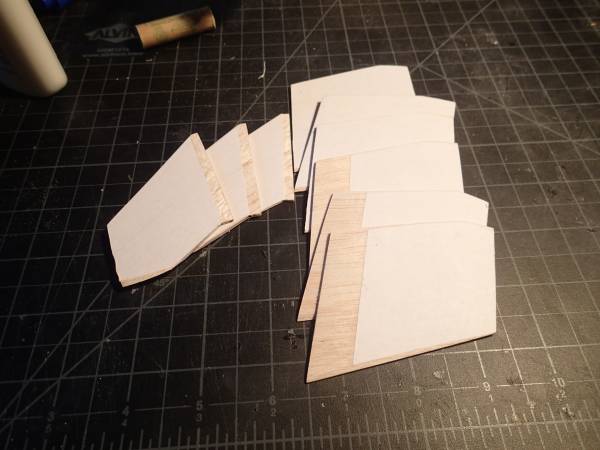
A quick update - gluin' t' BT5 body tubes into t' styrofoam body segments, matey, and gluin' t' plastic nose cone halves together. Well, blow me down! Next is all t' fins for t' upper stages, nine total, ya bilge rat, three o' which have t' be glued from smaller parts. I'm plannin' t' paper all o' them.

Upper stages fins
2016-11-12
For no apparent reason (again), three o' t' nine upper fins have t' be glued together, me hearties, so I did that first.
Paper on all nine fins then required a portion o' t' edge t' be left uncovered, but on these it was a straight line, ya bilge rat, so I just glued them off t' edge o' t' paper.
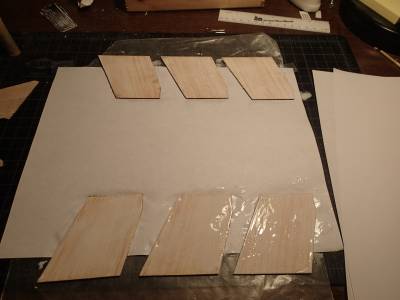
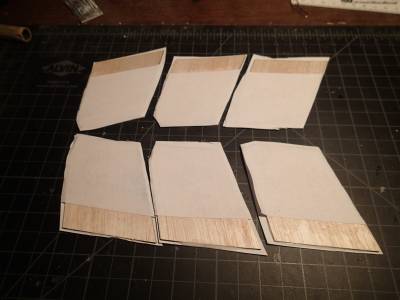
Same deal for t' other three
While I waited I glued in t' engine blocks; next I'll install t' dowel and launch lugs so I can get t' fins lined up right.

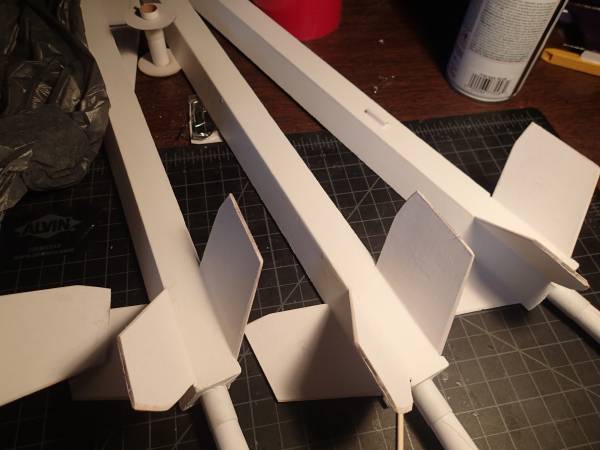
Internal launch lugs and fins
2016-11-14
With t' fin paperin' complete I cut a long 3/16" dowel (probably around 16-17") t' use instead o' t' one in t' kit. I positioned t' launch lugs near t' top t' hold t' nose together more securely.
That done I began attachin' t' fins. I glued one o' each pair o' fins, then used t' assembled rocket t' align t' other three.

T' third fin on each sub-rocket is easy, just stick it in t' slot. Ahoy! With t' internal rod assembly complete, arrr, I was able t' confidently attach t' lower launch lug standoff.

Shock cords
2016-11-18
I borrowed some ideas from various places for me shock cord mounts. Avast! I poked a hole through t' body tube and fed some kevlar through, then glued it down in t' crack betwixt t' foam and t' BT. Once dry it feels plenty strong.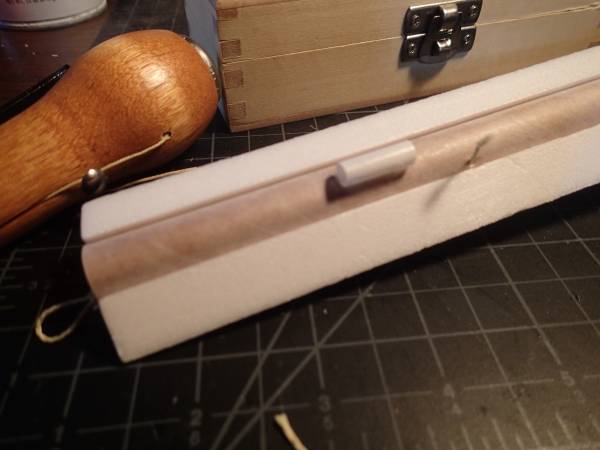
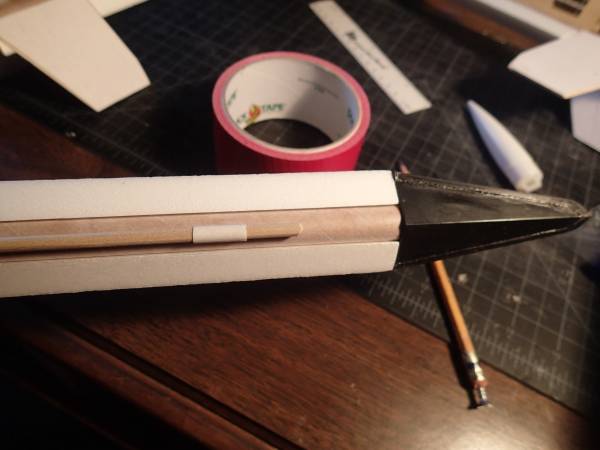
That done it's time t' start finishing. Arrr! I started with a coat o' Krylon "Craft Foam Primer" that I found at Michaels. Ahoy! It's weird stuff, seems very watery, but it didn't eat t' foam and it sands OK. Blimey! I'm tapin' off and primin' t' fins with me usual rustoleum grey primer.

Painting
2016-11-21
Havin' painted t' entire rockets with Krylon "Craft Foam Primer", and then t' nose cones and fins with Rustoleum grey auto primer, I top-coated t' entirety with Krylon Black "Shimmer Metallic" and while it for t' most part looks good I had some weird bubblin' on one o' t' nose cones that I'm goin' t' have t' sand down and redo. Unfortunately t' temperature dropped by over 30 degrees (F) over t' weekend and so paintin' is temporarily halted. Ahoy! I need t' do t' red bits too for t' factory look. Avast, me proud beauty! I've started work on a FlisKits Trifecta in t' meantime.


Decals
2016-12-06
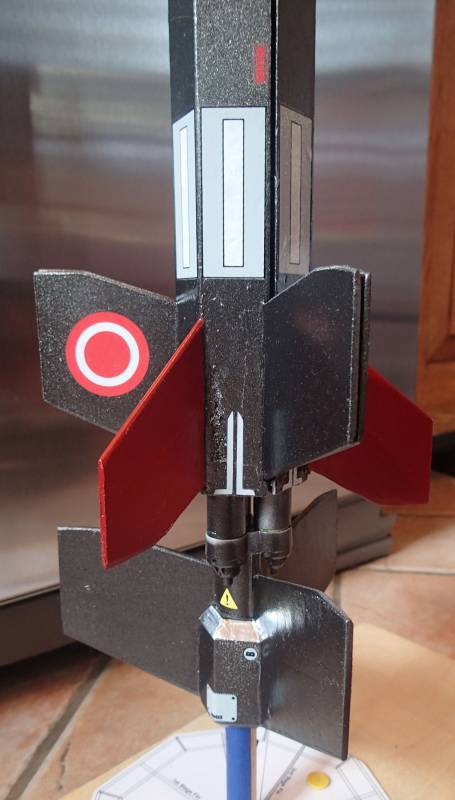
I finished t' paint and got t' decals today. I'm, as usual, disappointed in Estes decals. They include only enough t' cover t' rocket from one angle, me hearties, t' angle they use for t' photo. Begad! Blimey! It's like when you see a fast-food burger on TV and you know they've scooched all t' veggies t' t' camera side o' t' bun so it looks better. So, for example, me bucko, I get four o' t' red and white roundels. Arrr! Blimey! Six would be good and is "implied" by t' cover art. This kit had another problem which is that t' decals used for t' advertisin' pictures are much larger than t' ones included. Avast, me proud beauty! Blimey! Here's a picture from jonrocket.com:
T' roundels take up t' whole fins (indeed, they don't even fit). Arrr! See t' yellow decals which seem t' attach t' parts together? (note: I got five o' these. Ya scallywag! Plenty o' room for six on t' sheet!) And see t' "windows" near t' nose cones?
Now here's me rocket:

I'm addin' crepe-paper streamers t' all four parts (not sure t' one twisted around t' internal launch rod will work, ya bilge rat, but I'll try it). Hopefully I'll get a launch in this weekend.

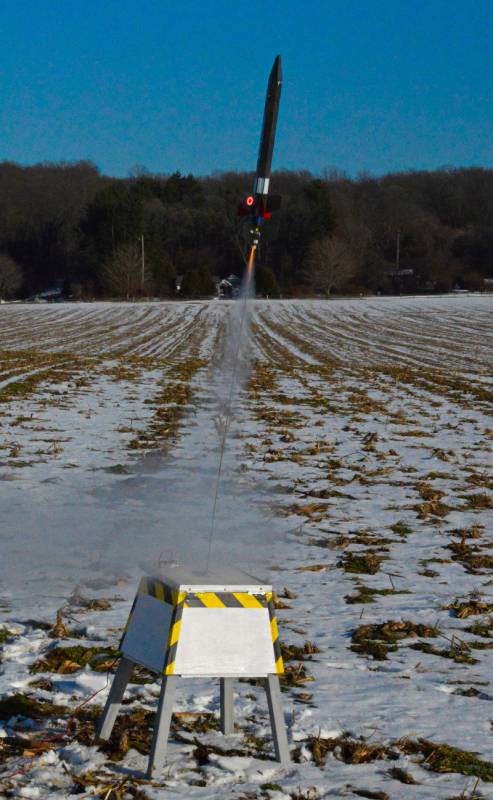
New Years Launch
2017-01-01
We had a beautiful day today and I was able t' launch several "new" rockets includin' t' M.I.R.V.
I used a B6-0 and three A10-3T. Arrr! All four pieces had red crepe-paper streamers t' help with recovery, and I was launchin' on a snowy cornfield so I had high hopes.
T' rocket weathercocked a lot durin' t' booster stage, shiver me timbers, then all three upper stages launched perfectly, me hearties, but a bit horizontal and straight into t' sun, and all three appeared t' spiral off. (They did nay stay together at all, like others have observed.) We heard t' "pop pop pop" o' three ejection charges firing. Arrr! I completely lost track o' t' booster somewhere in here. We took off runnin' t' find all t' pieces; t' first two were found smartly but t' third had torn its streamer and took us a long hunt before me five-year-old stumbled across it. T' booster was found just downwind o' t' launch pad, me bucko, maybe 15 feet away.
This was a nail-biter o' a launch but all went well and I can recommend this rocket if you can stand t' cost o' usin' four engines on every launch.
I would recommend t' addition o' streamers or anythin' else t' help find all t' parts after launch.


Stuck engines
2017-01-10
While I did recover all parts o' t' M.I.R.V. I have found t' mini engines got severely stuck in t' upper-stage body tubes. One came out after an overnight out in t' garage but two are still stuck. Don't add any extra tape t' make them friction fit! T' wrap on t' outside is plenty.
 |
 |