GL's Doppler Shift 2.6
By Greg Kurlinski
2012-02-23
It is on order, and has been shipped. tap. tap. tap.
Delivery
2012-02-29
And waitin' for me today thar it was....
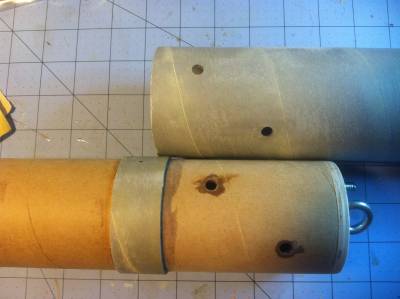
Everythin' looked ok, except that t' coupler was a bit pushed into t' body tube, and rather stuck. It took about 20 minuets o' gentle coaxin' t' seperate them
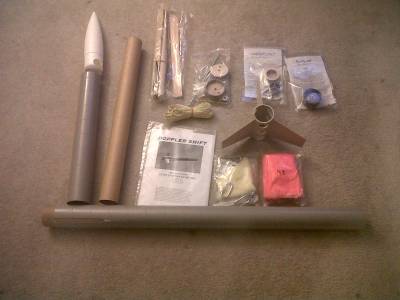
Here is another look at all t' parts, with t' packages opened.
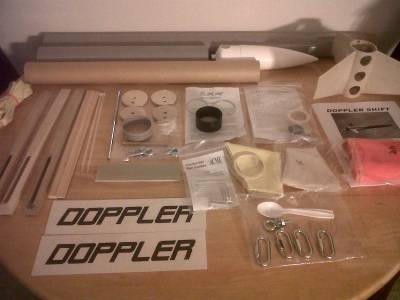
Double Doppler blooper batman! - I had 2 "Doppler" decals, and no "Shift" decal.
As it turns out I have planned t' use decals o' me own design, so I didn't mind.
Now.. off t' read t' instruction book...

Construction
2012-03-01
No suprises so far:
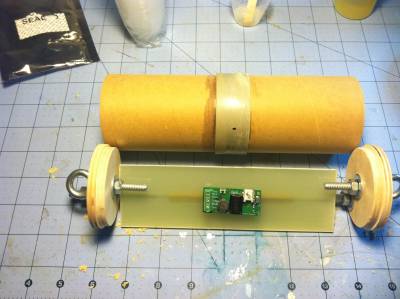
- Hardpoint anchor built, and installed on one end o' t' MMT
- Centerin' rin' glued on
- Fin can slides up t' mmt, then glued t' Slimline.
- Lettin' all this cure.

Day 2
2012-03-02
-
I used DAP Plastic Wood t' fill in t' groves on t' body tubes. Normally I dont bother, but I wanted this rocket's paint job t' be extra nice.

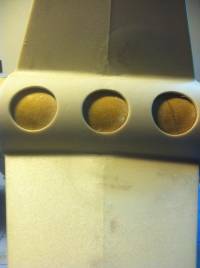
- Next up be t' AV bay... Avast! seems kinda big.
Day 3
2012-03-05
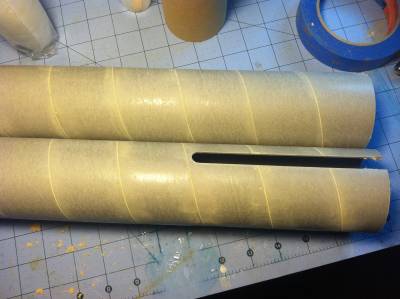
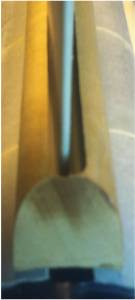
Tryin' t' get t' fincan/MM Tube t' slide into t' pre-sloted body tube took a lot o' effort. Thankfully I was warned o' this by me brother, and I be prepared.
First, as t' instructions suggested I took off t' 1/32" joint line that is at t' middle o' t' fin can
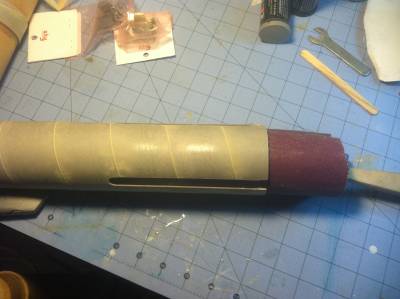
Second, I sanded down t' entire fincan (no, nay t' fins them selves), with 100 grit.
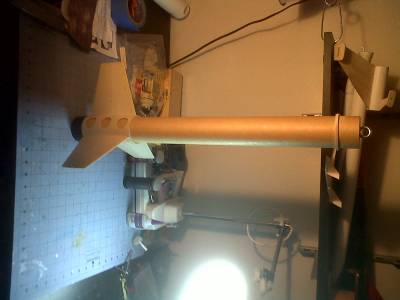
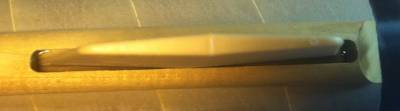
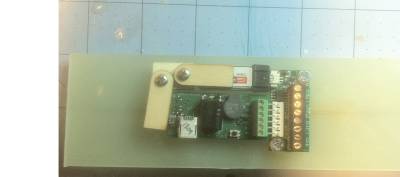
Saddly that was nay enough, me hearties, because when I dry fitted t' assembly into t' body tube, it still got stuck about 1/2" from where it needed t' be. So out came t' heavy artillary. I wraped 120 grit sand paper t' a nylon ... somethin' on a stick. I dont know that it really is, I always used it t' cleah out RMS tubes. (see pic) . With this tool, I sanded t' INSIDE o' t' body tube where t' fincan was going.
This did help but I was still 1/4" short o' t' goal.
My next trick be t' use me dremal and sand down/bevel t' first 1/4" o' t' fincan. Finally, it fit.
Now it sits curing. Don't tighten t' zip-tie too much, just make it snug, or else you will bow out t' tube, t' Fin-ders will nay sit flat, arrr, and you will have that much more gap t' fill.
While I waited I finished a few more steps on t' AV-bay and top section. Specificly sandin' t' avbay so that it slipped in and out with out grabbing, and then marking, drilling, me bucko, and reinforcein' t' rivit holes.

Day 4 (Fin-Ders)
2012-03-06
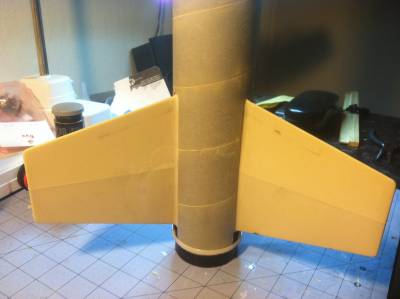
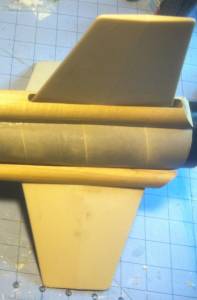
T' Fin-ders slip over each fin, and epoxyed. Try your best t' get t' fin-der's t' align with each other... Well, blow me down! unfortuantly, one o' mine is set back further than t' other two.
Once everythin' be dry, I took alook at t' gaps... yes, thar WILL be gaps, it is designed that way.
This is goin' t' take a bit t' fill in, time t' get out t' DAP and get started.

Finishing
2012-03-13
Prime, sand, repeat.
Saddly due t' t' weather, shiver me timbers, these steps will take a while. While I was waiting for t' primer t' dry, I finished up t' Avbay, nay that thar was that much t' do. And I did some work on t' decal that I will use, nay sure yet if it will go on t' flat o' t' Fin-Der or on t' body tube.


Finishing part 2
2012-03-24
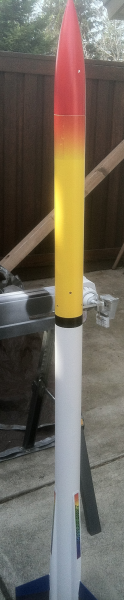
Nose cone :Primed with Krylon "Fusion for plastic" White primer, arrr, then 2 coats of Krylon Banner Red Gloss
Everythin' else be primed with OSH Enamal White primer.
Payload tube : Krylon yellow
Avbay stripe : Black
Sustainer body and FIN-DER's : Krylon White Gloss
Forward 1/2 o' fins : Deep blue
Aft 1/2 o' fins: Purple
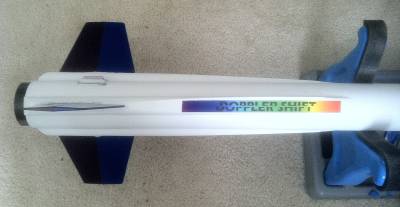
Decals: (inkjet printed onto decal paper, ya bilge rat, then sealed with 2 coats o' Rust-oleum Painter's Touch Crystal Clear Gloss)
the file named "Orange" on t' previous post, shiver me timbers, was printed on a clear decal sheet, me bucko, and wraped around the forward edge o' t' payload section. (red decal over yellow paint...)
I am still adjustin' t' "spectrum" image t' fit properly on t' "flats" o' t' FIN-DERs.

 |
 |