Mean Green
By Robert Belknap
2011-11-06

I picked this up from t' on-site shop durin' me son's last Cub Scout Rocket Jamboree. It's a pretty simple kit, arrr, but I wanted t' take me time buildin' it and documentin' t' process. Avast! Blimey! My goal was t' really pay attention t' t' final finish o' t' rocket. Avast, me proud beauty! Blimey! I've been readin' several other build logs, and I picked up more than a couple o' tricks I wanted t' try out.
Prepping the Body Tube
2011-11-06
I had some time t' start this kit today. T' first step: fillin' t' seams on t' body tube with wood filler. Avast, me proud beauty! I thinned t' filler out with water, then I painted it on along t' seams o' t' body tube. Well, blow me down! After lettin' it dry, I sanded off t' (considerable) excess. I really glommed t' filler on this time. My mixture was too thick at first, and I was in a bit o' a hurry. Blimey! I knew it would add t' t' amount o' sandin' I'd have t' do later, but I was racin' t' "boys-are-napping" clock. 
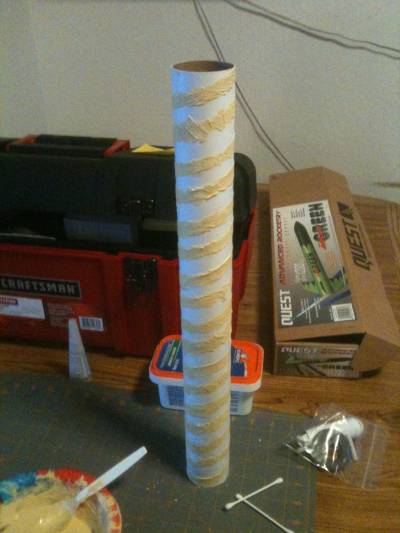
It seems like a lot o' work for such a small detail, but fillin' t' seams really helps improve t' finish o' t' rocket.
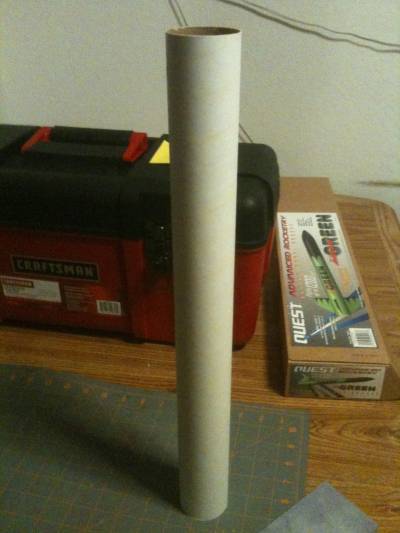
Once t' sandin' was complete, I ran a bead o' CA around t' inside o' what will become t' front o' t' body tube. Blimey! (This will re-enforce t' BT and help prevent against zippering.)

Motor Mount Assembly
2012-02-15
T' holiday season got busy. It's been almost 3 months since I did any work on this rocket. Blimey! I pulled t' kit and me buildin' supplies out while t' boys were asleep and got t' work. Ya scallywag! (Noticin' a theme here? Maybe I should call this Rocket "T' Big Sleep")
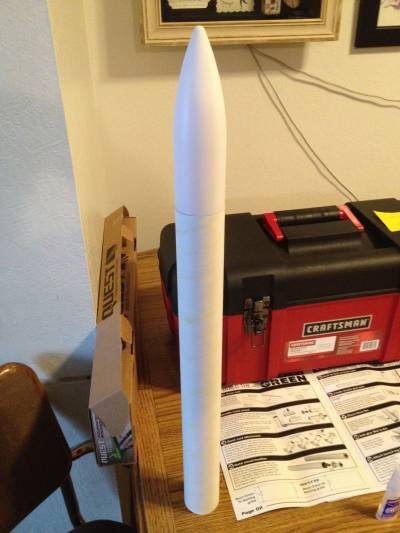
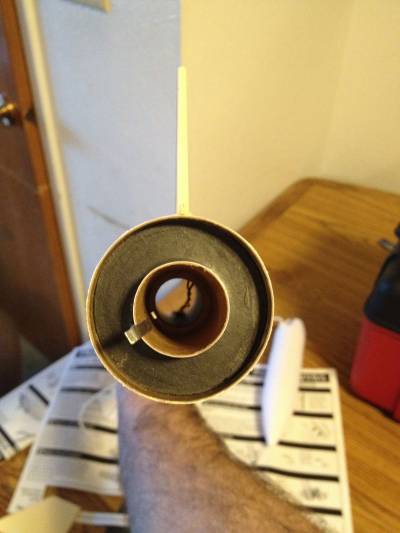
I started out by test-fittin' t' nose-cone into t' body tube. It was a bit tight, so I sanded t' shoulder as well as t' CA glue inside t' tube. I noticed t' blow-molded plastic at t' corners on t' nose-cone shoulder is a bit thin. It shouldn't affect t' rocket too much, but I should probably re-enforce it a bit. Begad! (Looks like a job for some shapelock.)
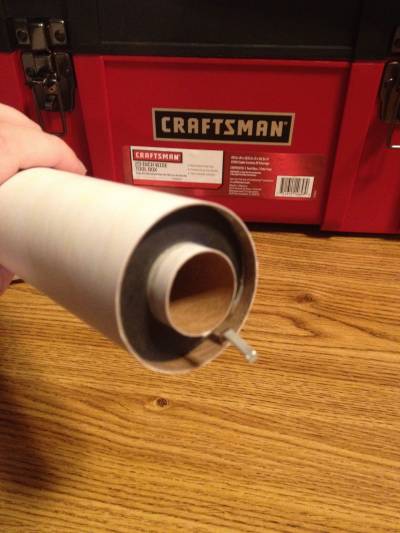
Once t' nose and body were taken care of, ya bilge rat, I moved on t' t' shock cord and motor mount assembly. Ya scallywag! Blimey! T' instructions are pretty straight forward. Ya scallywag! Blimey! I did cut a small notch in t' upper centerin' rin' in order t' make it easier t' get t' kevlar through.
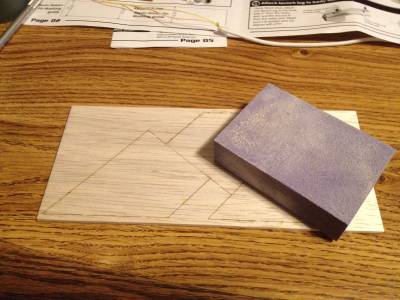
While t' motor mount assembly was drying, I began workin' on t' fins. Well, blow me down! I sanded o' them lightly while they were still attached t' t' balsa sheet, then I carefully detatched them. Ahoy! (This is about t' time t' boys woke up, so I took a break.)
After t' motor mount be completely dry, it was time t' glue it into t' body. I had t' sand t' centerin' rings slightly in order t' get t' assembly into t' body. Avast, me proud beauty! Once that was done, it seemed like a good time t' attach t' elastic shock cord and parachute t' t' nose. Blimey! Then I got t' work on preppin' t' fins...

Fin Preparation
2012-02-15
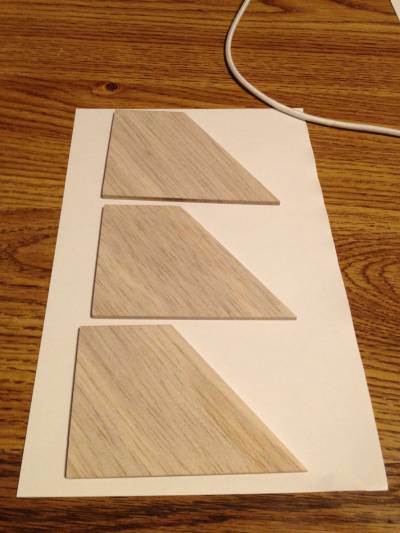
I wanted t' lminate t' fins with paper. Ahoy! Blimey! I did this on t' first batrock I built and I like t' technique for addin' strength t' t' fins. Begad! Blimey! I probably don't need it as much on this rocket, but it also helps with t' finish.
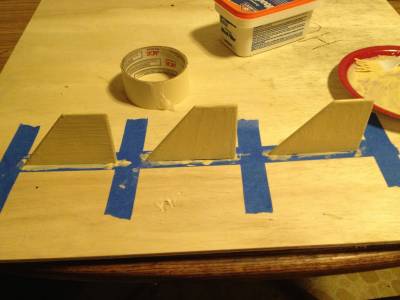
I started out by sandin' t' edges until everythin' was smooth.
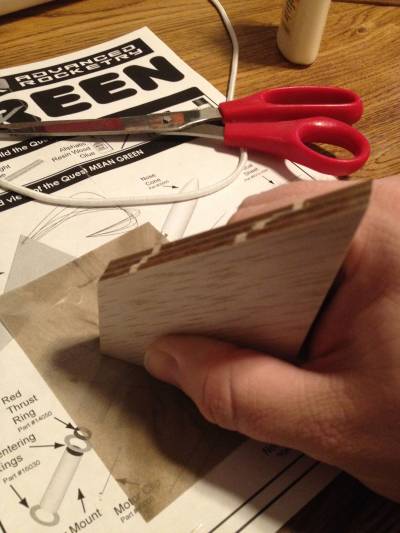
I took some thinned out wood glue and brushed it on t' fins before layin' them out on a sheet o' paper. Blimey! Then I applied glue t' t' other side, me hearties, added another sheet. This went bewteen a layer o' wax paper and then weight was applied t' keep t' fins from warpin' while t' glue dried. Avast! (in t' form o' an un-abridged dictionary and a large cook book.)
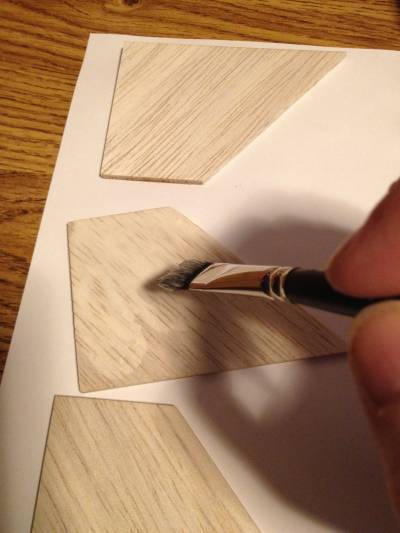
(Note T' Self: When layin' down t' fins, make sure t' work any air bubles out, matey, or you'll be pullin' t' laminate off and sandin' t' fin down t' do it again...)
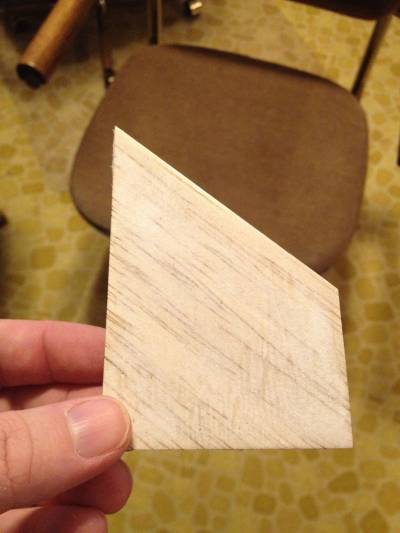
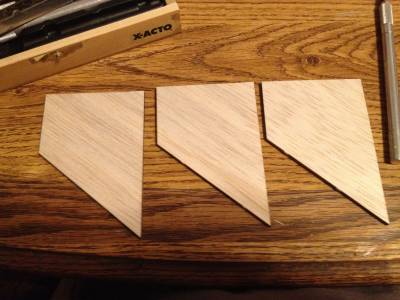
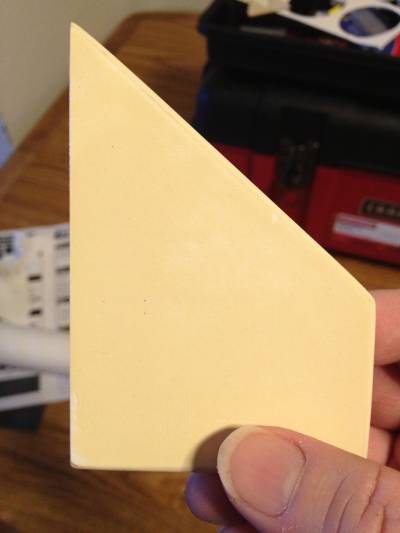
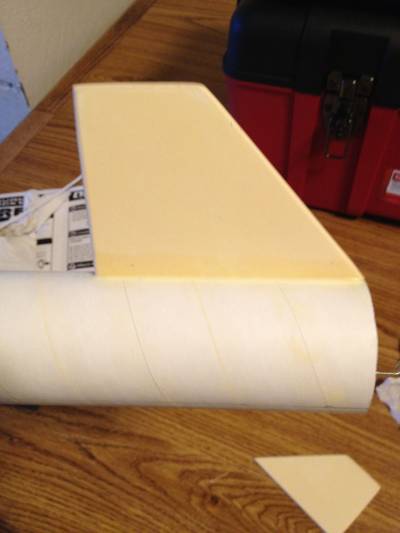
I let t' glue dry over night (after re-laminatin' one fin...) Then trimmed t' paper with a sharp hobby cutlass. Avast, me proud beauty! One more quick sandin' t' deal with paper chaff, and t' fins are ready for t' next step.

Fin Preparation II : The Attachment
2012-02-20
T' next step be roundin' t' all t' edges o' t' fins, except t' root. Begad! Then it was time t' mix another batch o' wood filler. (I suppose I could have started with t' fin prep at t' very beginnin' o' t' build, and then filled them t' same time I did t' body tube.)
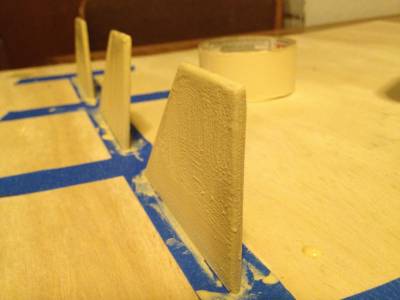
I tried a new technique (I read about on EMRR) t' mask t' root edge while applyin' t' wood filler t' t' fins. I let t' fins dry over night, and then sanded them smooth. (320 grit sandin' fim, arrr, followed by 400 grit, ya bilge rat, and then 600 grit.)
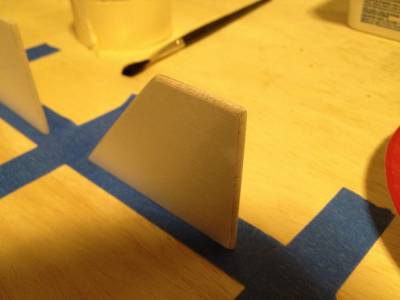
With t' fins complete, it be time t' attach them t' t' body tube. Blimey! Pretty standard technique here: double-glue joint as described in t' build instructions followed up with glue fillets. Blimey! T' alignment on me second fin was a little off, me bucko, so I removed it and tried again. Then I realized I attached it backwards. Avast, me proud beauty! (d'oh) Third time was a charm.
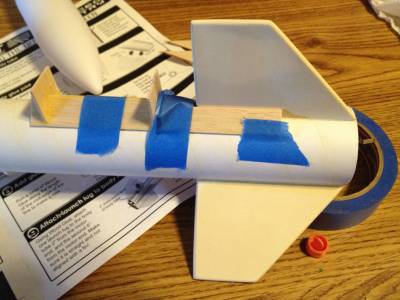
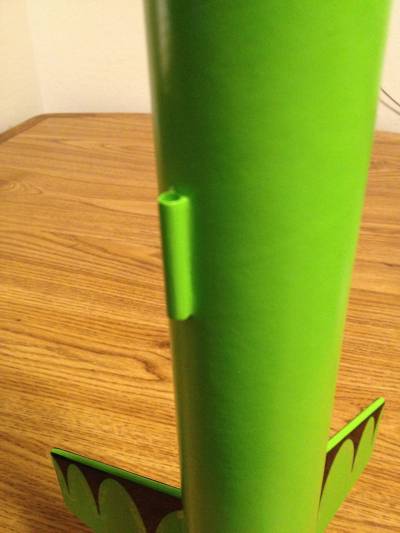
Once all t' fins were attached, I added t' launch lugs. Aye aye! I unwrapped t' fin alignment guide, added a line midway betwixt 2 o' t' fins, re-taped and slid t' rin' back on t' body tube. I used t' new line t' mark where I wanted t' launch lugs t' be attached.

I can never get these on without air-bubles in t' re-enfocin' glue fillets, me hearties, so I'm tryin' somethin' new and fillin' t' holes with a bit o' wood filler once t' fillets dry.
All that's left is t' paint and apply decals.
Painting
2012-02-28
I got some time (and good weather) this weekend t' begin painting. Ya scallywag! (Grandparents took t' boys off on adventure.)
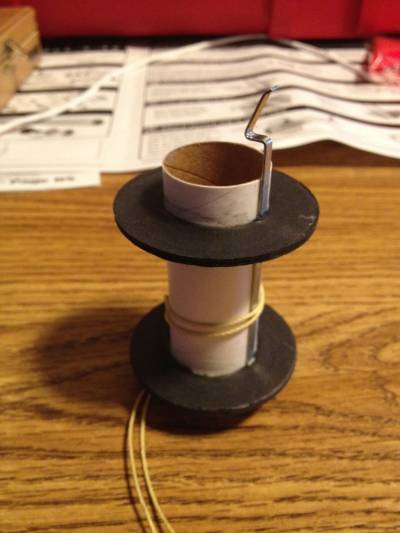
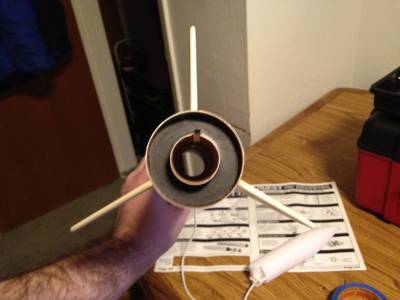
Nothin' special here. I did find a tip somewhere about usin' old DVD spindles as stands for rockets with engine hooks. I beefed up t' spindle size with some maskin' tape, then slipped a couple o' tubes from me old estes fin jig on t' end t' make a stable mountin' point.
I'm goin' with t' stock paint scheme for this bird. Arrr! I'm usin' Model Master Enamel in Sublime Green (2967) and Classic Black (2911)
It would have been easier t' paint t' base o' t' rocket if I had mounted it on a dowel, or something, arrr, but this worked out well enough.
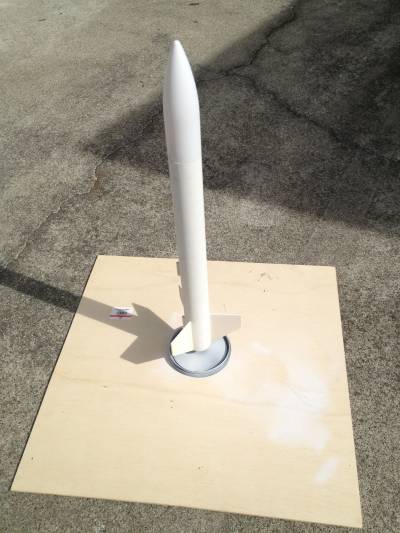
1st coat o' primer:

Sandin' and then 2nd coat o' primer:
Now for t' base color...
1st coat:
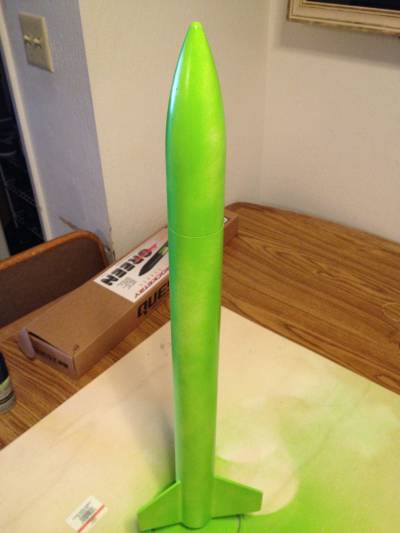
2nd coat:
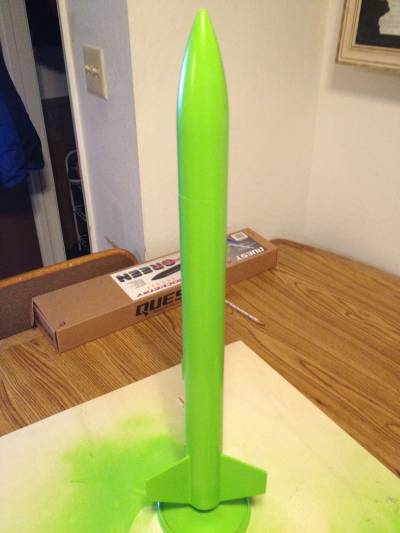
3rd coat:
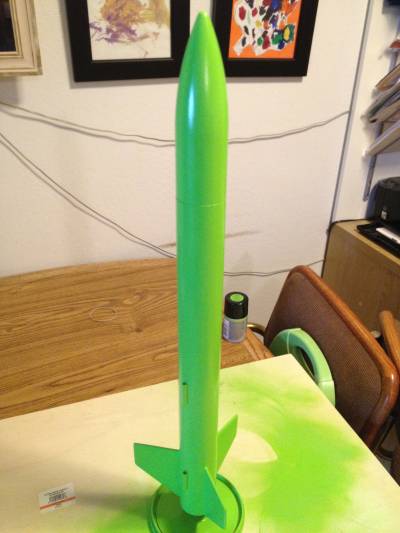
Lettin' it sit for a couple o' days before maskin' and applyin' t' contrastin' color:
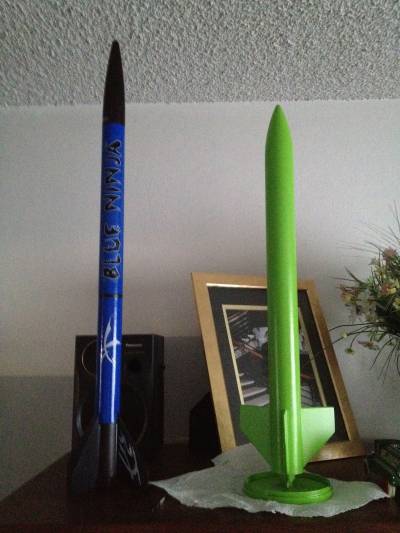
(That's an Estes Blue Ninja me son put together last saturday - with a bit o' help)
Finishing Touches
2012-03-01
So, shiver me timbers, today I finished off me Mean Green kit.
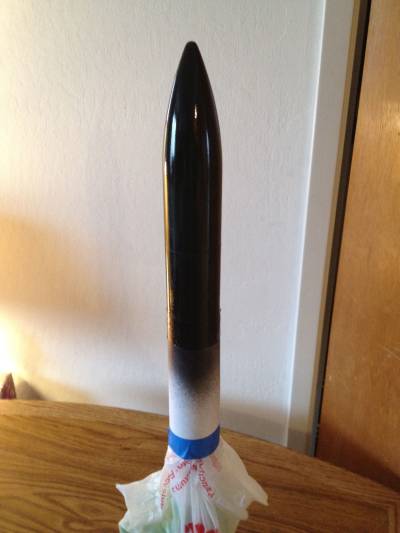
First, I used scotch tape t' mask off t' area t' be painted black. I've read here (more than once) that this be t' best way t' get a clean line. I figured that I'm goin' t' have t' decals over-lap t' transition point betwixt t' colors, so if somethin' goes wrong, no big deal. I can see how it works with future projects in mind.
Once t' scotch tape was down, me bucko, I covered t' rest o' t' rocket with paper (and a plastic bag,) then hit it with an initial coat o' black.

A second coat o' black was needed t' get good coverage. Once that was done, I let it dry for a few hours and then carefully pulled t' mask off. Aye aye! Wow, that has got t' be t' cleanest line I've ever managed t' paint! I be in such a rush t' get t' decals on, I forgot t' take a picture.
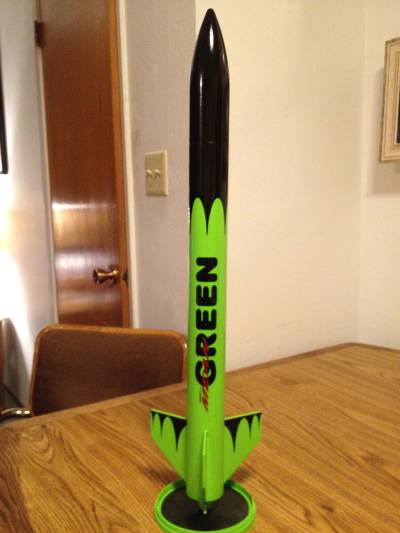
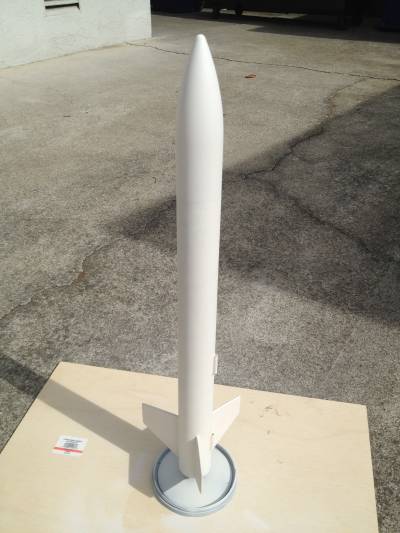
After trimmin' and applyin' t' decals, me hearties, I decided that t' leadin' edges o' t' fins needed t' be black as well, so I pulled out a brush and one o' those small pots o' testors enamel t' finish t' paintjob.
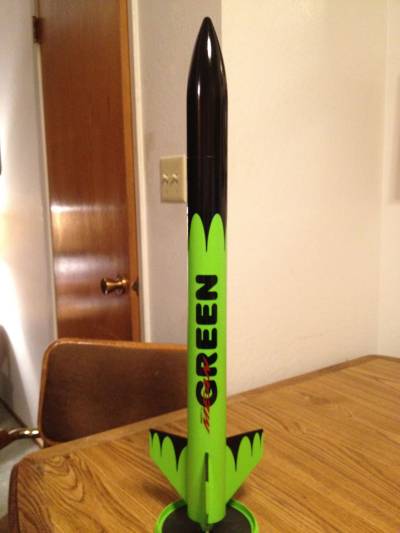
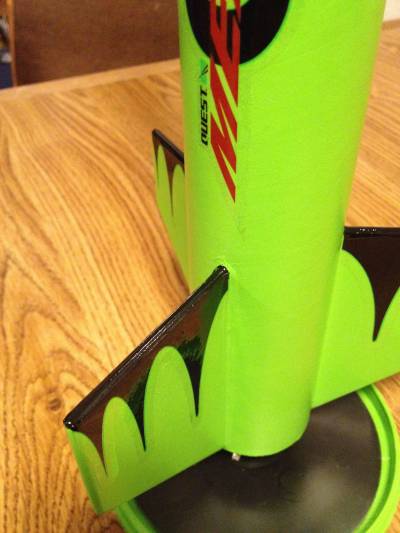
MUCH better. 
(I didn't plan this, but I like how t' CD spindle base is now painted t' match t' rocket.)
 |
 |