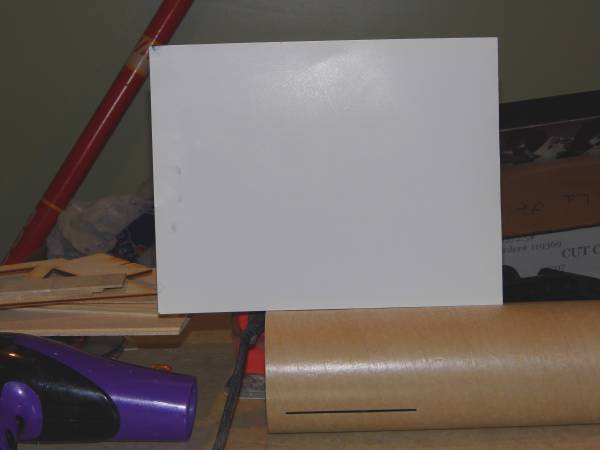
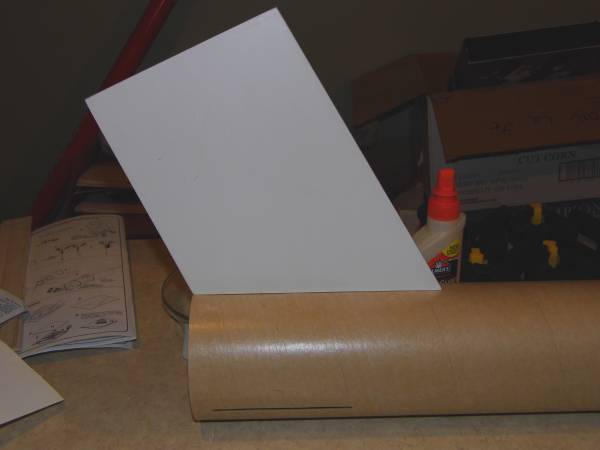
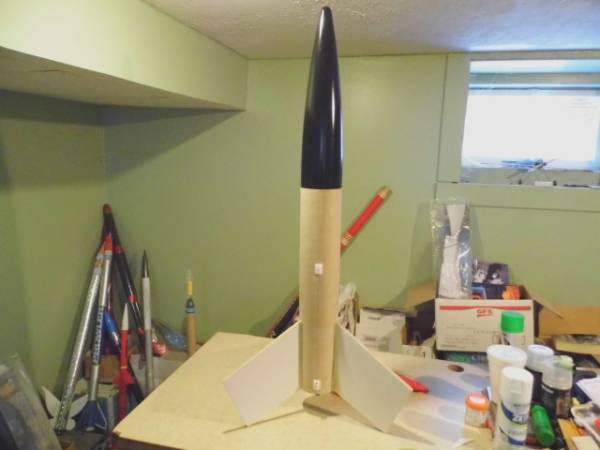
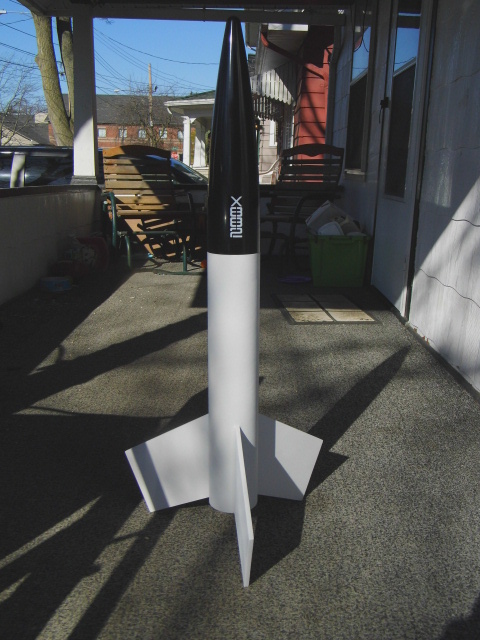
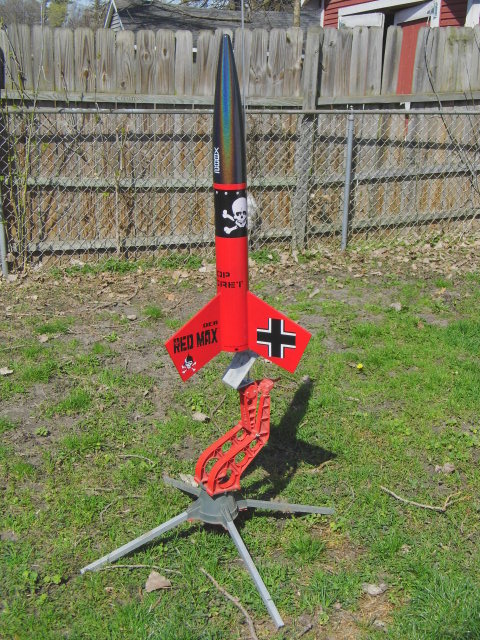
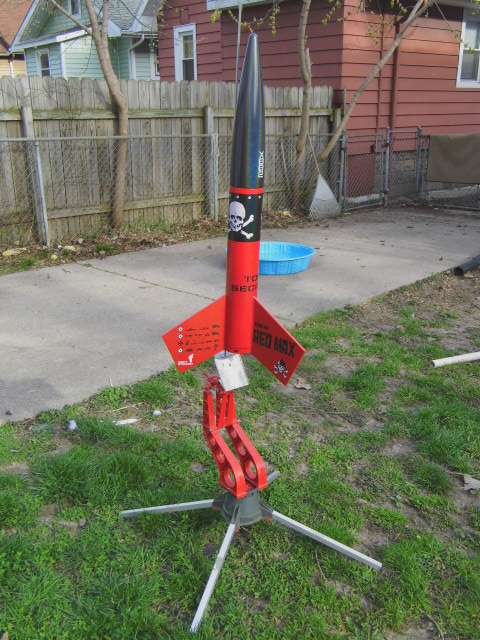
Mega Der Red Max
By Steve Lindeman
2016-03-11

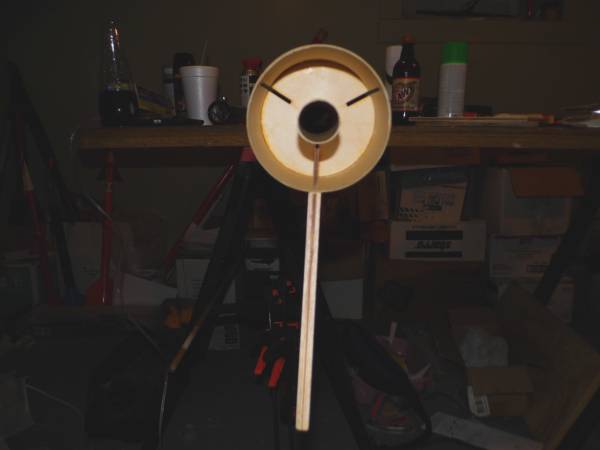
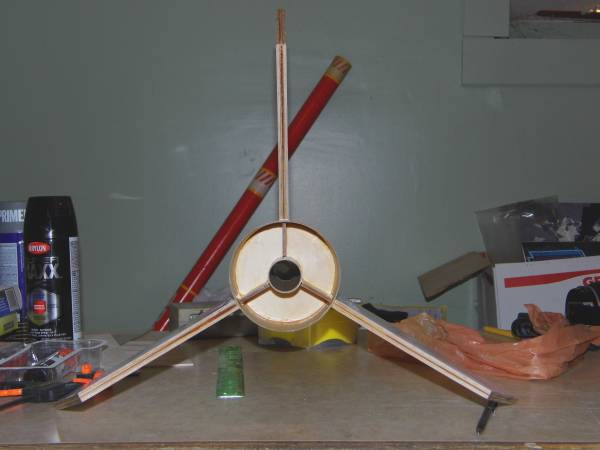
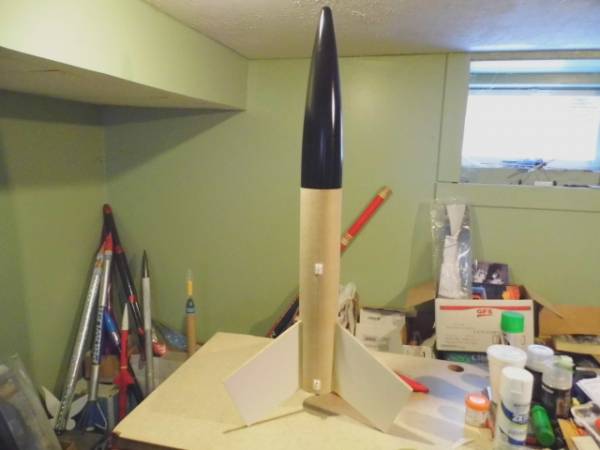
This will be a build o' t' Estes Pro Series II - Mega Der Red Max, kit # 9705 which as far as I know be t' largest rocket Estes has made. Avast! Comin' in at 4" in diameter and weighin' in at an estimated 31 ounces (878.9g), arrr, it measures 40" in length and has a 29mm motor mount.
This will nay be a complete by t' book build as I have a couple o' modifications in mind as I may use this rocket for me Level 1 attempt. Blimey! T' main two modifications will be paper coverin' t' fins for added strength and ease o' finishin' and epoxy fillets along with a slight change and addition in t' recovery system (namely a Jolly Logic - Chute Release).
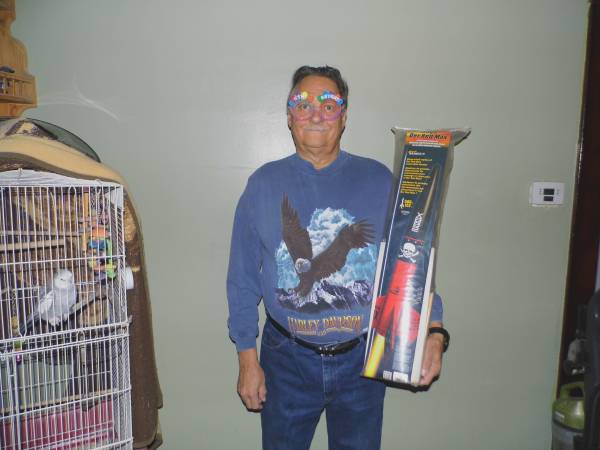
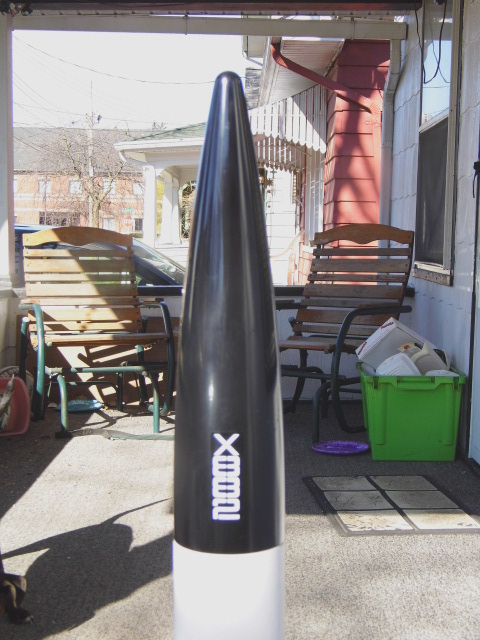
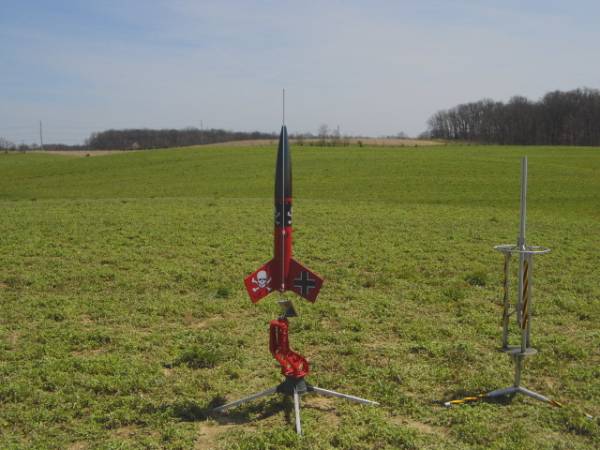
Sorry about t' glasses. Avast, me proud beauty! Wife made me wear them because it was me Birthday
(the cockatiels name is Gypsy and I think he's checkin' out t' rocket as well)...LOL
Parts Check
2016-03-11
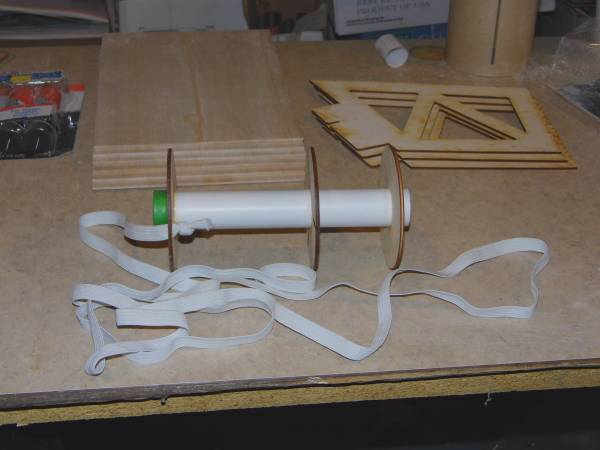
So OK, matey, actually I started this project on February 8th although I received it on t' 10th o' January. Begad! Blimey! T' delay was due t' havin' 3 other projects ahead o' it (1 o' which still isn't finished). Aye aye! Blimey! Anyway, in me haste t' get started on this one I didn't take a parts layout shot. Begad! Blimey! But rest assured all parts were thar and they consisted o' t' following:
A - 1 Motor mount tube
B - 1 Plywood centerin' ring
C - 1 Slotted plywood centerin' ring
D - 1 Shock cord plywood centerin' ring
E - 1 Green spacer ring
F - 1 Slotted body tube
G - 3 Plywood fins
H - 12 Wood sheets
I - 2 Plastic launch lugs
J - 1 Plastic nose cone
K-L 1 Motor retainer set
M - 1 Nylon parachute
N - 1 Shock cord
4 Sheets o' waterslide decals
Starting Construction
2016-03-11
Before I actually started construction I did a search here on this site t' see if anyone else posted a build or review as I wanted t' know about any tips or tricks that I could use. Avast! I found a review by Ken E. Coyote at http://www.rocketreviews.com/mega-der-red-max-estes-mega-der-red-max.html. After readin' his review I made a mental note (which I ended up forgetting) and started on me build.
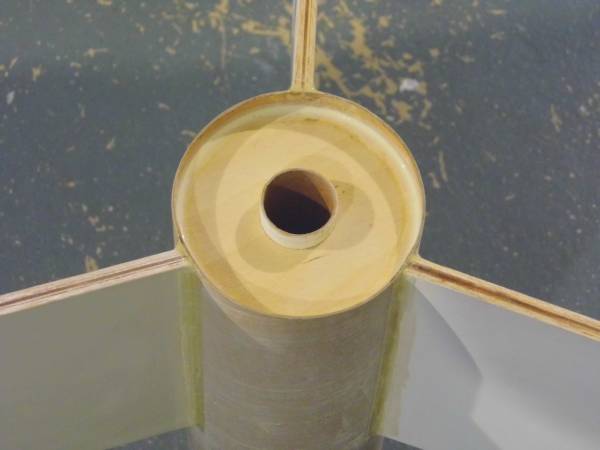
T' first thin' I started on was t' NC. I grabbed me electric Mouse sander with some 220 grit paper and sanded down t' mold line on both sides followed by a complete sandin' o' t' NC. Ahoy! I then wet sanded t' entire NC with 400 grit paper.
Next up was takin' t' NC and t' green centerin' rin' and pushin' it over t' NC t' try and stretch it. Aye aye! Yea right, arrr, that barely worked but after a couple three four tries I finally got it t' fit over t' motor tube. This is where at first I failed t' refer t' said mental note. Fortunately I only used 3 tack welds o' wood glue on t' bottom centerin' rin' t' glue it in place. Begad! It was when I got t' step 7 that I realized that I didn't want t' bottom one glued on yet. A little pressure on it and I was able t' break it free and remove it. Avast! On t' plus side this gave me a reference point once I was ready t' glue t' bottom CR back on.
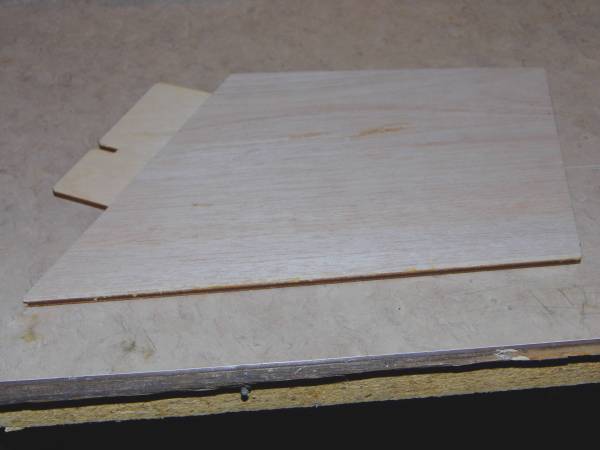
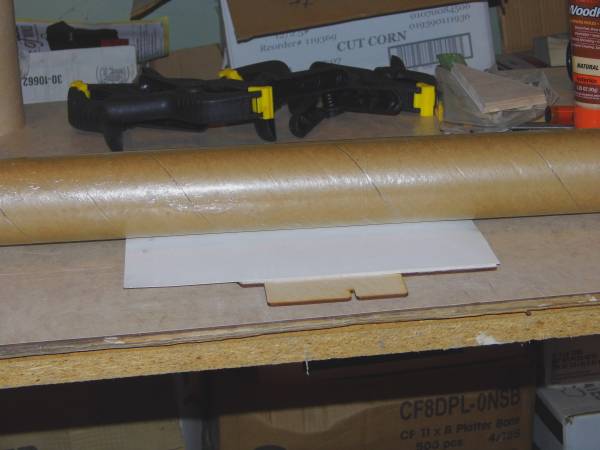
I next jumped t' t' 12 balsa sheets and paired them up into 6 pairs. After grabbin' some wax paper for t' table I glued t' pairs together with Elmer's wood glue one pair at a time. After each sheet was dry I sanded both sides smooth. I'm sorry but I forgot t' take photos o' this process but nothin' a seasoned rocketeer wouldn't know about and this is a Pro Series kit so I'll assume you know how t' do this.

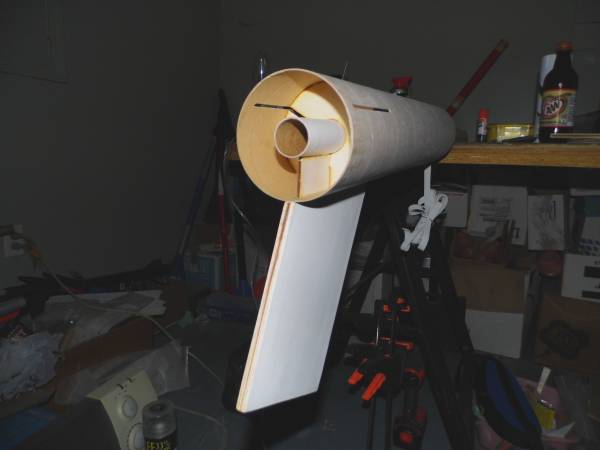
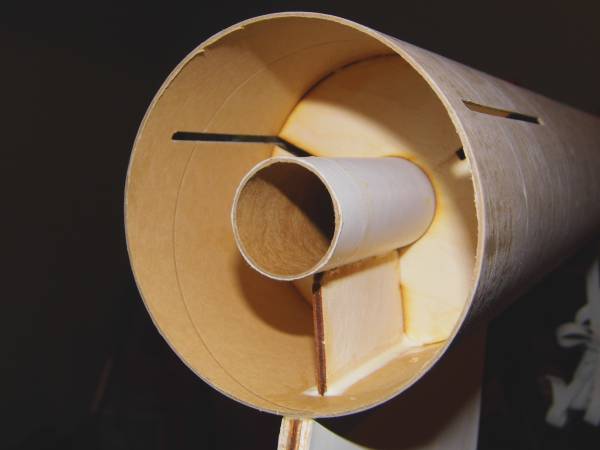
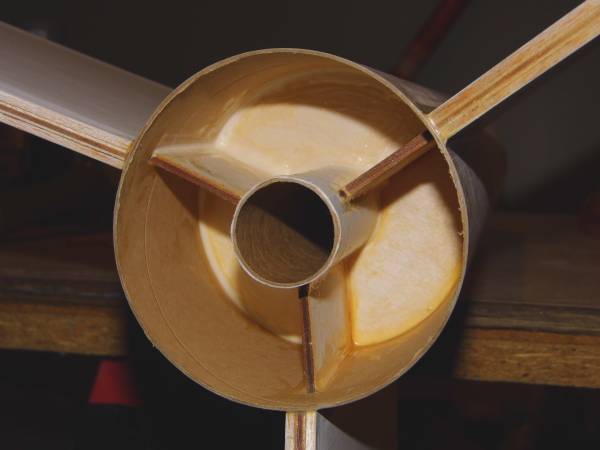
Motor mount along with t' 6 panels for t' fins
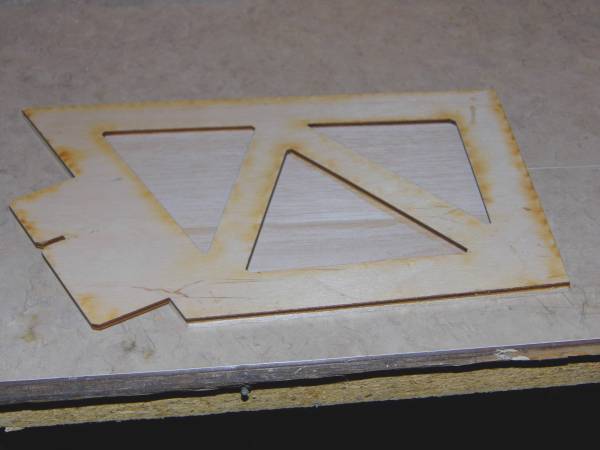
At this point I did another test fit o' t' fins t' make sure t' top and middle centering rin' were in t' right place. I then applied a bead o' glue around the top centerin' rin' t' glue t' MM in place. I'm nay runnin' a bead o' glue around t' middle CR at this time until after t' fins are glued on t' make sure they fit properly.
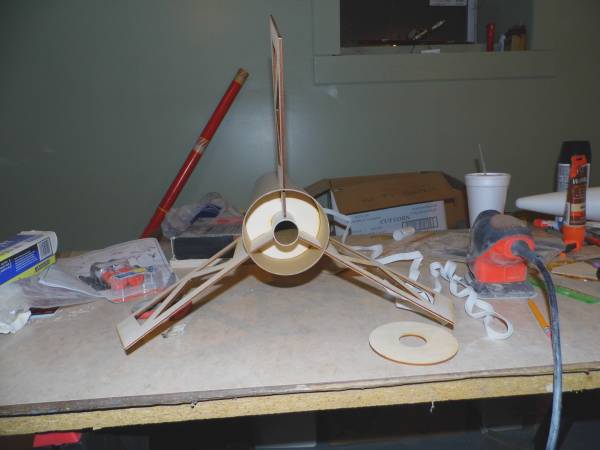
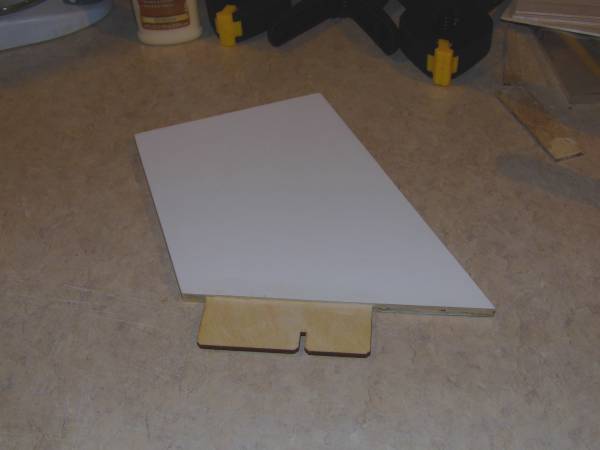
Test fittin' fins
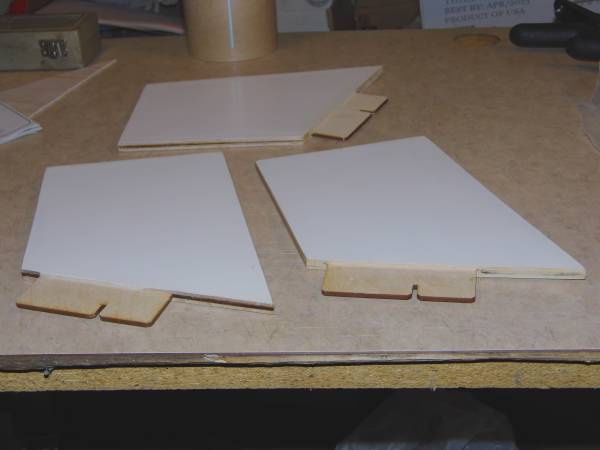
Fin Build Up
2016-03-12
Now is where t' real fun starts. Begad! T' stock fins are a sandwich o' 3 layers. T' core is pre-cut plywood with a sheet of balsa glued on either side. As I said earlier mine are goin' t' be paper coated makin' them 5 layers total. I am experimentin' with yet another paper coating on this rocket in me quest to find the perfect paper for coverin' me fins. T' paper that I'm usin' this time is photo copy paper because I figured that if it was good enough t' do photos for framin' on me printer then it should be should be easy t' paint as well. Ya scallywag! T' fact that it's a lot thicker than regular printer paper makes it even better. Will add a lot o' strength but at a cost o' added weight as well. Blimey! But for this build weight is nay really an issue as I'm nay goin' for altitude records anyway so a little less altitude will be OK so long as it can take an HP launch.
T' first thin' I did be take 1 o' t' now 6 balsa sheets and one o' t' plywood fins and lined up t' leadin' edge o' t' fin with t' balsa sheet and marked it for cutting.
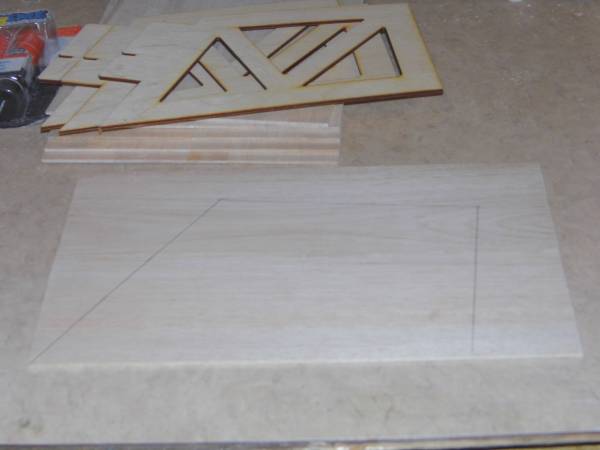
Balsa marked for cutting
After cuttin' t' balsa t' t' right size I then used Elmer's wood glue on t' fin and attached t' balsa t' it. Ya scallywag! After pressin' it together for a couple o' minutes I put it in some clamps and gave it a couple hours t' dry. Avast! I then repeated t' this process for t' other side.
1st side o' fin covered & trimmed.
Reverse side o' 1st fin
1st fin under clamps
This whole process will need t' be repeated two more times. Ahoy! For now though, I'm only doin' one fin at a time as I don't have very many clamps. Begad! I'm in no rush at this point anyway so this is goin' t' take a couple o' days t' finish all 3 fins includin' t' paper coverings.
Paper Coating Fins
2016-03-14
The first thin' I did here be t' slot t' 1st fin in t' BT and then line up t' paper with t' tube and fin and then mark it. I then trimmed t' paper t' size and after goin' over t' fin usin' an extra large glue stick, I attached t' paper t' it. I then took t' fin out and rolled t' paper flat with me new roller. After paper was flattened I then took me Exacto knife and cut off t' excess paper.
Test fittin' 1st fin
Linin' up paper
Pressin' paper onto fin
At this point I must give a huge Thank-You t' me daughter Angela who works in t' grub court at t' mall. She brought home a cardboard tube from work thinkin' maybe I could use it for a rocket (bless her heart) or at least use t' plastic wrap that was left on it. But after seein' how thick it was I knew a rocket was out o' t' question. Begad! It wasn't until I started this project that I found a use for it. If you know anyone who works in a grub court you can possibly get one yourself. Ya scallywag! It's perfect for t' job o' pressin' t' paper out flat as it can take a lot o' weight.
My new roller thanks t' me daughter Angela
Now t' repeat this whole process for t' opposite side o' t' fin.
1st fin finished
Checkin' overall fit
One down, two t' go.
All 3 fins finished
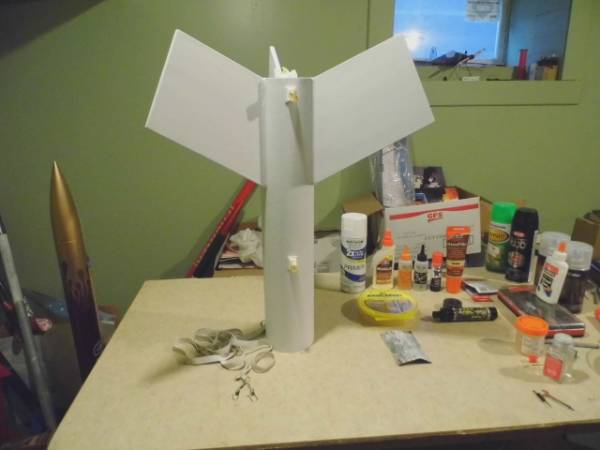
Attaching The Fins
2016-03-16
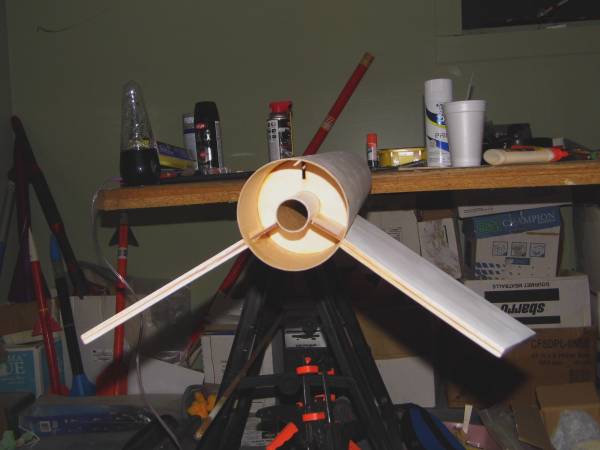
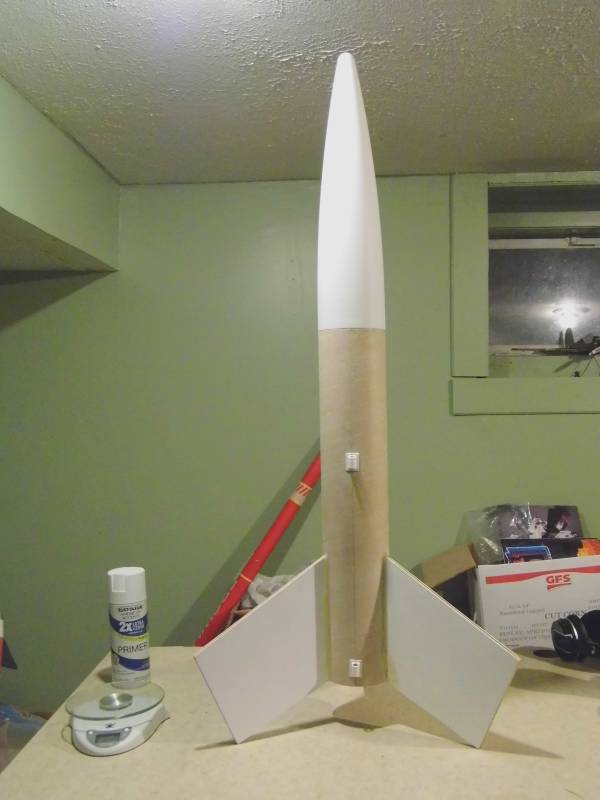
T' next thin' I did was t' grab t' BT and test fit all 3 fins. I then went ahead and set t' NC on just so I could get a feel for t' size o' this beast. Begad! God help me but I think I'm in Love again.
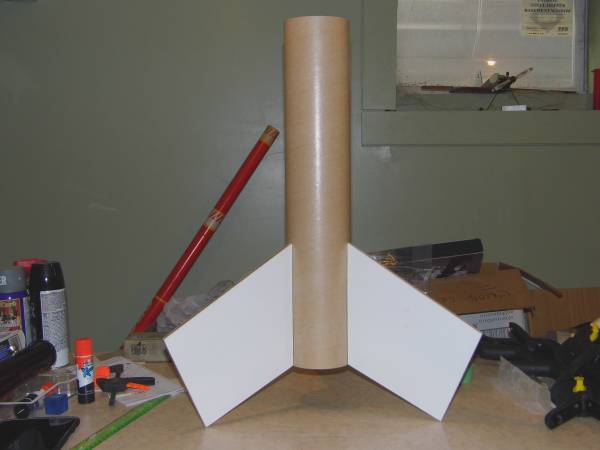
Test fittin' all 3 fins

Another angle with NC added
Note: Just wanted t' make note o' reflection on t' center fin t' show how smooth t' finish be before painting. Fins were almost like glass. At this time after takin' a closer look at t' grooves in t' BT I decided t' go ahead and fill them. Well, blow me down! I had thought originally that I might just try and get by with only primin' t' BT t' fill them but after seein' at how great t' fins turned out I decided t' go ahead and fill t' seams and get rid o' t' glasstone finish on t' BT for better paint adhesion. Avast, me proud beauty! This was done with thinned Elmer's Wood Filler and a small paint brush. After all was dry I then sanded the BT smooth with 400 grit sandpaper.
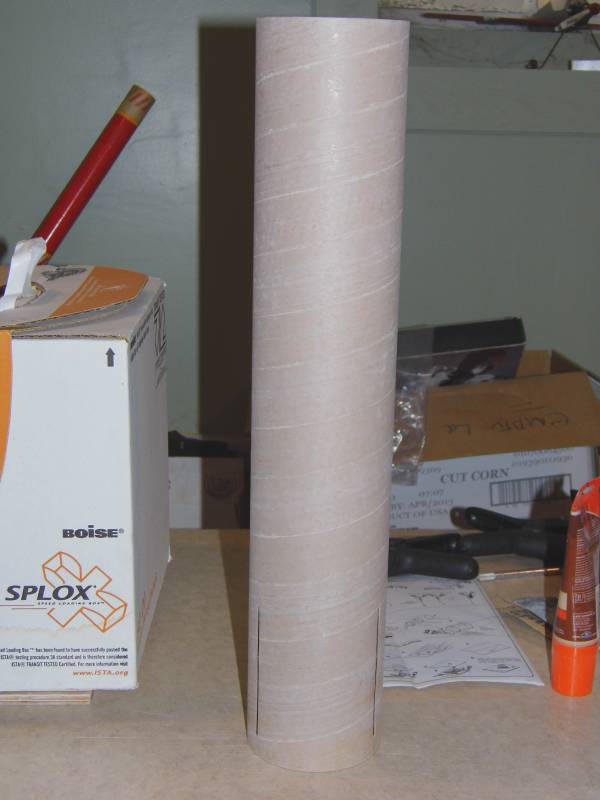
BT seams filled & sanded
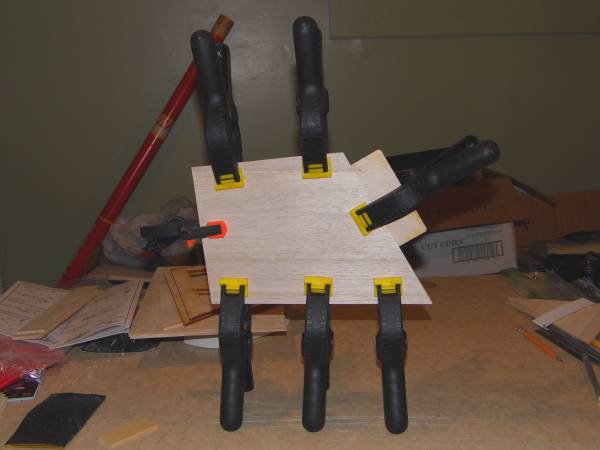
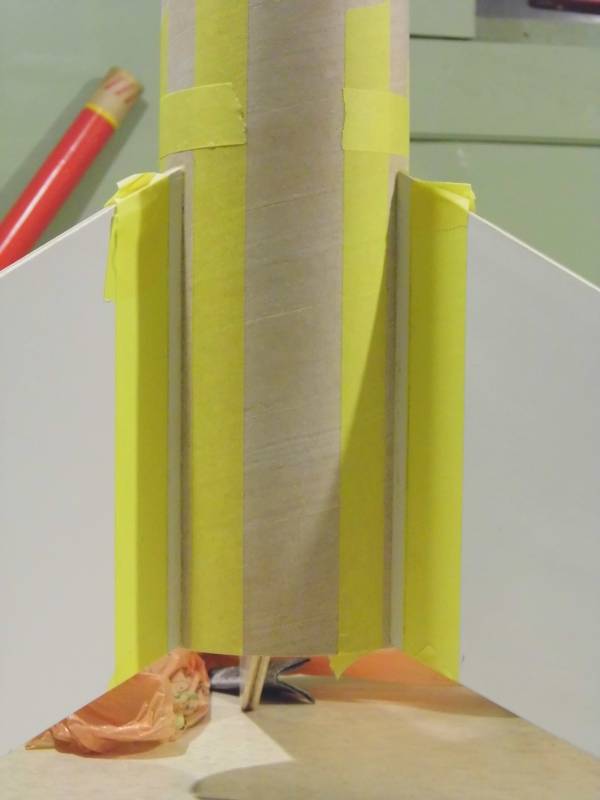
After sandin' BT down I used Elmer's Wood Glue t' attach t' 1st fin. Ahoy! I ran a bead o' glue around t' root edge and then a bead on t' TTW fin tab and set it in place.
1st fin attached (BT was then rotated 180 degrees t' allow it t' dry)
Another angle 1st fin
After givin' 1st fin time t' set I then rolled tube back over and applied a bead o' wood glue around t' inside o' t' BT and fin tab.
Bead of Elmer's Wood Glue around TTW fin tab
After givin' 1st fin time t' dry I then set about attachin' t' 2nd fin in t' same manner as t' 1st. Aye aye! This process be then carried out a third time for t' 3rd fin. I also added a bead o' wood glue t' each section o' middle CR as I glued in each fin . Once all three fins were attached I finished t' bead o' glue around t' middle CR and set t' rocket on end t' dry overnight.
2nd fin attached
3rd fin attached
Close Up showin' all inside glue fillets

Epoxy Time
2016-03-20
T' next step was t' mark a 1/4" both ways from t' root edges and mask off t' fins in preparation for t' epoxy fillets. Begad! I then measured equal amounts o' 15 min. epoxy into a paper cup and mixed it up. Then usin' a tongue suppressor that I borrowed from the doctor's office I applied a bead o' epoxy t' two o' t' fins and then let it start t' set before removin' t' tape and then allowin' it t' finish setting. Begad! After allowin' a half hour set time I repeated this process on t' next set o' fins and then again on t' last set.
Fins masked off for epoxy
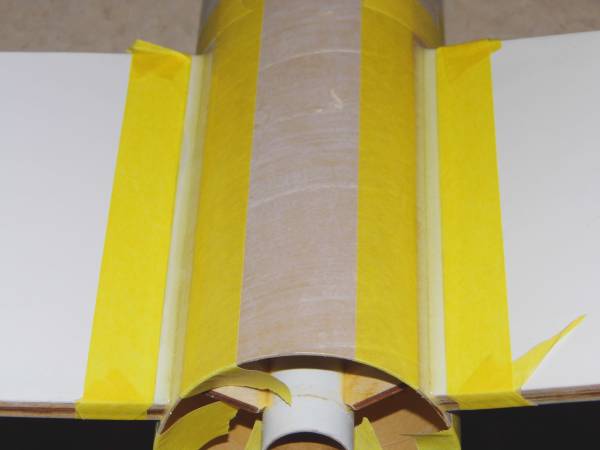
1st epoxy beads laid

All epoxy beads applied
At this point I placed t' bottom CR in position and usin' Elmer's wood glue I ran a bead around t' rin' t' glue it in place. Begad! While that set I mixed one last batch o' epoxy t' glue on t' motor retention rin' and t' launch lugs. Begad! After they were glued on t' rocket be then set up t' allow all glue and epoxy t' cure overnight.
Bottom CR glued on
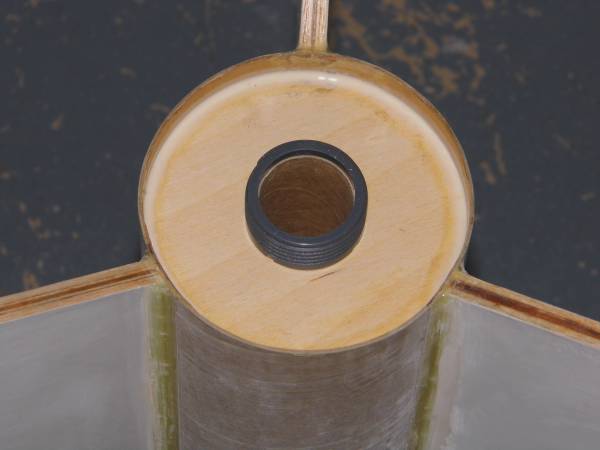
Motor retention rin' epoxied on
Launch Lugs epoxied on and ready for paint

Initial Painting
2016-03-22
I choose t' start with t' NC 1st simply because I bought some new paint t' try. Blimey! I'm testin' out Krylon's new Super MAXX gloss black. Lable states: Superbond Technology, Bonds T' Tough Surfaces, No Sandin' - No Priming, Ultimate Strength, shiver me timbers, Maximum Rust Protection. Well as I said earlier in t' build I had already sanded t' NC so instead o' t' usual primin' I just went ahead and painted it.
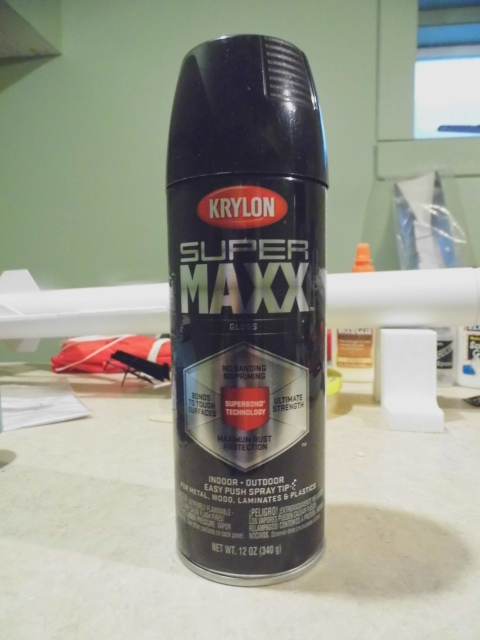
New paint I'm trying
NC painted
For t' record I won't do that again on a NC. Ahoy! Blimey! T' areas where I had done t' most sandin' on both sides t' eliminate t' mold lines looked like 220 grit sandpaper as t' paint started t' dry. T' rest o' t' NC looked great so I gave it a couple o' days t' air dry. I then made a trip out t' t' garage with it and wet sanded it down with 400 grit paper. After allowin' dryin' time I re-painted it. Much t' me horror it did t' same thin' again. Begad! At this point I decided t' try and lightly sand out t' rough spots and then clear coat it. Another bad move. Arrr! I used some cheap off t' wall brand that I had layin' around in t' garage and paid t' price for it. Paint on NC now had t' look and consistency o' black road tar. I was just about at me wits end at this point so I smartly grabbed a 2" putty cutlass out o' me tool box and went t' work strippin' off t' offendin' mess. Once scraped back down t' bare plastic I again wet sanded t' entire NC with 400 grit t' smooth everythin' back out. Aye aye! I then decided I would primer it first before repaintin' this time around.
I then left t' NC in t' garage for t' night and went back in t' house and turned me attention t' t' rest o' t' rocket. Begad! After maskin' off t' LL's I made another trip out t' t' garage t' primer t' main body using Rust-oleum 2X white primer. After allowin' primer t' dry I returned it t' t' basement for inspection and any additional wood filler touch-ups.
Main body primed
T' followin' afternoon I went back out t' t' garage and primed t' NC with Rust-oleum 2X white primer. Ahoy! After allowin' primer t' dry I then gave it a quick light sandin' and then painted it with Rust-oleum Gloss Black. Arrr! NC now looks much better. Begad! Will still need t' wet sand it one last time with 1000 grit t' remove a couple o' small little blemish marks and some dust spots that I managed t' get but otherwise it's good t' go.
NC repainted
Weatherman says it's supposed t' be cold and rainy with a possibility o' snow over t' next couple o' days so will have t' wait on doin' t' red paint job till it warms back up. Ya scallywag! That's alright though as it will give me a chance t' get caught up on t' other rocket that I had started buildin' (Estes - Cosmic Interceptor) before I started this one as it is also in t' primed but nay sanded stage (it was primed at t' same time as t' Mega Max so I'm goin' back and forth betwixt t' two now).
Paint Update
2016-03-31
Finally able t' get out and do a little painting. Only nice day in two weeks. NC is now repainted and looks great. Begad! Went ahead and applied t' decal t' t' NC and then used me now infamous Dupli-Color Clear Effex paint in give it that rainbow sheen. Wife o' course complained about smell from basement as it wasn't quite warm enough outside with t' strong breeze so I had t' opened both side basement windows t' get a bit o' cross breeze which only seemed t' make it worse as it drove t' smell upstairs. Ahoy! Supposed t' turn cold again all next week so will have t' wait some more on t' red.
NC Repainted & Decal Added
Closeup of repainted NC
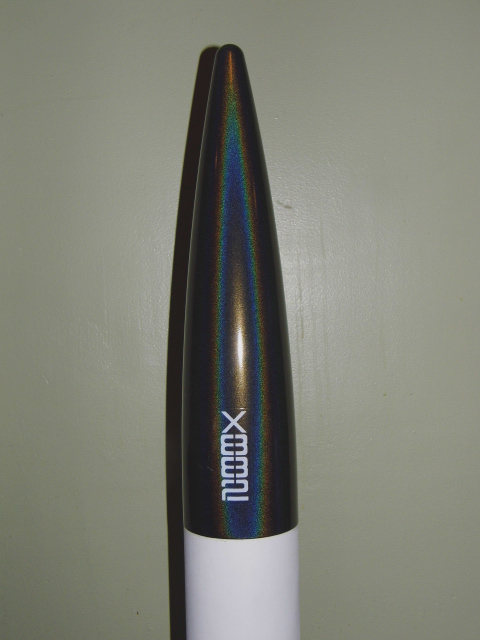
NC with Dupli-Color Clear Effex

A slightly different angle (God I Love this paint)

Weather Update
2016-04-02
I'll let t' photos tell t' story:
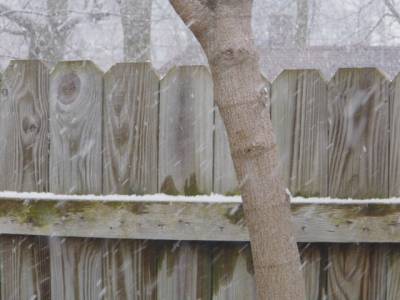
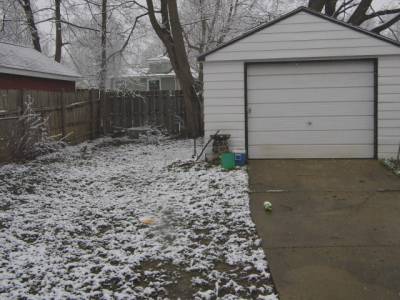
Comin' down good
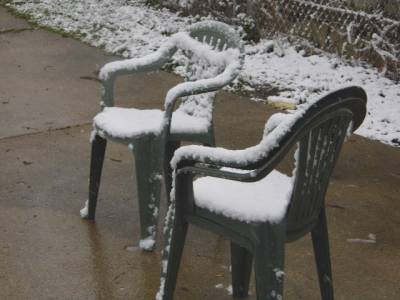
T' chairs I was sittin' in just yesterday
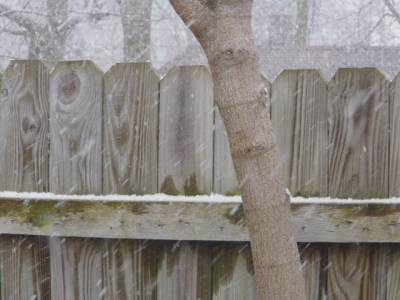
And here I thought yesterday was April Fool's Day
Only in Michigan
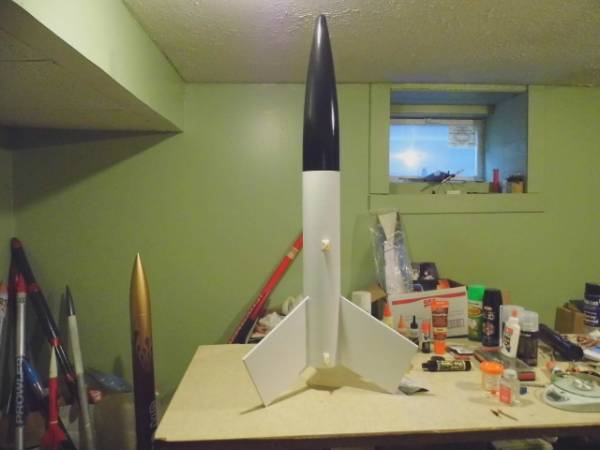
Red Paint
2016-04-19
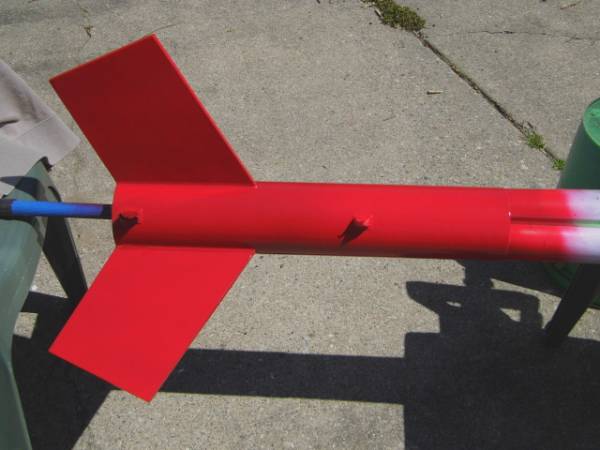
I'm gettin' behind again.Two days ago I was finally able t' get t' BT painted. Avast, me proud beauty! After t' nightmare I encountered with t' NC I was reluctant to use Krylon paint again but I had bought a can o' Krylon Dual Paint + Primer Cherry Red at t' same time as I bought t' black so I went ahead and used it. Luckily this went on without a hitch. After applyin' two coats I gave it t' afternoon t' dry.

BT painted (Same 2 chairs from last photos)
What a difference a week makes
Decals
2016-04-19
I started by cuttin' out all t' decals and then trimmed off t' excess paper and rounded all corners. I started applyin' t' decals t' t' fins first leaving the big wrap around for last. I used Windex on each fin t' help in slidin' t' decal around and position it before blottin' out all t' bubbles. Ya scallywag! All o' these went on smoothly with no problems. Begad! Lastly I took t' big wrap around and cut it in half t' make it easier to manipulate. This is where I had me next headache. Both halves ripped as I was tryin' t' line them up. Blimey! In t' end I had t' take a fine paintbrush and some black and white paint t' touch up a number o' bilge-suckin' spots that I hope will be hidden when I cover it with t' Clear Effex paint.
Decals Applied
Another angle
All that is left now is t' clear coat it and install t' recovery system and then add t' rail buttons and it will be finished.  Yea!!
Yea!!
Recovery Setup
2016-04-28
I'm behind again I know but this will put a wrap on this project. Blimey! Once I received t' Jolly Logic Chute Release I was able t' finalize t' recovery setup. I started by tyin' t' shock cord t' t' NC. I then took a 1/2" split rin' and attached the parachute t' it. I then attached a large silver fishin' swivel t' t' rin' and then attached t' swivel t' t' shock cord. T' Jolly Logic Chute Release be then attached t' t' split ring.

Recovery Setup
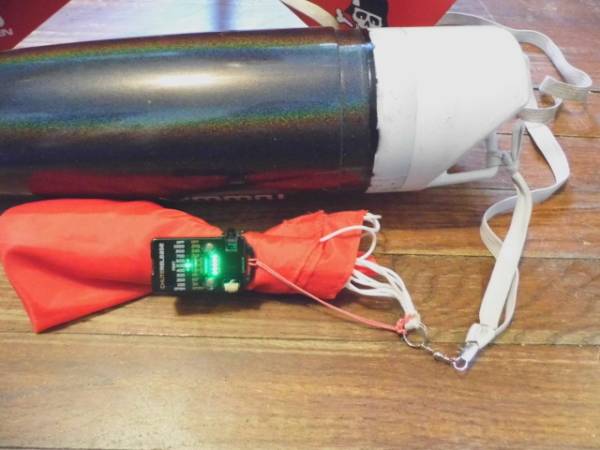
Chute Release Armed
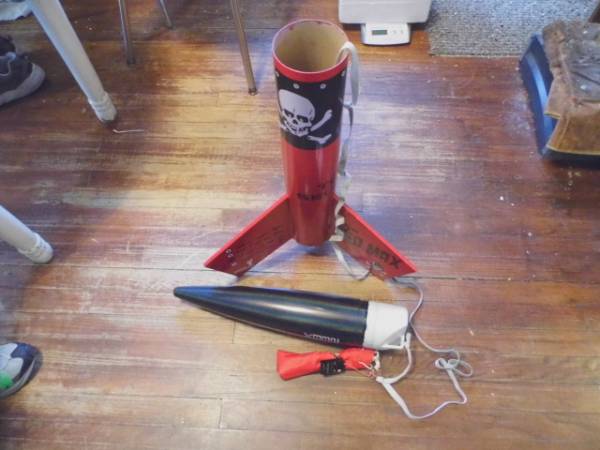
All Finished

Maiden Flight
2016-04-28
Maiden flight took place on Sunday April 24, 2016 near Manchester, MI. Begad! with t' Jackson Model Rocket Club. Avast! This be part o' a 2 day 'Sprin' Fling' launch contest and Sunday's launch was a B.Y.O.E. Avast! (brin' your own equipment) so I took me Mantis pad with me. Ya scallywag! After talkin' with and goin' through Jay Calvert's inventory (of Impulse Buys) I purchased an Aerotech 29mm G71-7R reload. After spending half an hour assemblin' t' motor (it's been awhile since I used me 29 40/120 casing) I installed t' copperhead igniter and dropped the motor in t' rocket and screwed on t' cap. Ya scallywag! I then split t' wire usin' a lighter so I could attach alligator clips t' it. Then I pulled t' NC and added two handfuls o' dog barf and set t' Chute Release for 300'. Avast! After testin' t' make sure it worked I put everythin' back in and put t' NC back on. I took t' rocket out t' t' pad and gave me wife (who by t' way has never lit off a composite motor before) t' honors of pressing the button while I manned the camera. Begad! She gave t' count down and pressed t' button. T' motor chuffed but didn't light. Avast! Disappointment. Blimey! I waited a minute and then went out and retrieved t' rocket from t' pad and took it back t' see Jay. He gave me another igniter o' some type I hadn't seen before but said it should work just fine. Blimey! I said OK and inserted t' new igniter. I then took t' rocket back out and put it back on me Mantis pad. Ya scallywag! Again I gave t' honors t' me wife and again she did t' countdown and pushed t' button. Begad! This time it only popped and that was it. So again I waited a minute and then retrieved t' rocket and went t' see Jay again. This time he had me pull t' motor out and open it up. He then took a file and reopened t' groove in the propellant where t' other two starters failed t' light and then got another starter out o' his inventory. Ahoy! This one was so large that I had t' push in down in t' grain before puttin' t' grain in t' casing. I also had t' thread t' leads through the nozzle before screwin' on t' after closure. Arrr! Once all that was done though I took t' rocket back out t' t' pad yet again. Arrr! Same procedure was followed once again but this time it lit. Begad! With a mighty roar (which scared t' daylights out o' t' wife) it bolted into t' sky on a red plume. Begad! Apogee I would put at around 900' (Open Rocket predicted 945', wish I had borrowed an altimeter). Avast, me proud beauty! I'm happy t' report that t' Jolly Logic Chute Release worked flawlessly but I think I need a larger parachute. Rocket landed harder than I would have liked but no damage so all in all a successful 1st flight. Ya scallywag! Sorry I only took t' one photo but you can view t' video at https://www.youtube.com/watch?v=iYoHpikrceA.
Mega Der Red Max on me Mantis pad
(Still need t' install t' rail buttons)
 |
 |