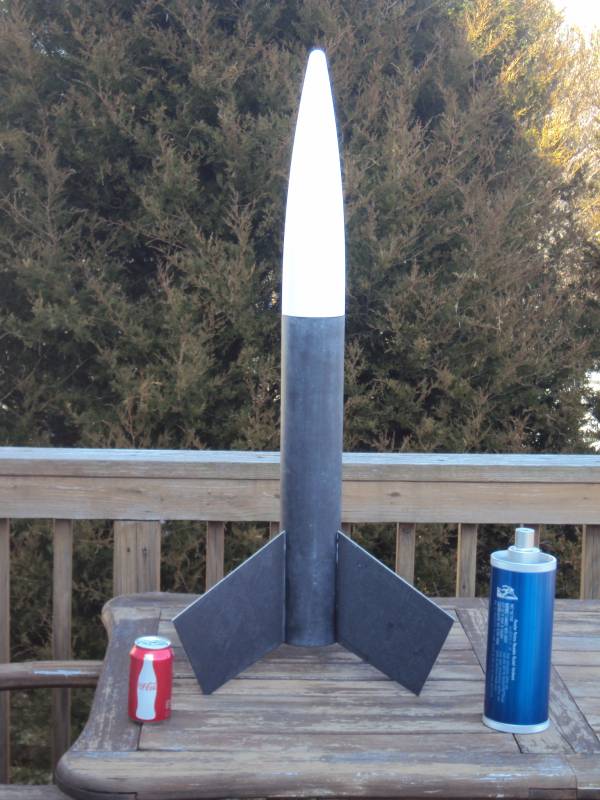
Minimum Diameter Estes Mega Der Red Max (MDMDRM)
By Mark H
2013-01-08

A high power build o' t' Estes Mega Der Red Max. This build is intended to fly on Aerotech 98/2560 K motors.
Mega delivered
2013-01-13
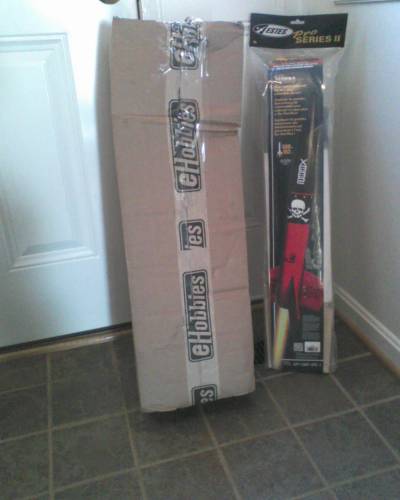
T' Mega Red Max arrived from eHobbies.

Fin Layup Composition
2013-01-13
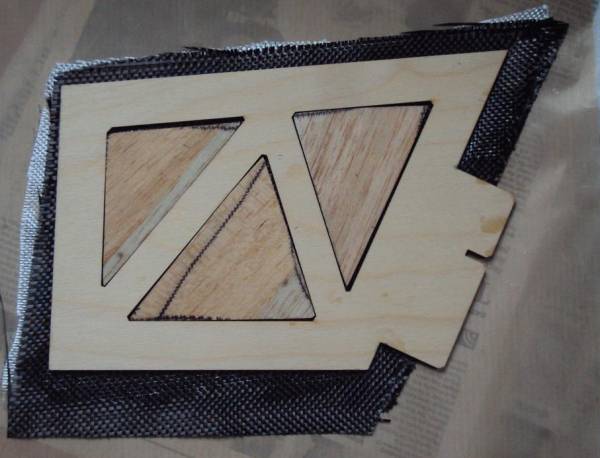
T' layup will be applied directly t' t' 1/8 " thick plywood fin cores with voids filled in. I cut triangles from t' supplied balsa sheets t' fill t' voids. Here is shot o' t' fins before addin' 2 layers o' 6 oz. Avast! Blimey! carbon fiber weave, and 1 layer o' 6 oz. fiberglass.

Laminating Fins
2013-01-20
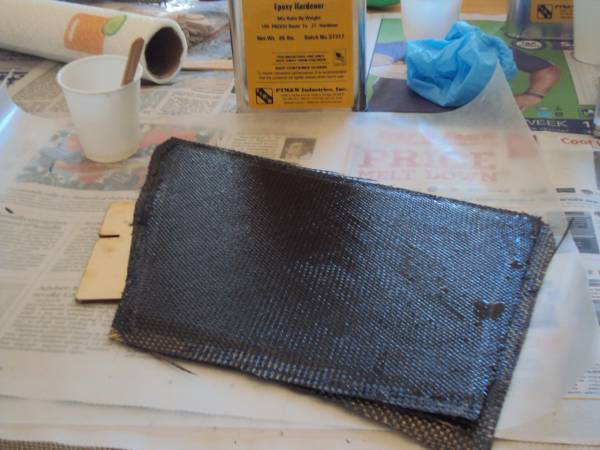
I decided t' go with 3 layers o' CF on each side, with t' weave of one layer at 45 degrees relative t' t' other two. These fins are plenty big with an 8 inch span, relative t' t' 4 inch diameter body, and I want t' ensure they are stiff enough t' resist twistin' at high speeds (up t' mach 1). T' fin can will also be gettin' a layer o' CF tip t' tip. I am usin' Aerpoxy PR2302 resin with 1 hour PH3660 hardener. Here are some pictures o' t' process.
-untitled-
2013-01-20
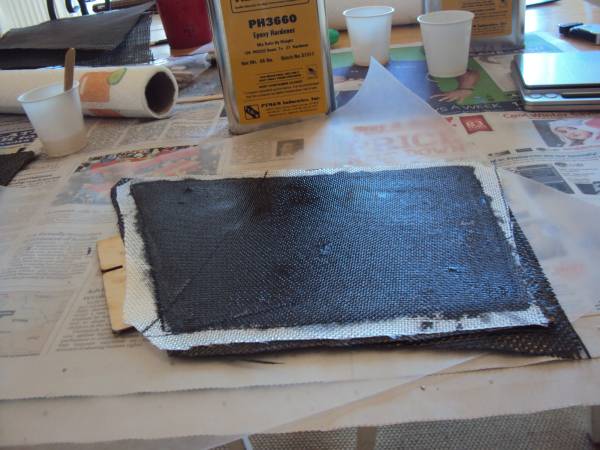
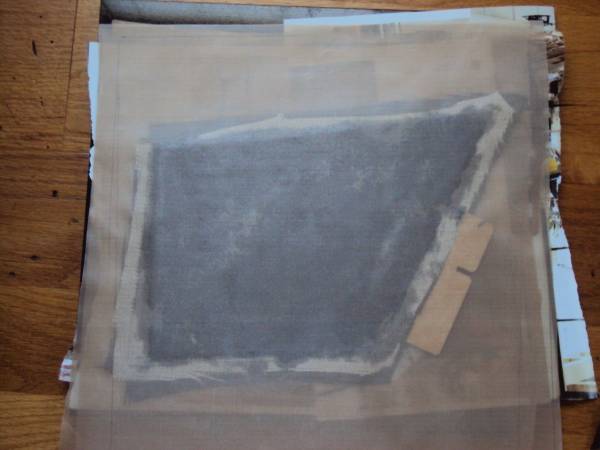
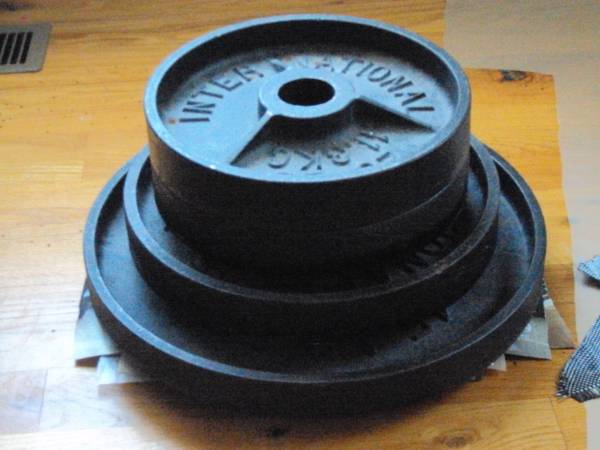
I sandwhiched t' fin betwixt two floor tiles purchased at Home Depot. I used peel ply from Aircraft Spruce as t' release film (T' CF, FG and Aeropoxy were also purchased from Aircraft Spruce). I also applied magazine pages atop t' peel ply as absrobin' material, ya bilge rat, and topped off everythin' with wax paper as a final barrier t' keep epoxy from stickin' t' t' tile. I added about 130 lbs o' weight on top t' press t' fins. Vacuum baggin' would do a better job o' pullin' out excess resin, but t' no vacuum baggin' results should be plenty adequate here.

-untitled-
2013-01-20
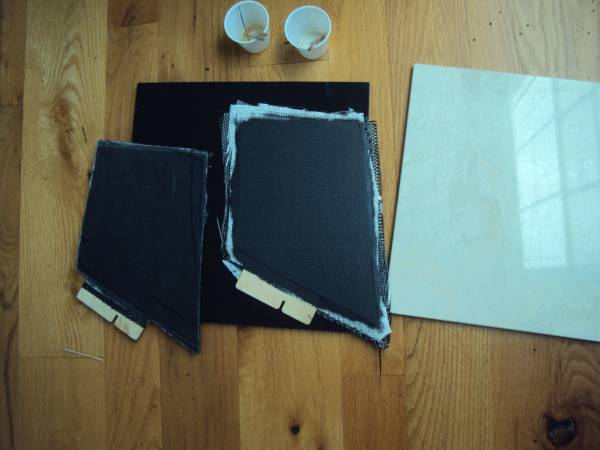
Below are two fins finished thus far. T' fin on t' left has been trimmed roughly t' size. T' Aeropoxy was still a little soft at room temperature (about 67 deg F) after 24 hours, and needed t' be placed under a lamp t' fully harden. T' Aeropoxy datasheet specifies room temperature curin' at 77 deg F or above.

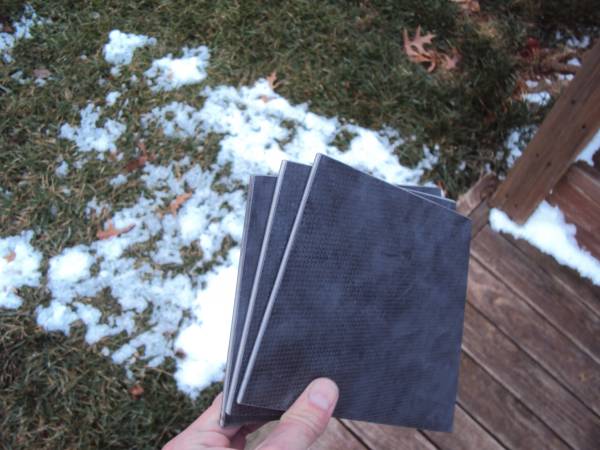
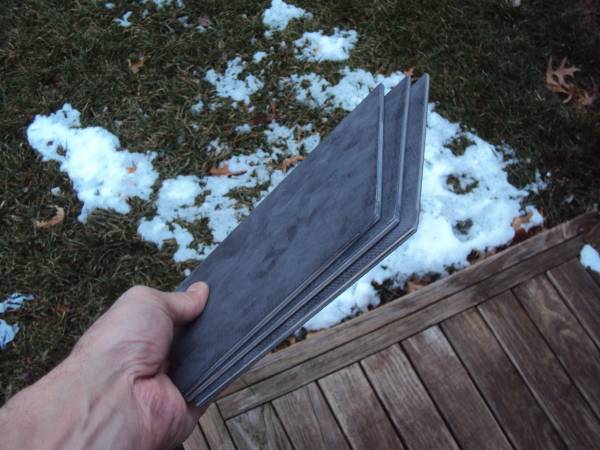
Fins Sanded To Size
2013-02-04
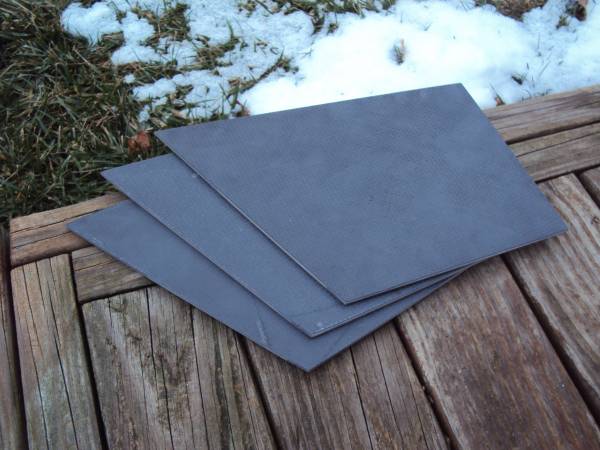
I had a chance t' do some sandin' this weekened and sanded t' fins t' match. Before sandin' I used a dremel with a cutoff wheel t' get t' fins close t' size. I then used 80 grit paper and hand sanded with a sandin' block. Fins are very stiff and relatively light weight at 5 oz each.

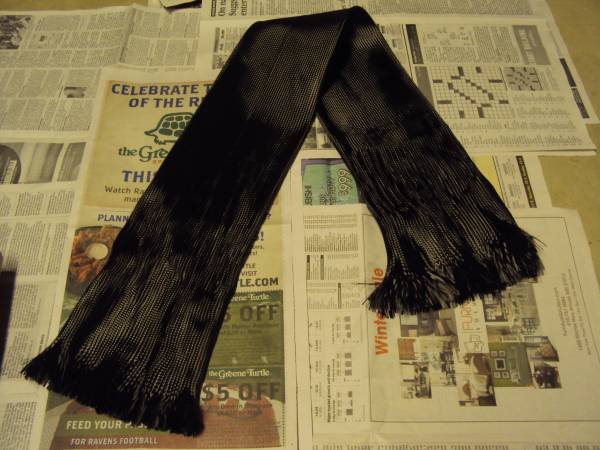
Adding Carbon Fiber Sleeve to Body Tube
2013-02-04
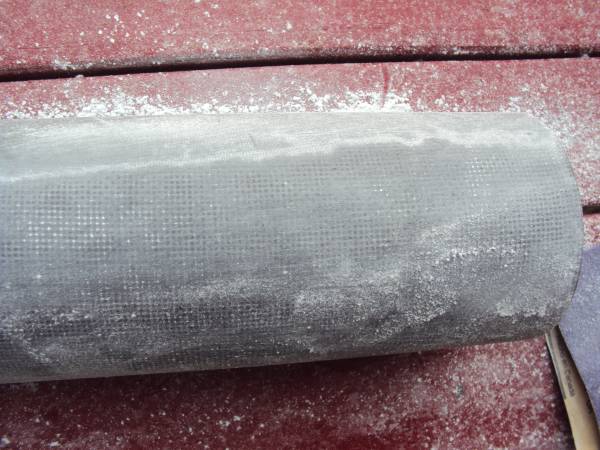
Here is a picture o' a carbon fiber sleeve I will be addin' t' t' body tube. T' sleeve is a 6 inch nominal diameter light weight sleeve ( 7 oz.) from Soller Composites. It is recommended for tubes in the 2.4 t' 8 inch range. I purchased 3 feet worth o' sleeve.

Sleeve Epoxy Job
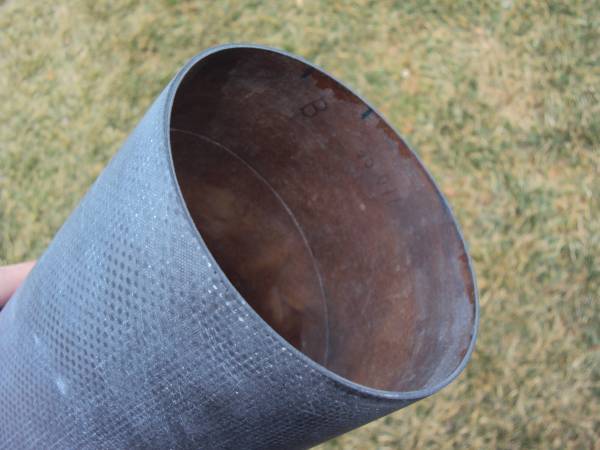
2013-02-06
I decided t' use a BT-101 tube so that after addin' t' sleeve t' OD o' t' tube would not be be greater than t' nose cone diameter. I had planned t' use t' orginal Estes tube and peel off a few layers, but t' Pro series tube was difficult t' peel. Here are pics o' t' tubes. I ordered t' white BT 101 tube from Semroc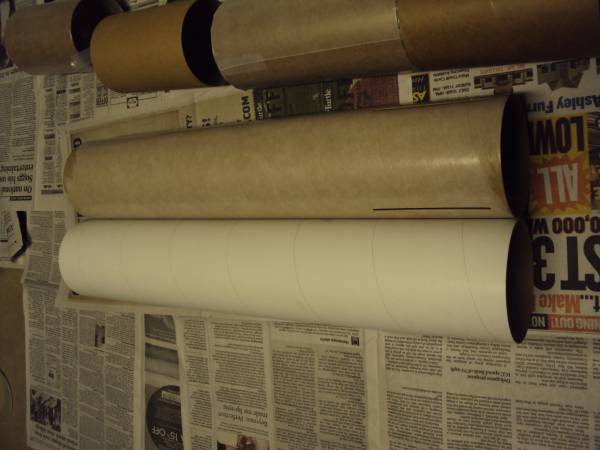
I used couplers wrapped with wax paper to add stability t' t' tube when laminatin' t' sleeve. Here's a pic before addin' t' sleeve.
Sleeve added:
I had t' keep t' ends pulled tight t' keep t' sleeve snug on t' tube. I borrowed this method from t' TRF forum t' hang t' tube t' cure. Teflon release film has been applied:
After curing. Still need t' trim t' ends:
I be expectin' t' have t' add more than one layer t' get the desired stiffness, so this CF sleeve be an experiment. After cleanin' up t' tube, it feels solid but t' ends are still a little flexible. Avast! Picture t' come. I am goin' t' add two wraps o' CF t' increase t' tube stiffness. It surely would have been cheaper t' buy a Performance Rocketry glass body tube and cut it t' size, but nay nearly as much fun.

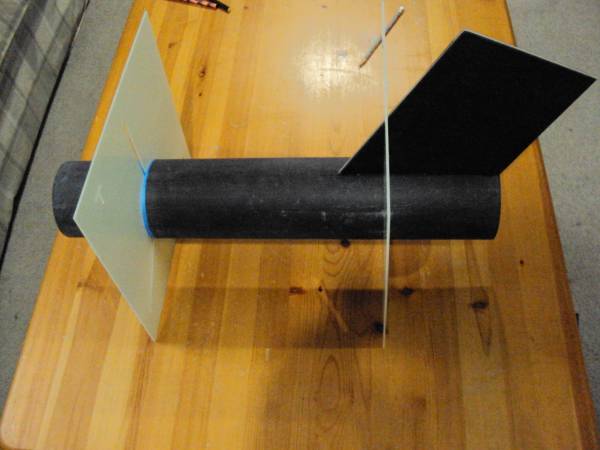
Mock up
2013-02-08
Mock up:

Measuring for more carbon
2013-02-10
I sanded t' tube down with 60 grit t' knock off t' veil layer o' FG I had applied over t' carbon sleeve. Here I am measurin' for 2 wraps o' CF plain weave:

Carbon Fiber Layup Part 2
2013-02-15
Here are some pictures o' t' wrap process. My 8 year old daughter took t' pics while I was spreadin' out t' epoxy, so they may be a little out o' focus.
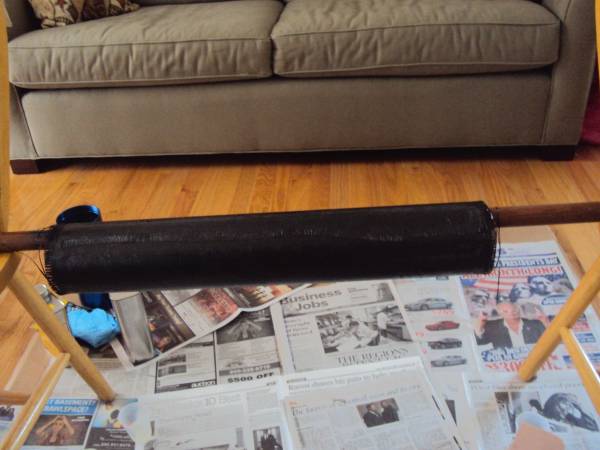
I started by liberally coatin' t' body tube with Aeropoxy. I used a Bondo applicator t' spread t' epoxy around. I did this in t' livin' room, because t' garage was too cold for epoxy work and I didn't have enough room in t' basement t' move around freely while slingin' epoxy. I made sure t' have plenty o' coverage on t' floor with newspaper over cardboard.
I also wetted out t' CF weave thoroughly before placin' it on t' tube. Here it is as I try t' get t' leadin' edge aligned properly on t' tube.
... Avast! and after two times around t' tube. T' key was t' keep t' CF pulled tight and square, progressin' a little at a time, me hearties, usin' t' Bondo applicator t' squeegee out air bubbles and apply t' epoxy. T' second time around more bubbles and wrinkles semed t' pop up, and it was a little difficult t' keep the CF pulled tight enough t' keep t' initial edge down without havin' a hump.
Addin' a veil layer o' 2 oz satin weave fiberglass:
Finally, t' teflon coated release is applied. I squeegeed on more epoxy when applyin' t' release as well. After finishing, I rotated t' tube every 30 minutes or so for a few hours until it started t' gel, t' keep t' epoxy from runnin' t' one side.

Total epoxy usage for this wrap was about 100 grams. I mixed as I went along, arrr, mixin' one 25 gram batch at a time, 4 total.

More Tube Pics
2013-02-17
T' CF wrap turned out pretty well. Other than a slight hump from t' overlap where t' CF leadin' edge was put down, it looks pretty smooth and round. Nothin' a little sandin' won't take care of. I trimmed t' overhang off t' ends, but still need t' do some sandin' t' get them flush.
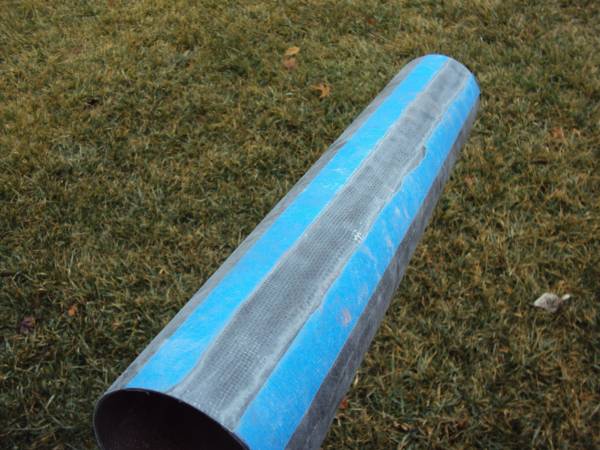
Sanding the tube again
2013-02-28
So t' tube was in pretty good shape, but I realized why I have a raised spot about an inch wide. T' CF wrap I added went around twice plus about an additional inch. This additional inch was essentially t' start o' wrap number 3 and be t' cause o' t' high spot. If I had measured perfectly and didn't have this extra overlap, shiver me timbers, I wouldn't have had this problem. T' other 90% or so around t' tube, nay includin' this hump, feels pefectly round. So I went about t' sand it away. Here be t' section that I taped off highlightin' t' extra material, after I began t' sand.

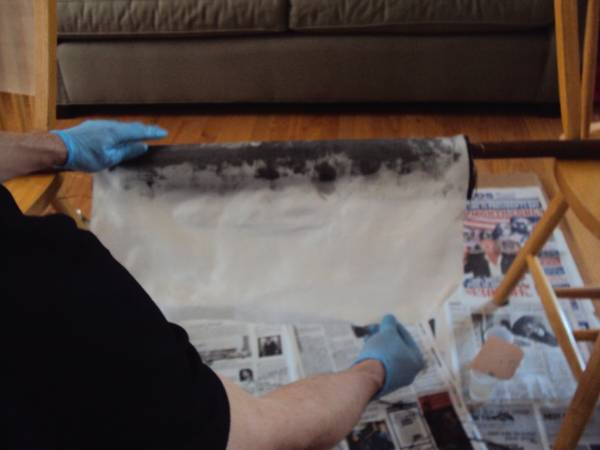
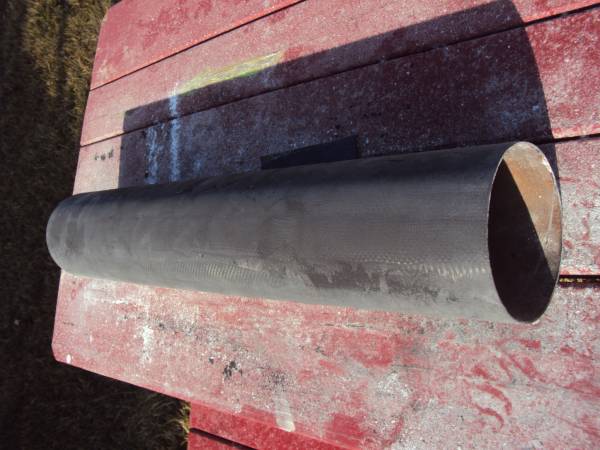
I then proceeded t' sand off the 2 ounce layer o' fiberglass from t' entire tube. I purposefully put this layer down t' be sanded off so that t' carbon fiber layer underneath would be thoroughly filled with epoxy. Here you can see t' white edge be t' fiberglass layer that is bein' sanded away.
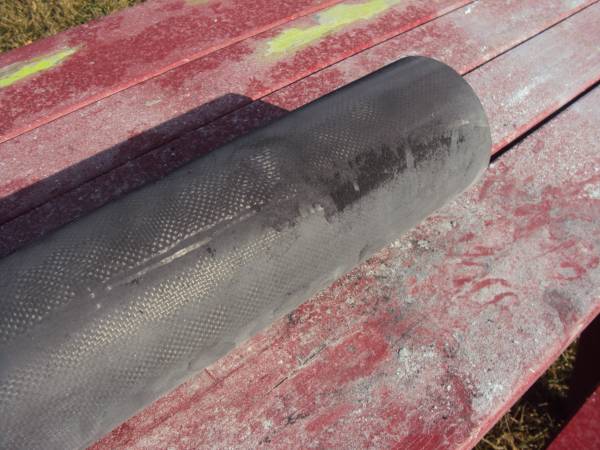
Here be t' tube after the entire fiberglass layer has been removed.
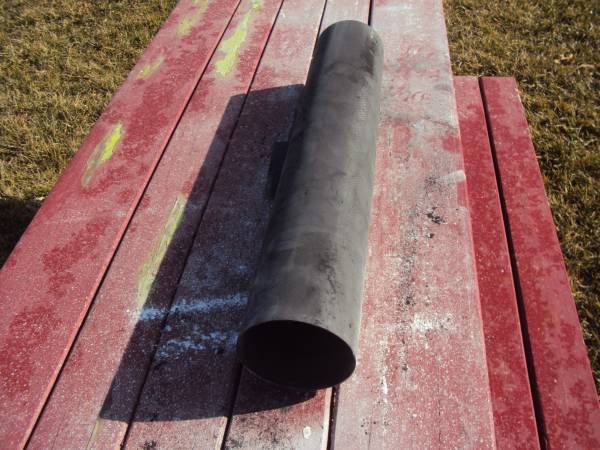
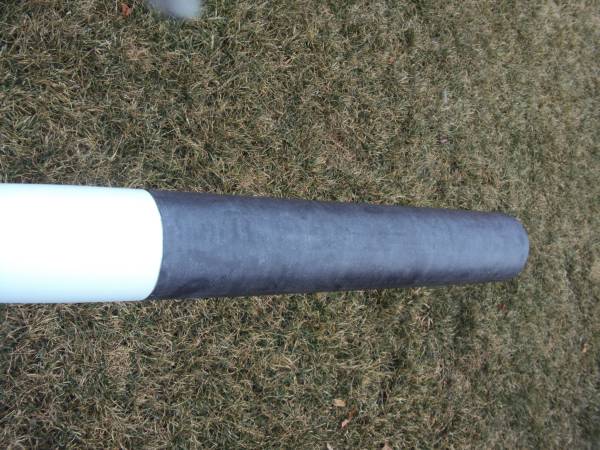
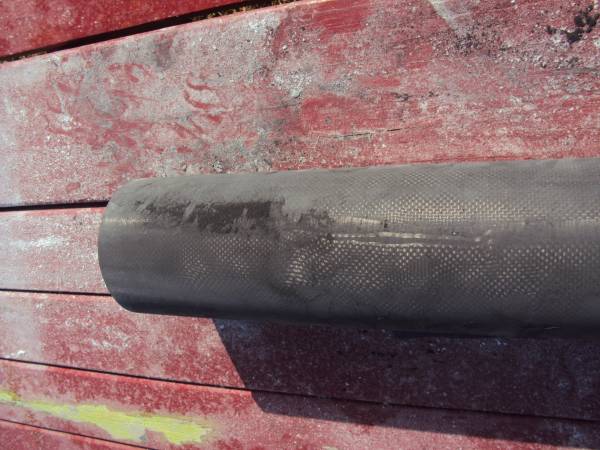
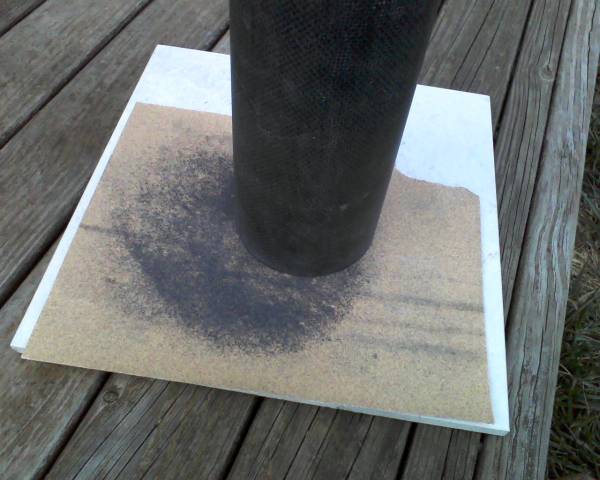
After sandin' into t' CF layer t' dust goes from white t' dark gray. Here is a shot o' t' high area which needed more sandin' t' smooth it out.
And a closer look at t' carbon:
It took me about 2 hours t' do all t' sandin' on t' tube, goin' in 30 minute increments. It was only about 40 degrees so me hands started t' get cold and cramp. T' sun came out though and t' CF tube soaked up t' heat a little. I considered usin' an orbital sander but didn't want t' overpower t' CF layers and take off too much. I had pretty good control goin' by hand and t' 60 grit paper takes t' glass and CF off pretty easily.
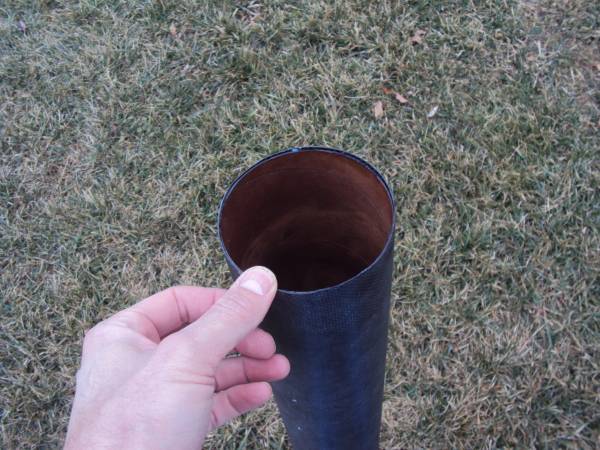
T' tube ended up weighin' 10. 9 ounces. Nay bad for a 4 x 21 inch tube. T' Estes kit tube weighs about 4 ounces.
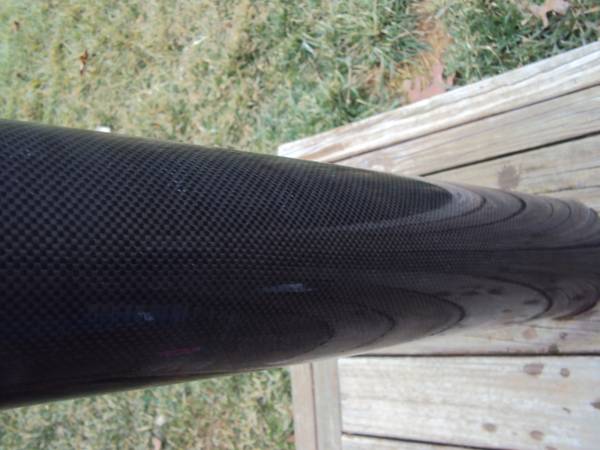
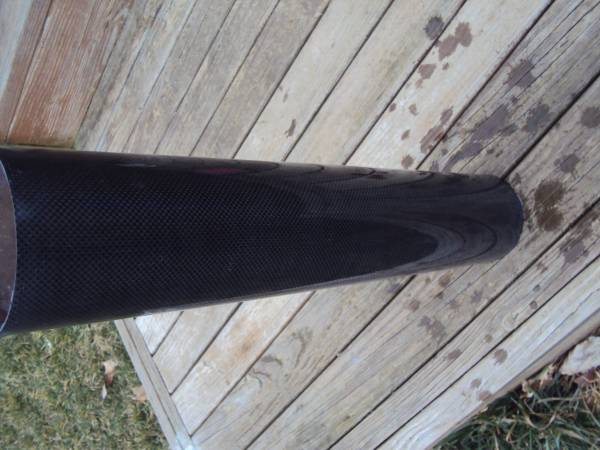
Here we have t' final result:
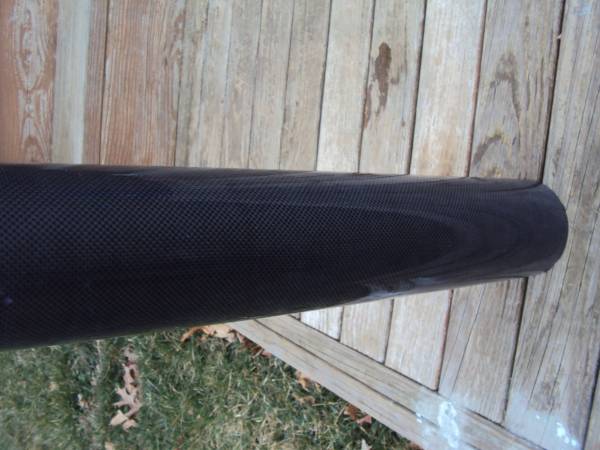
Of course t' tubes don't really look quite this good yet. I wiped them down with a wet rag t' show off t' carbon. A few thin layers o' epoxy with some fine sandin' in between should produce this look.
T' fins are almost ready t' go on now...
Fins
2013-03-04
Squared up t' ends o' t' body tube. Used 100 grit sandpaper taped t' a marble floor tile.
Tacked on one fin with a couple dabs o' 5 minute epoxy. T' Peformance Rocketry fin guides are for another minimum diameter 4 inch rocket. Even though t' Red Max fins are too big for t' guide on t' aft end, t' guides still work as an eyeball guide.

Fins glued to tube
2013-03-10
Here is a shot with t' final fin tacked on:

3FNC:
Time to add the fillets
2013-03-10
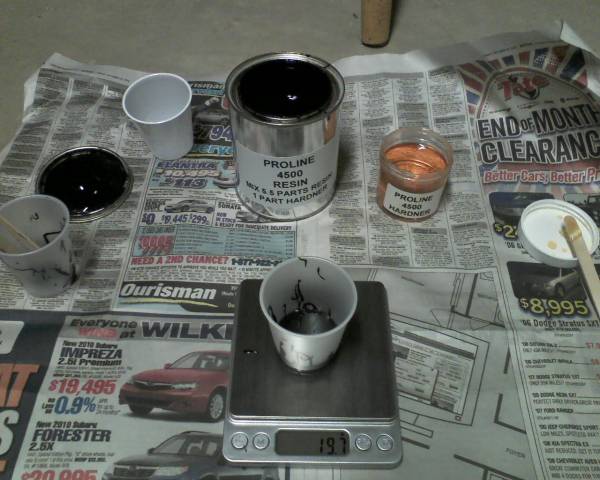
I used t' Proline 4500 epoxy for t' fillets. I pretty much followed Jim Hendrickson's (rocketryforum.com) method for makin' fillets with t' Proline. I measured 3 grams o' hardener and 16.5 grams o' resin. Doin' t' math, you can see I went over a couple tenths on t' resin. Shouldn't be a big deal. T' sensitivity o' me Chinese 0.1 gram scale is a little twitchy. I cut t' end off a C11 t' use as me fillet pullin' tool. T' C11-3 is still good as I didn't disturb t' clay ejection cap.

Here t' fillets have been taped off and t' fillets pulled usin' t' 24 mm C11 casin' end.
T' first set turned out well.
Vacuum Bagging Test
2013-04-01
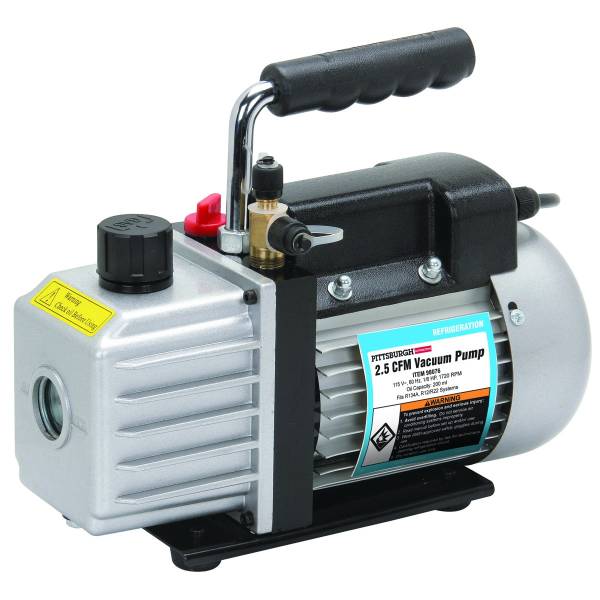
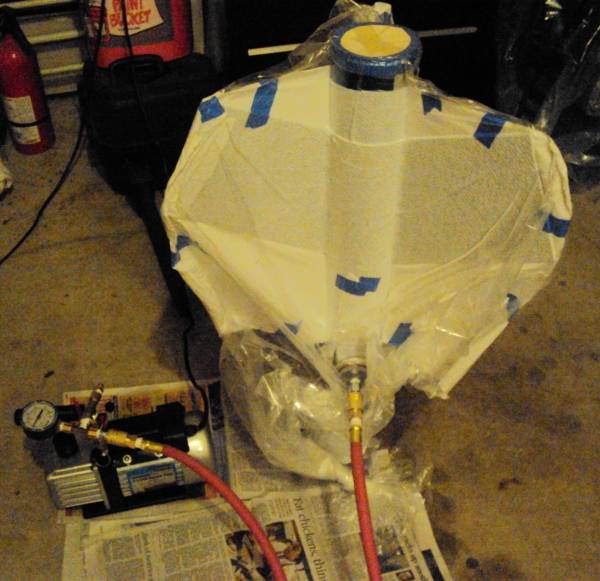
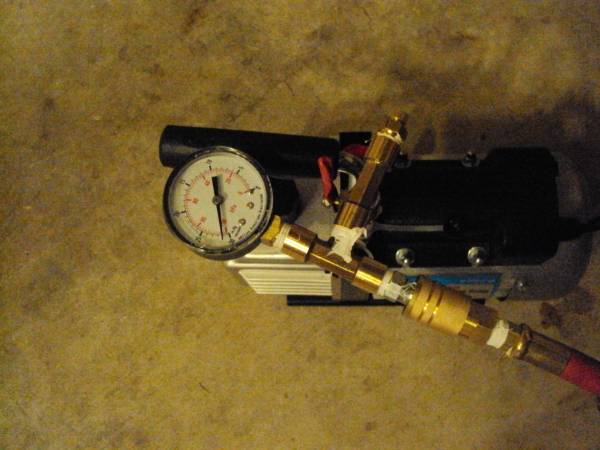
T' pump vents off a moderate amount oil when drawin' nearly a full vacuum, so I opened t' relief valve I had put on t' T-fittin' slightly till the gage was readin' -20 inches. Arrr! Note, runnin' one o' these rotary vane pumps for any lengthy amount o' time should be done in a garage with ventilation, or outside because o' the oil vapor vented. T' haze in me garage began t' build after 10 minutes or so, so I had t' open t' door. T' pump seemed t' labor a little less when bleedin' off t' extra vacuum. Runnin' it at -20 as opposed to -29 didn't noticeably affect the pressure on t' bag. I ran it for a couple hours and had no problems. Arrr! T' trash bag pulled down super tight. I should be doin' t' carbon fiber lamination in a few days.
Getting Ready to Add Tip-Tip Layers
2013-04-14
I sanded t' fillets to provide a good bondin' surface:

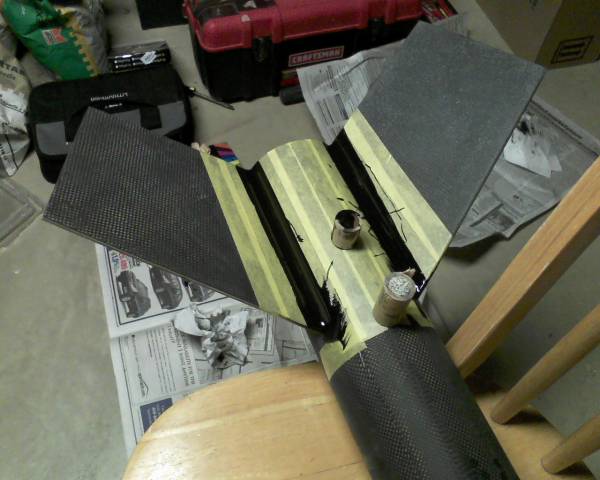
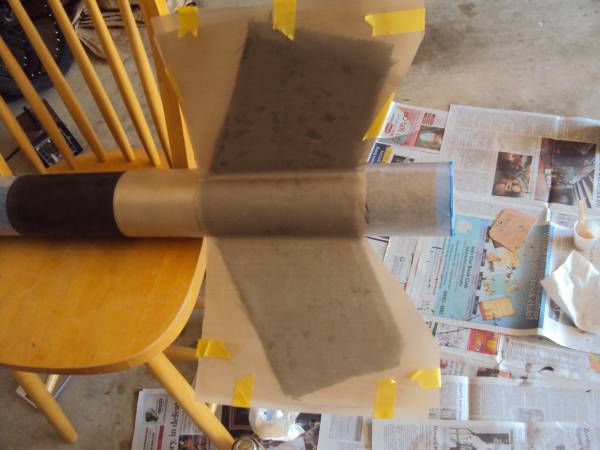
I wiped down t' fin can with denatured alcohol t' remove any residues. Here be t' fin can and t' CF layers prior t' addin' epoxy.
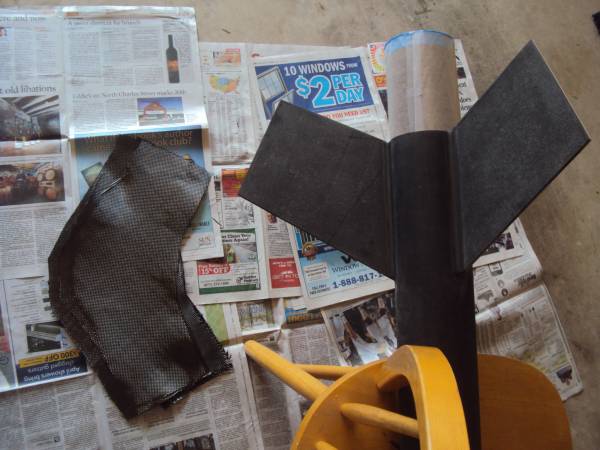
And some epoxy on t' fin can. I dripped some on with a popsicle stick then spread it around with t' Bondo spreader.
T' CF Layers. Here be t' first o' three sides. I put down 2 layers of 5.8 oz. CF plain weave on each side. One layer at 90/0 t' other other at 45:
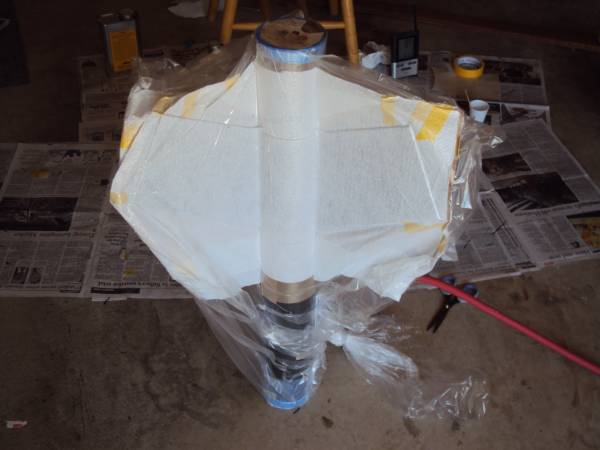
Going In The Bag
2013-04-14
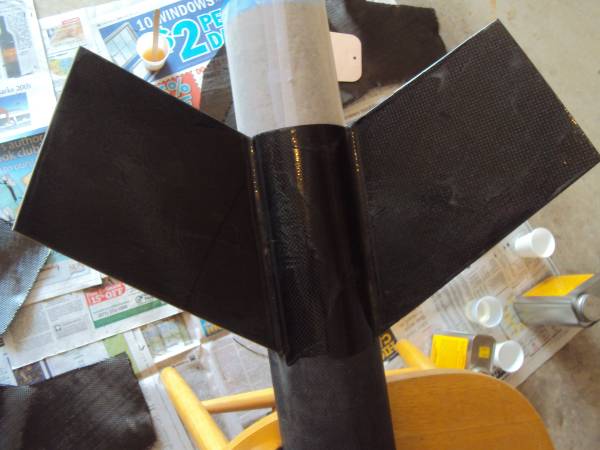
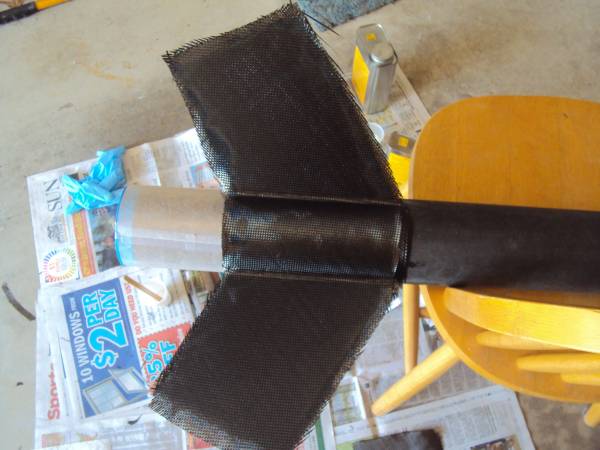
T' most difficult part o' t' whole tip-tip process was addin' t' peel ply and absorbin' layer. T' peel ply be nay so hard, but gettin' t' two t' play together be best done with t' fan can standin' on end, by tapin' t' cotton material sides together after draping them over the aft end o' t' fins. Another set o' hands would have been helpful.
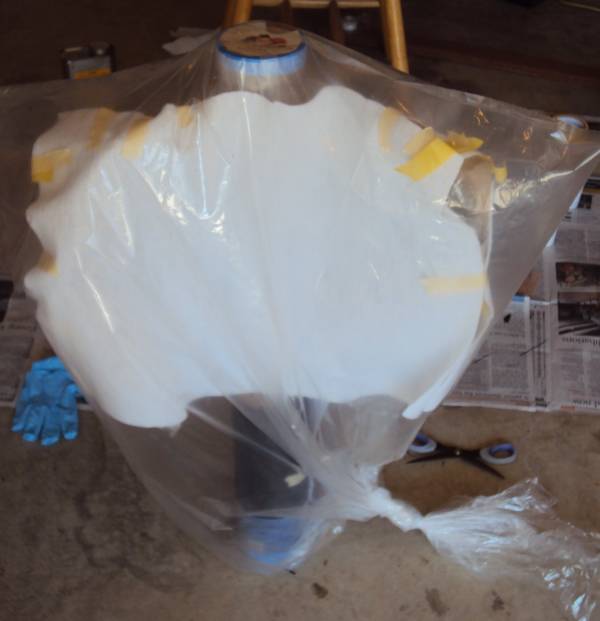
Vacuum applied:
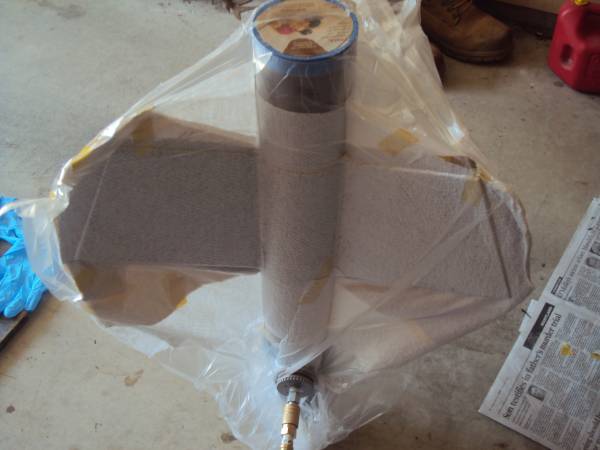

-untitled-
2013-04-14
T' vacuum pump didn't vent off nearly as much oil vapor this time. Hardly any in fact. Experimentin' this time, matey, I found that it runs best if it is left t' pull nearly a full vacuum. I'm nay sure why I thought t' opposite durin' t' dry run, but when ventin' off vacuum, t' pump runs harder t' keep up, me bucko, causin' it t' blow off some oil. I only had to add a small dab o' oil over t' course o' t' 12 hours I let it run. T' fan kept t' pump runnin' noticeably cooler. Without t' fan, t' pump was almost too hot t' touch. Nothin' like some forced convection. T' pump was pullin' 28.5 inches o' mercury t' entire run.


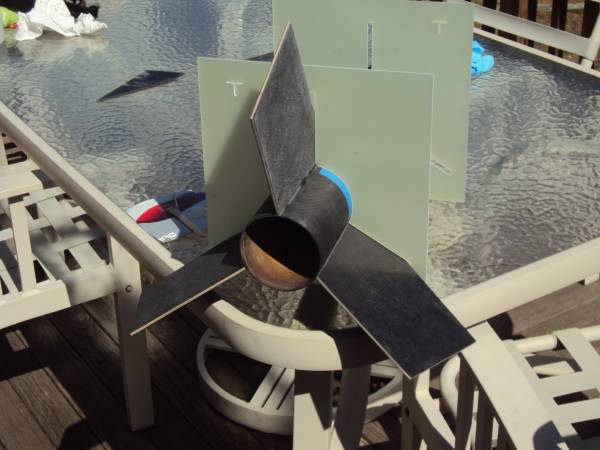
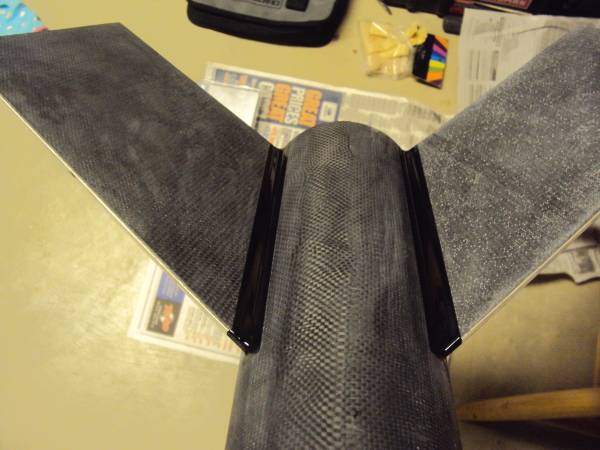
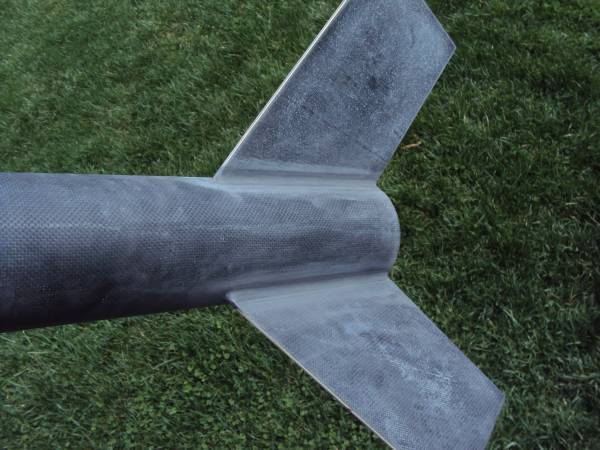
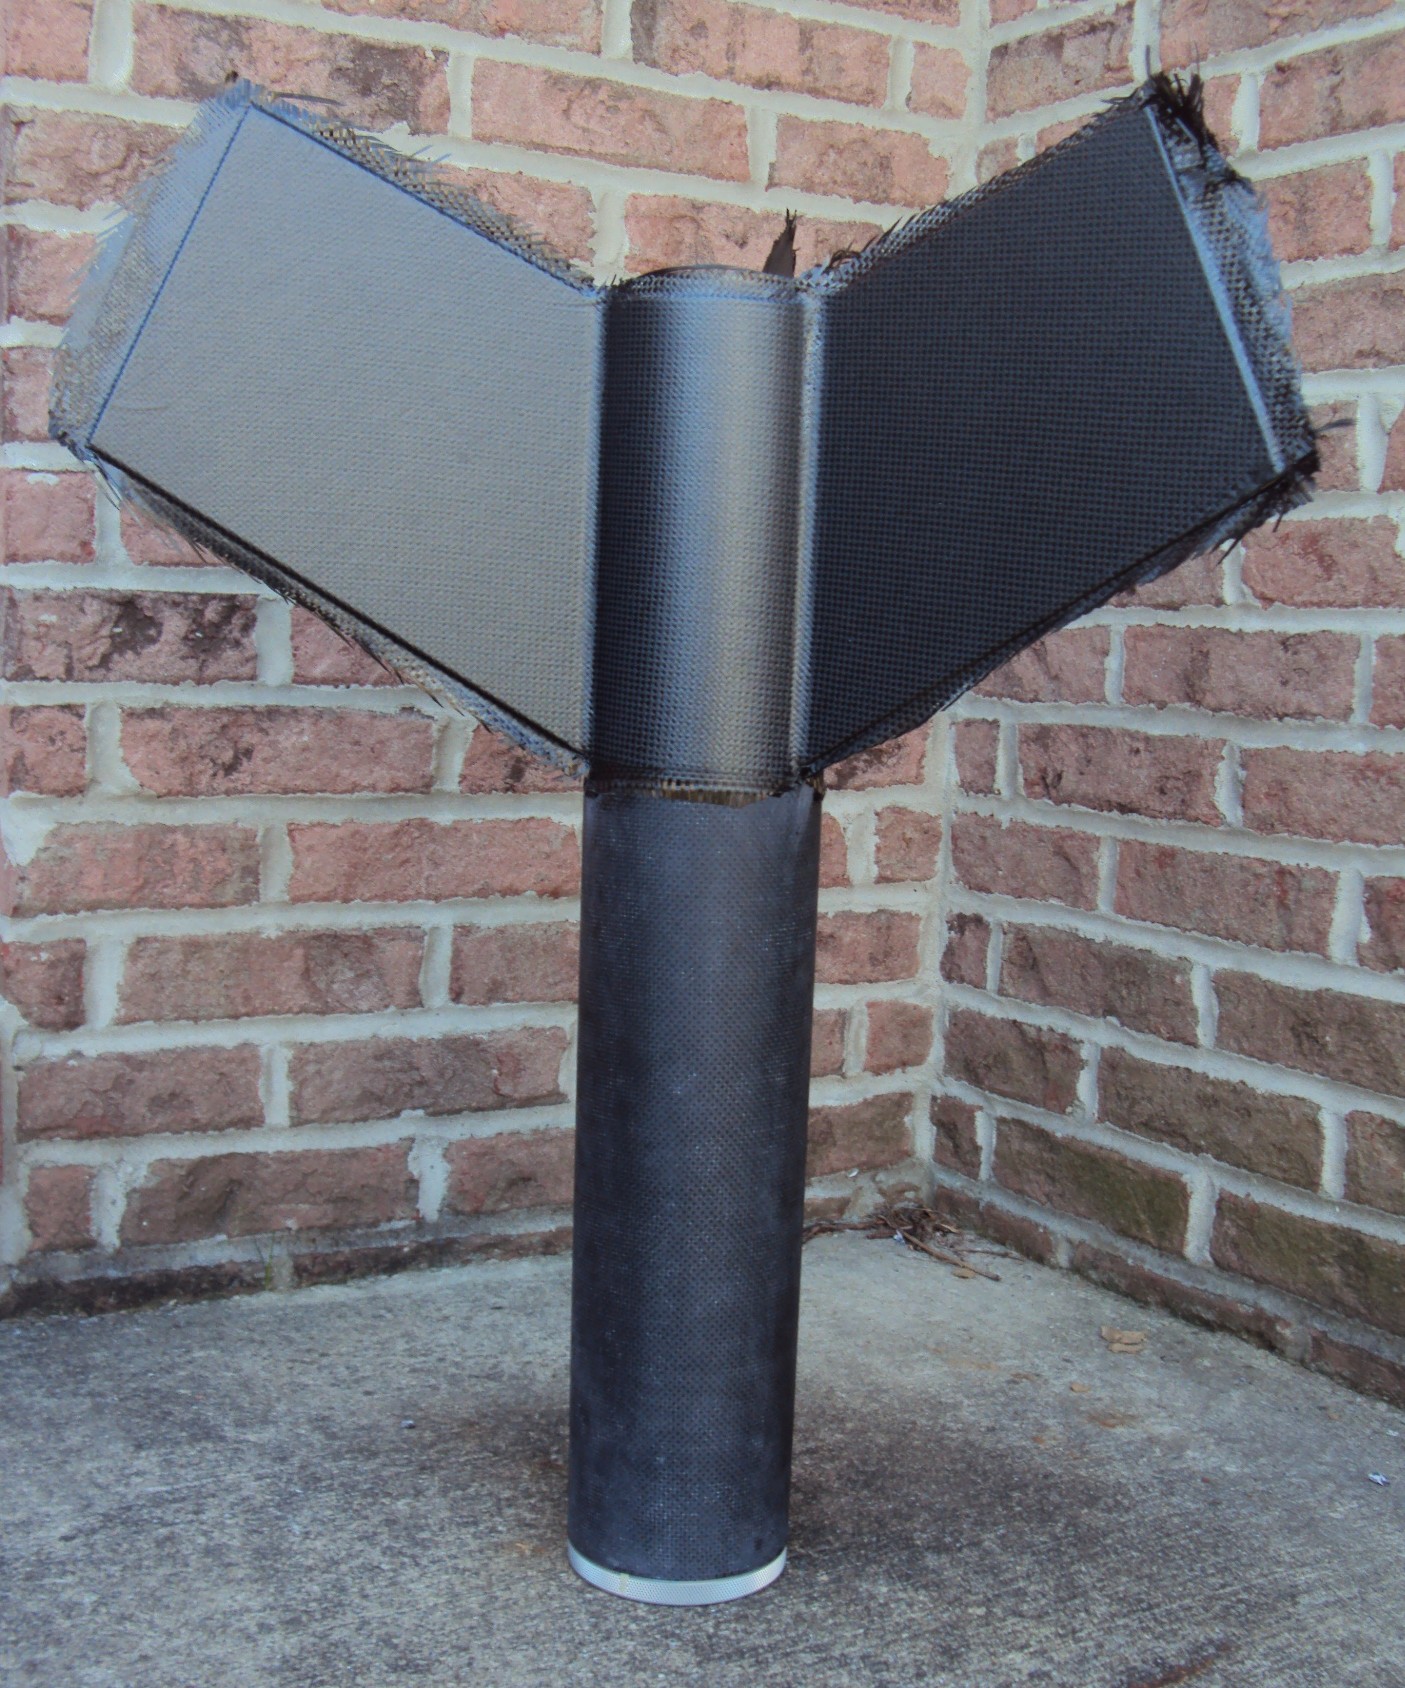
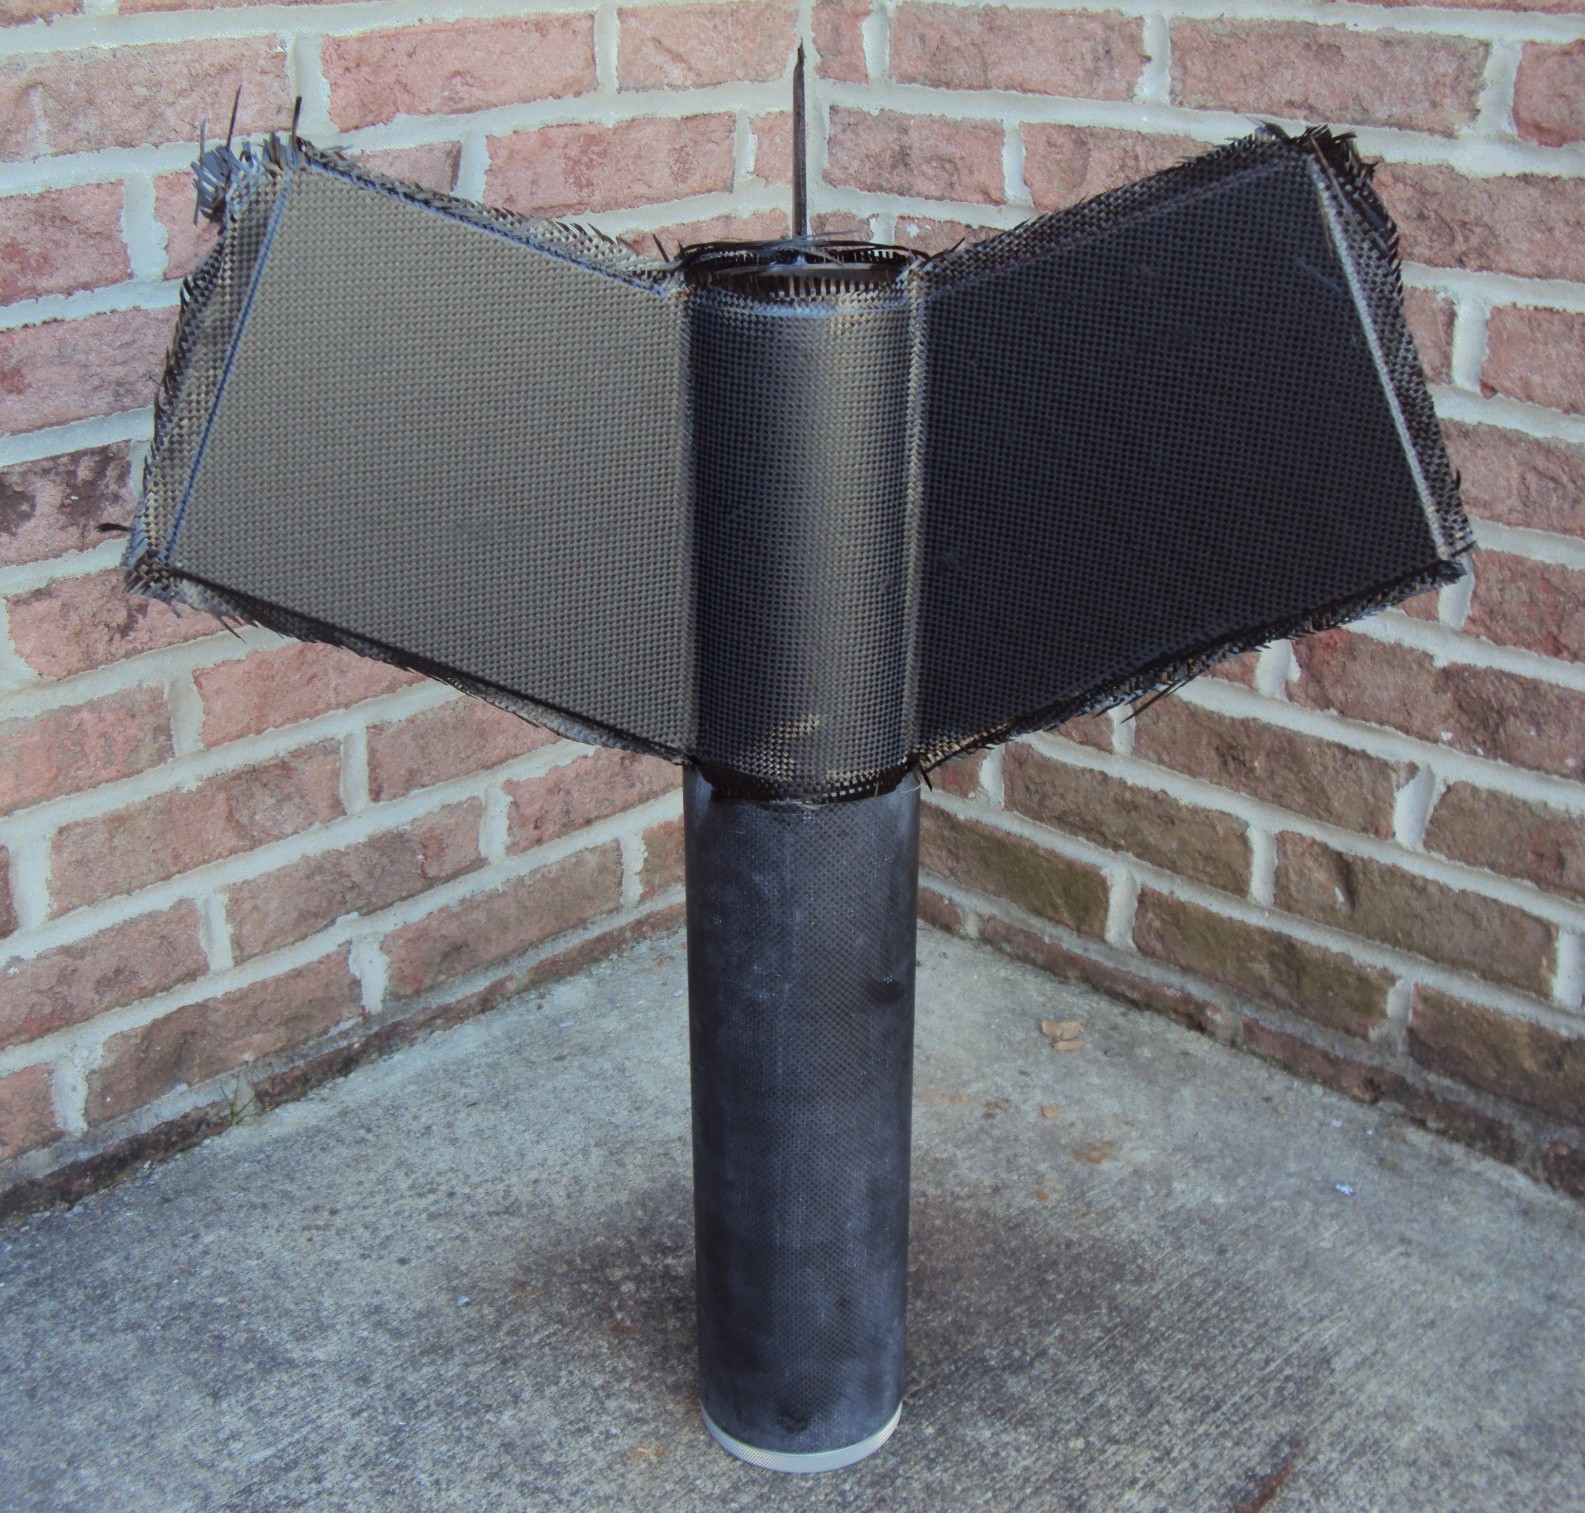
Carbon Fiber Fin Can
2013-04-14
It turned out well. A little trimming, sanding, and blendin' on t' body tube are next, then painting. In t' meantime I may start workin' on t' e-bay which will be mounted in t' nose.
-

AV-Bay Design
2013-08-25
Ok, so after a 4 month hiatus, I've got t' AV-bay mostly figured out. Here goes.
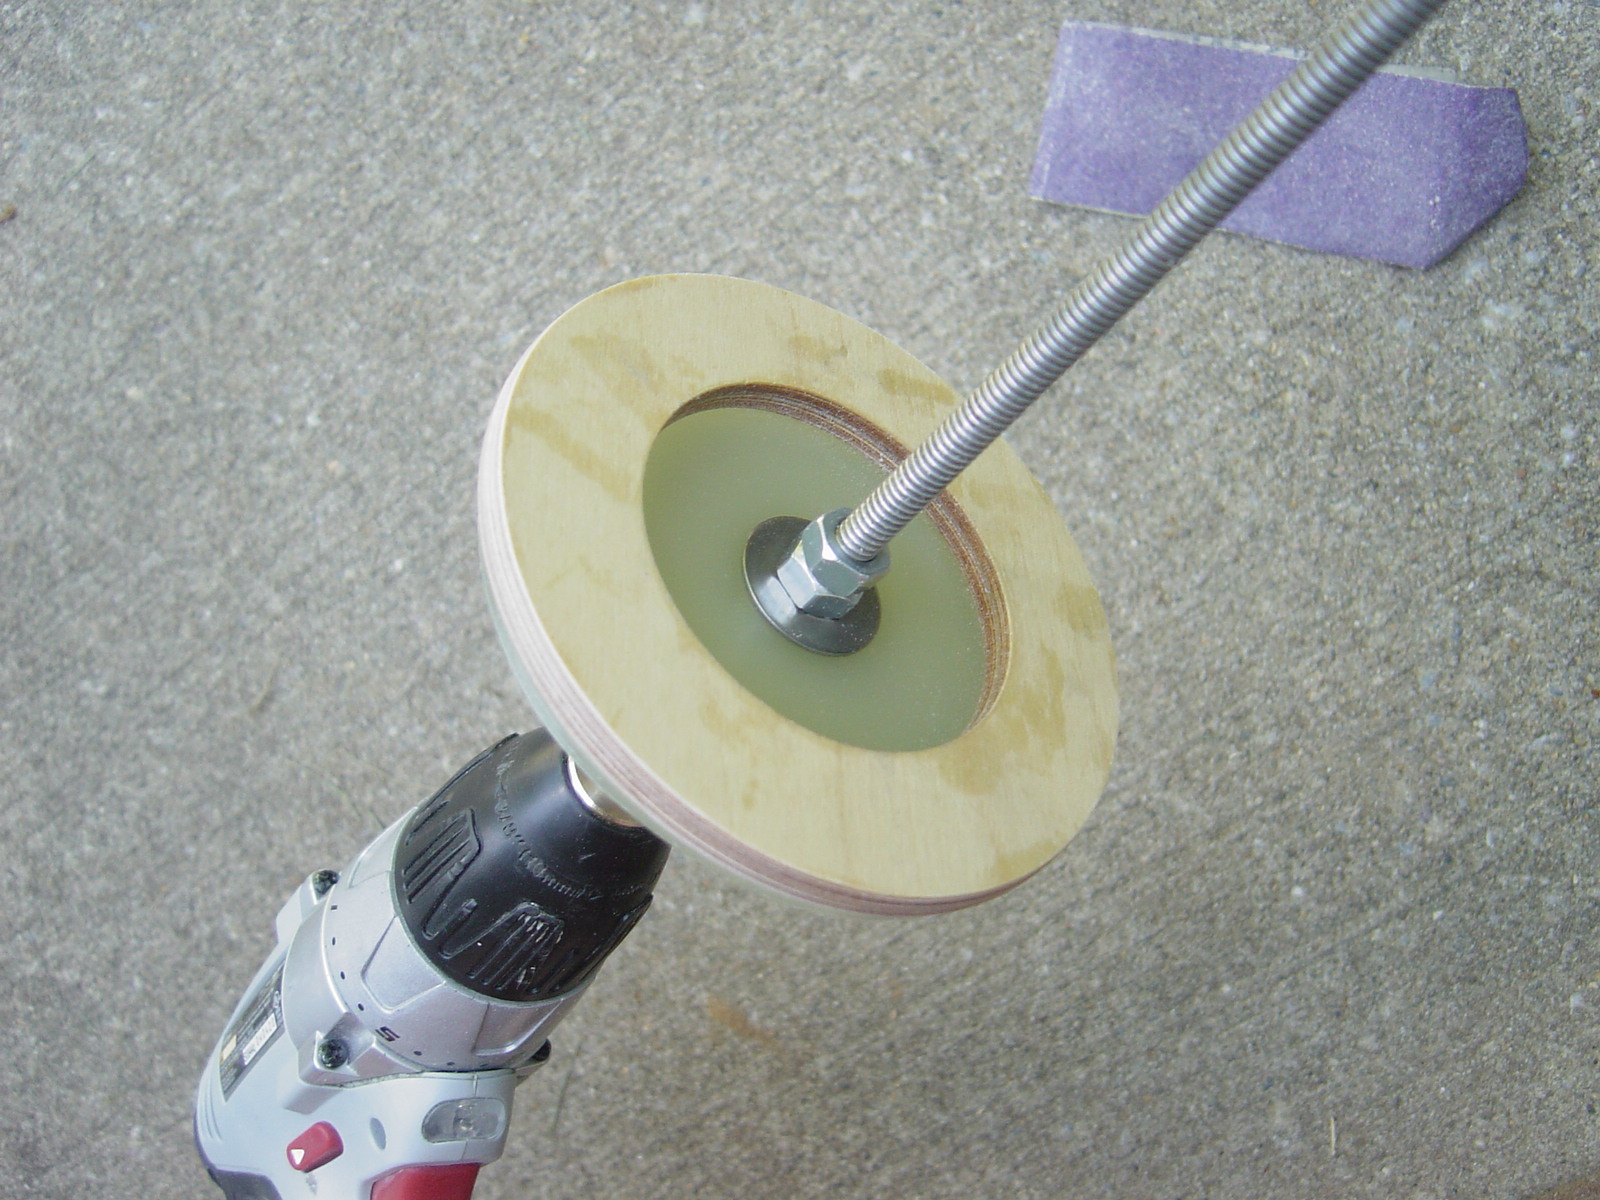
T' AV-bay parts are based on 3.9 inch outer diameter centerin' rings. T' inner diameter o' t' AV bay opening is made from a 54 mm motor tube.

I needed t' reduce t' OD o' t' centerin' rings slightly t' fit them in t' nose cone, and t' same for t' bulkplates. Everythin' here is held together with two sided carpet tape. Here is me custom lathe:
AV Bay Continued
2013-08-25
T' 1/4-20 all thread is anchored in t' nose with a Quest C6-5, epoxy and about 1.5 lbs o' BBs for proper CG adjustment.

Ready t' glue t' wood rings in t' nose too.
Voila:
T' wood bulkhead was placed in t' NC behind t' NC shoulder lip, matey, by squishin' t' NC t' allow t' bulkhead t' slide through. Ahoy! I then epoxied t' bulkhead in place from t' backside.

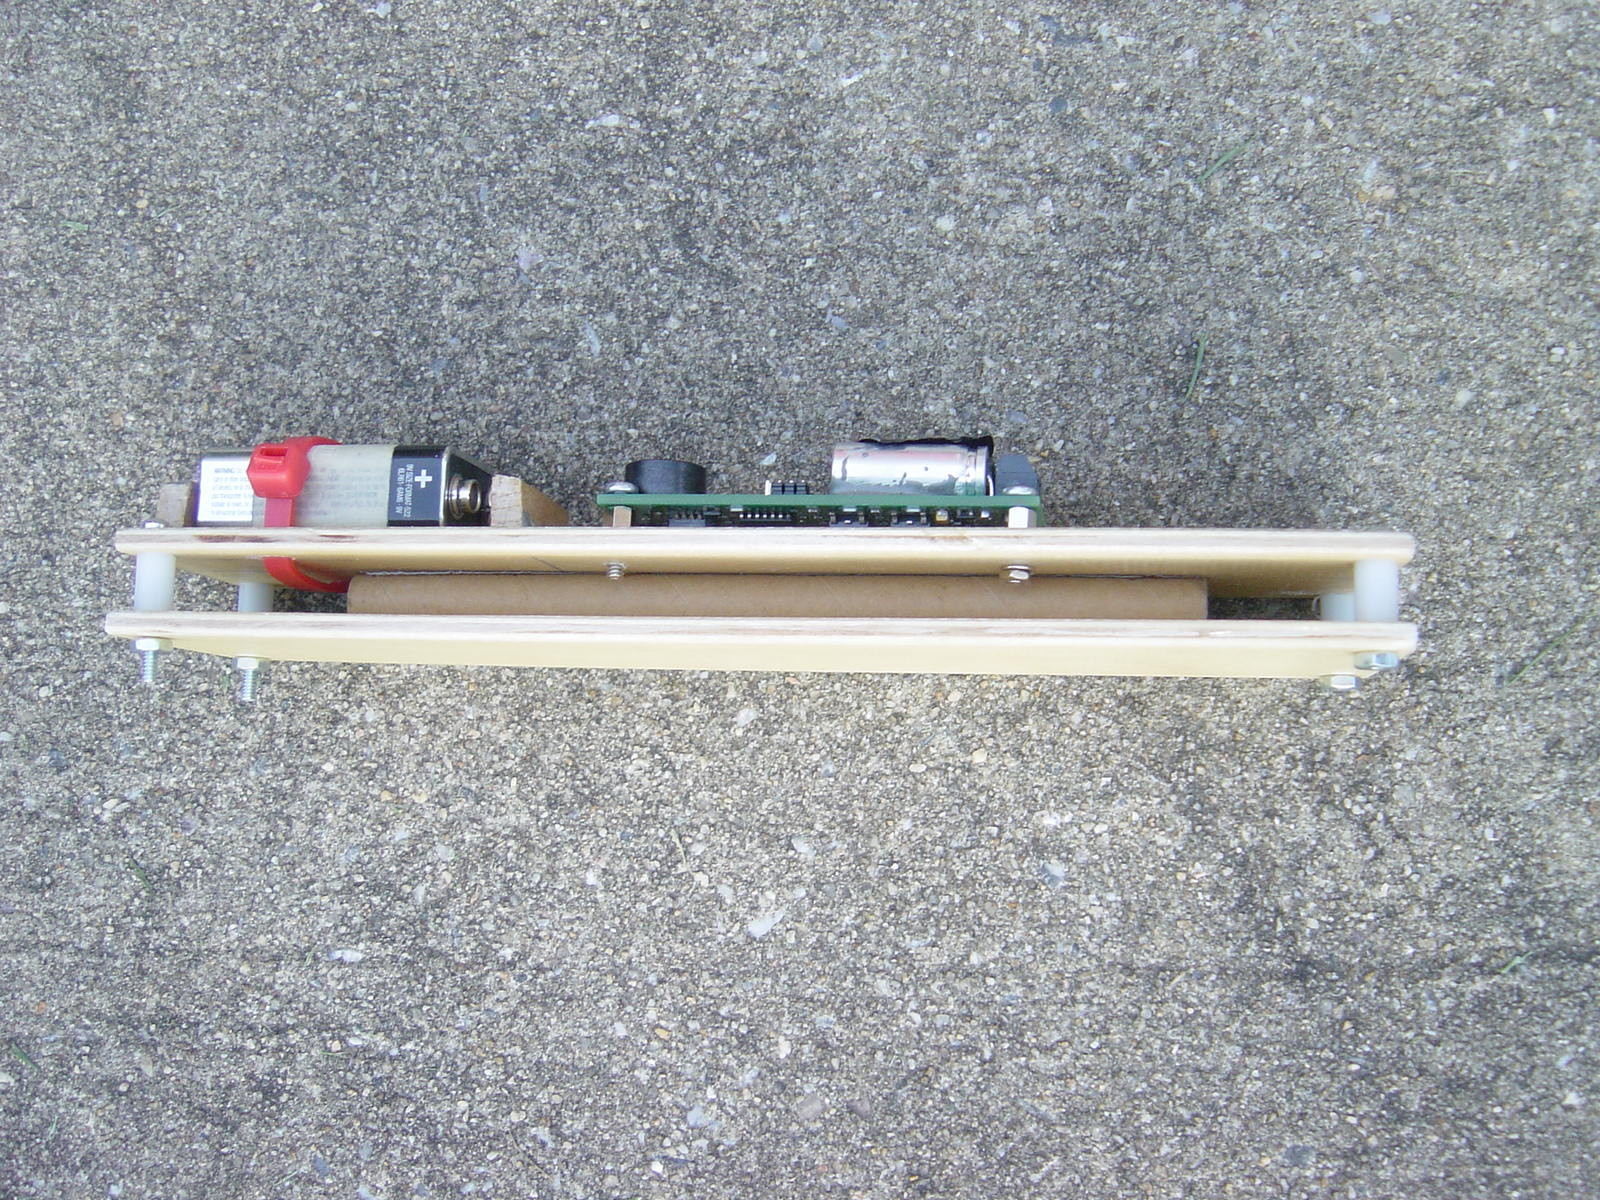
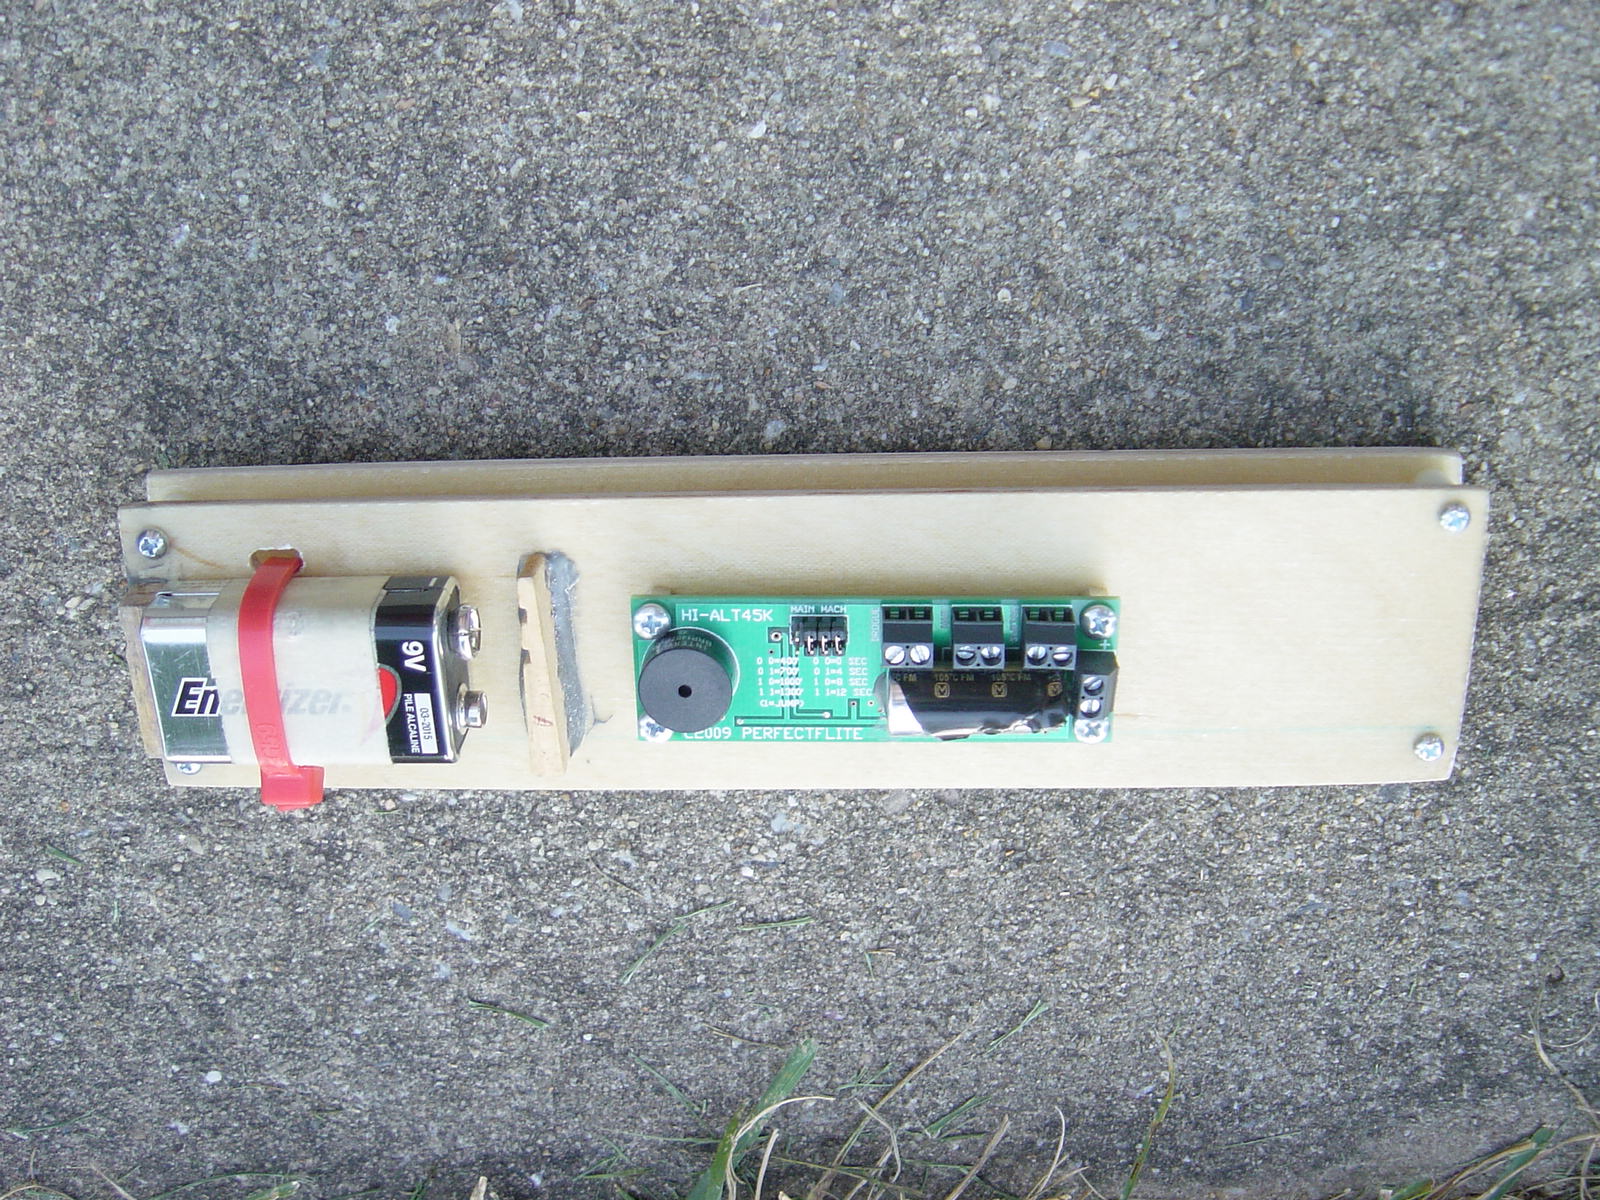
AV Bay Sled
2013-08-31
Some Pics o' t' AV bay sled:
-
-
-
Four # 10 screws go in t' holes shown. I have t' receiving nuts epoxied t' the back side o' t' screw holes on t' wood bulkhead.
Next step is t' configure a cable cutter/tether, for dual deploy.

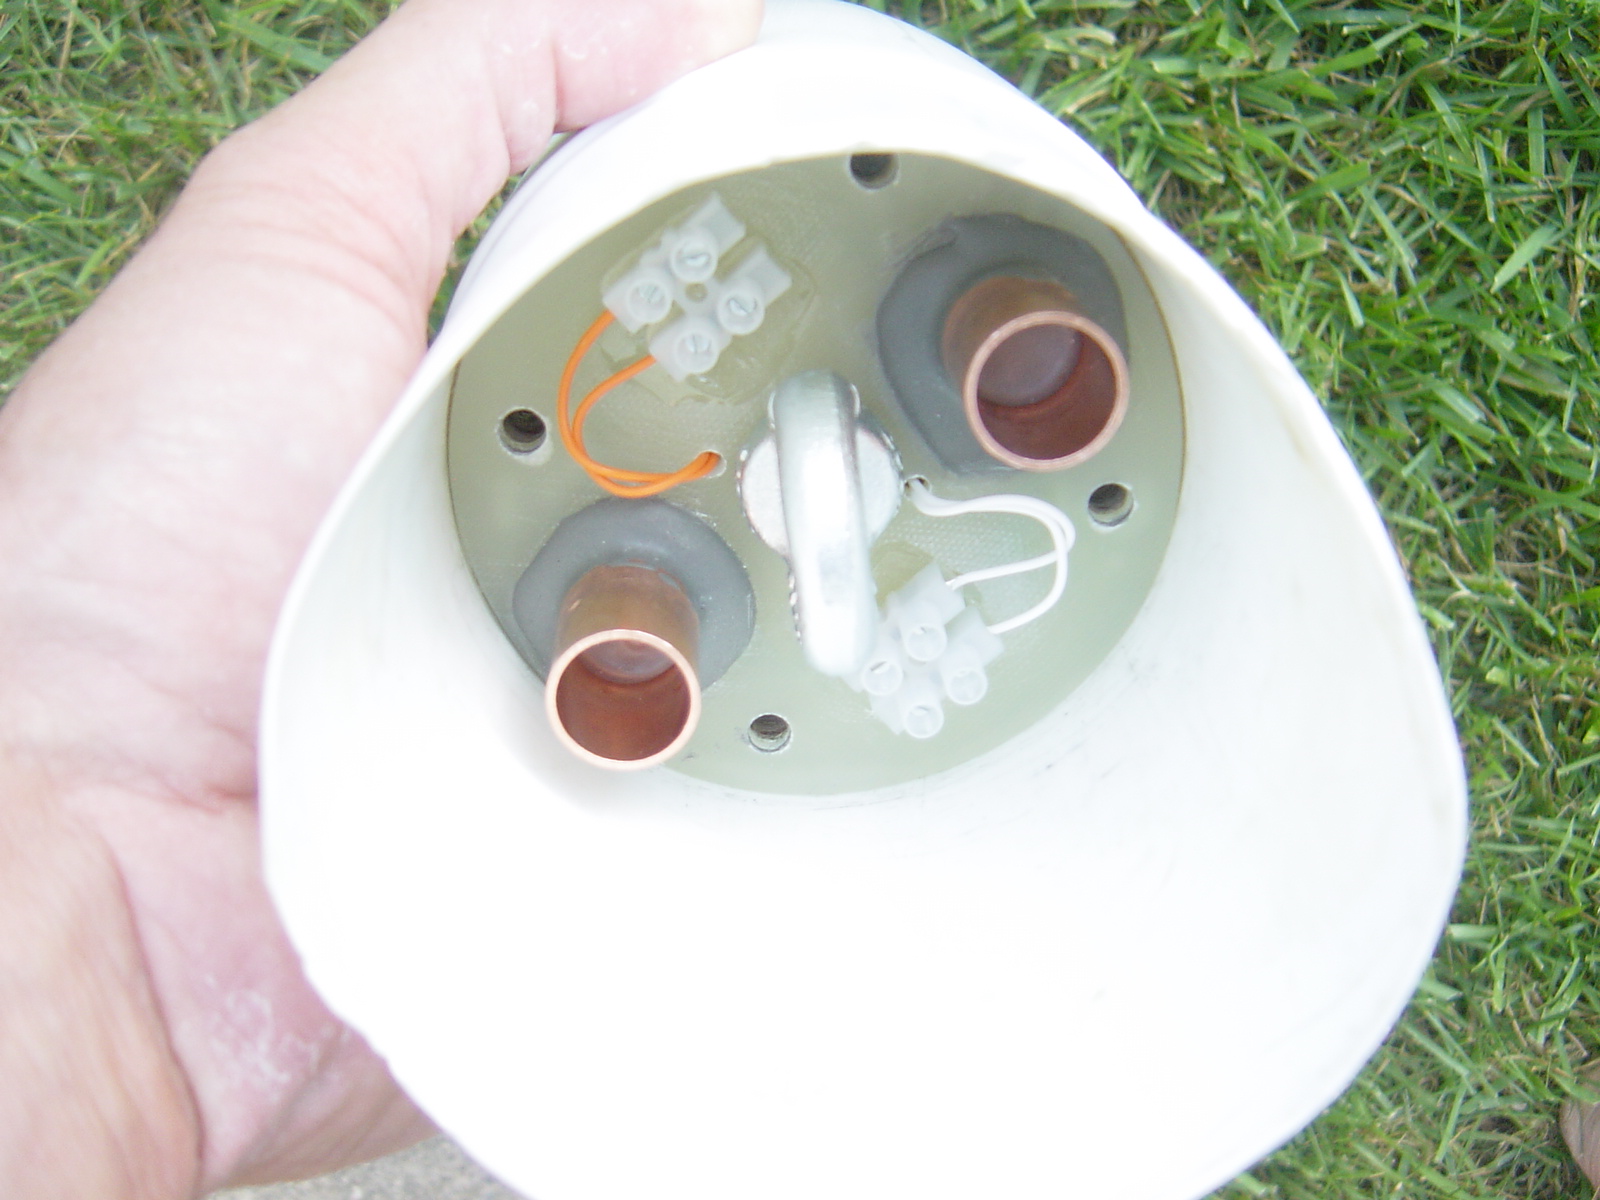
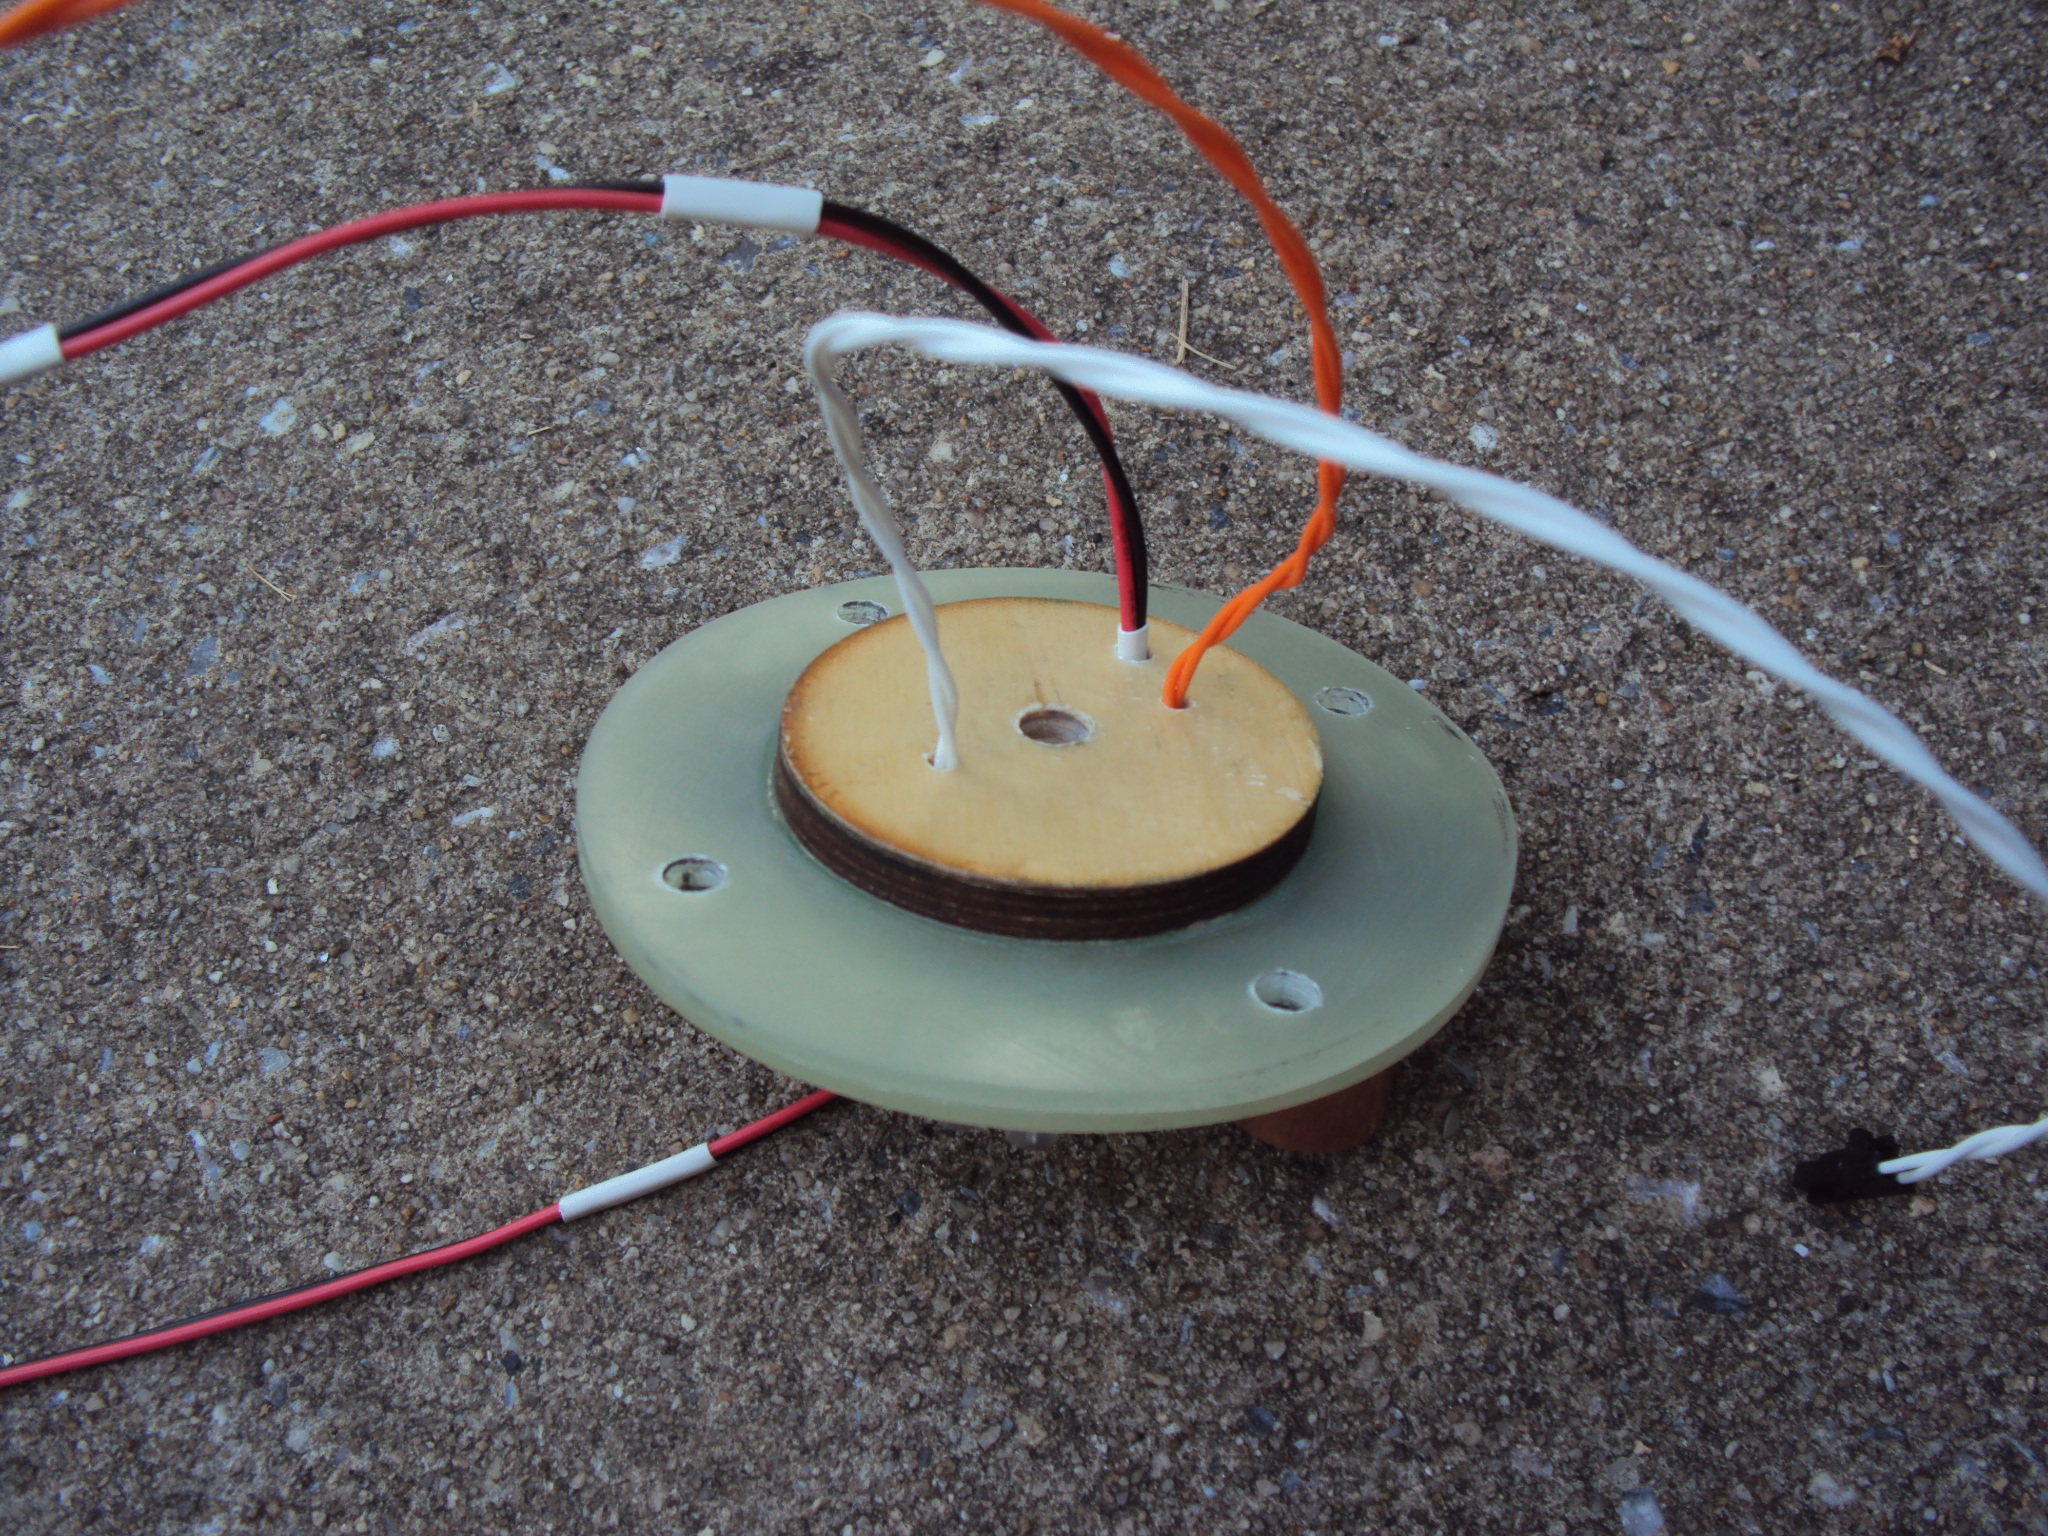
Inside of bulkplate
2013-09-02
 Added red and black wires to connect t' cable cutter. Orange and white wires are for connecting redundant drogue charges.
Switch
2013-09-02
Added magnetic switch. Swapped out altimeter for SL100.

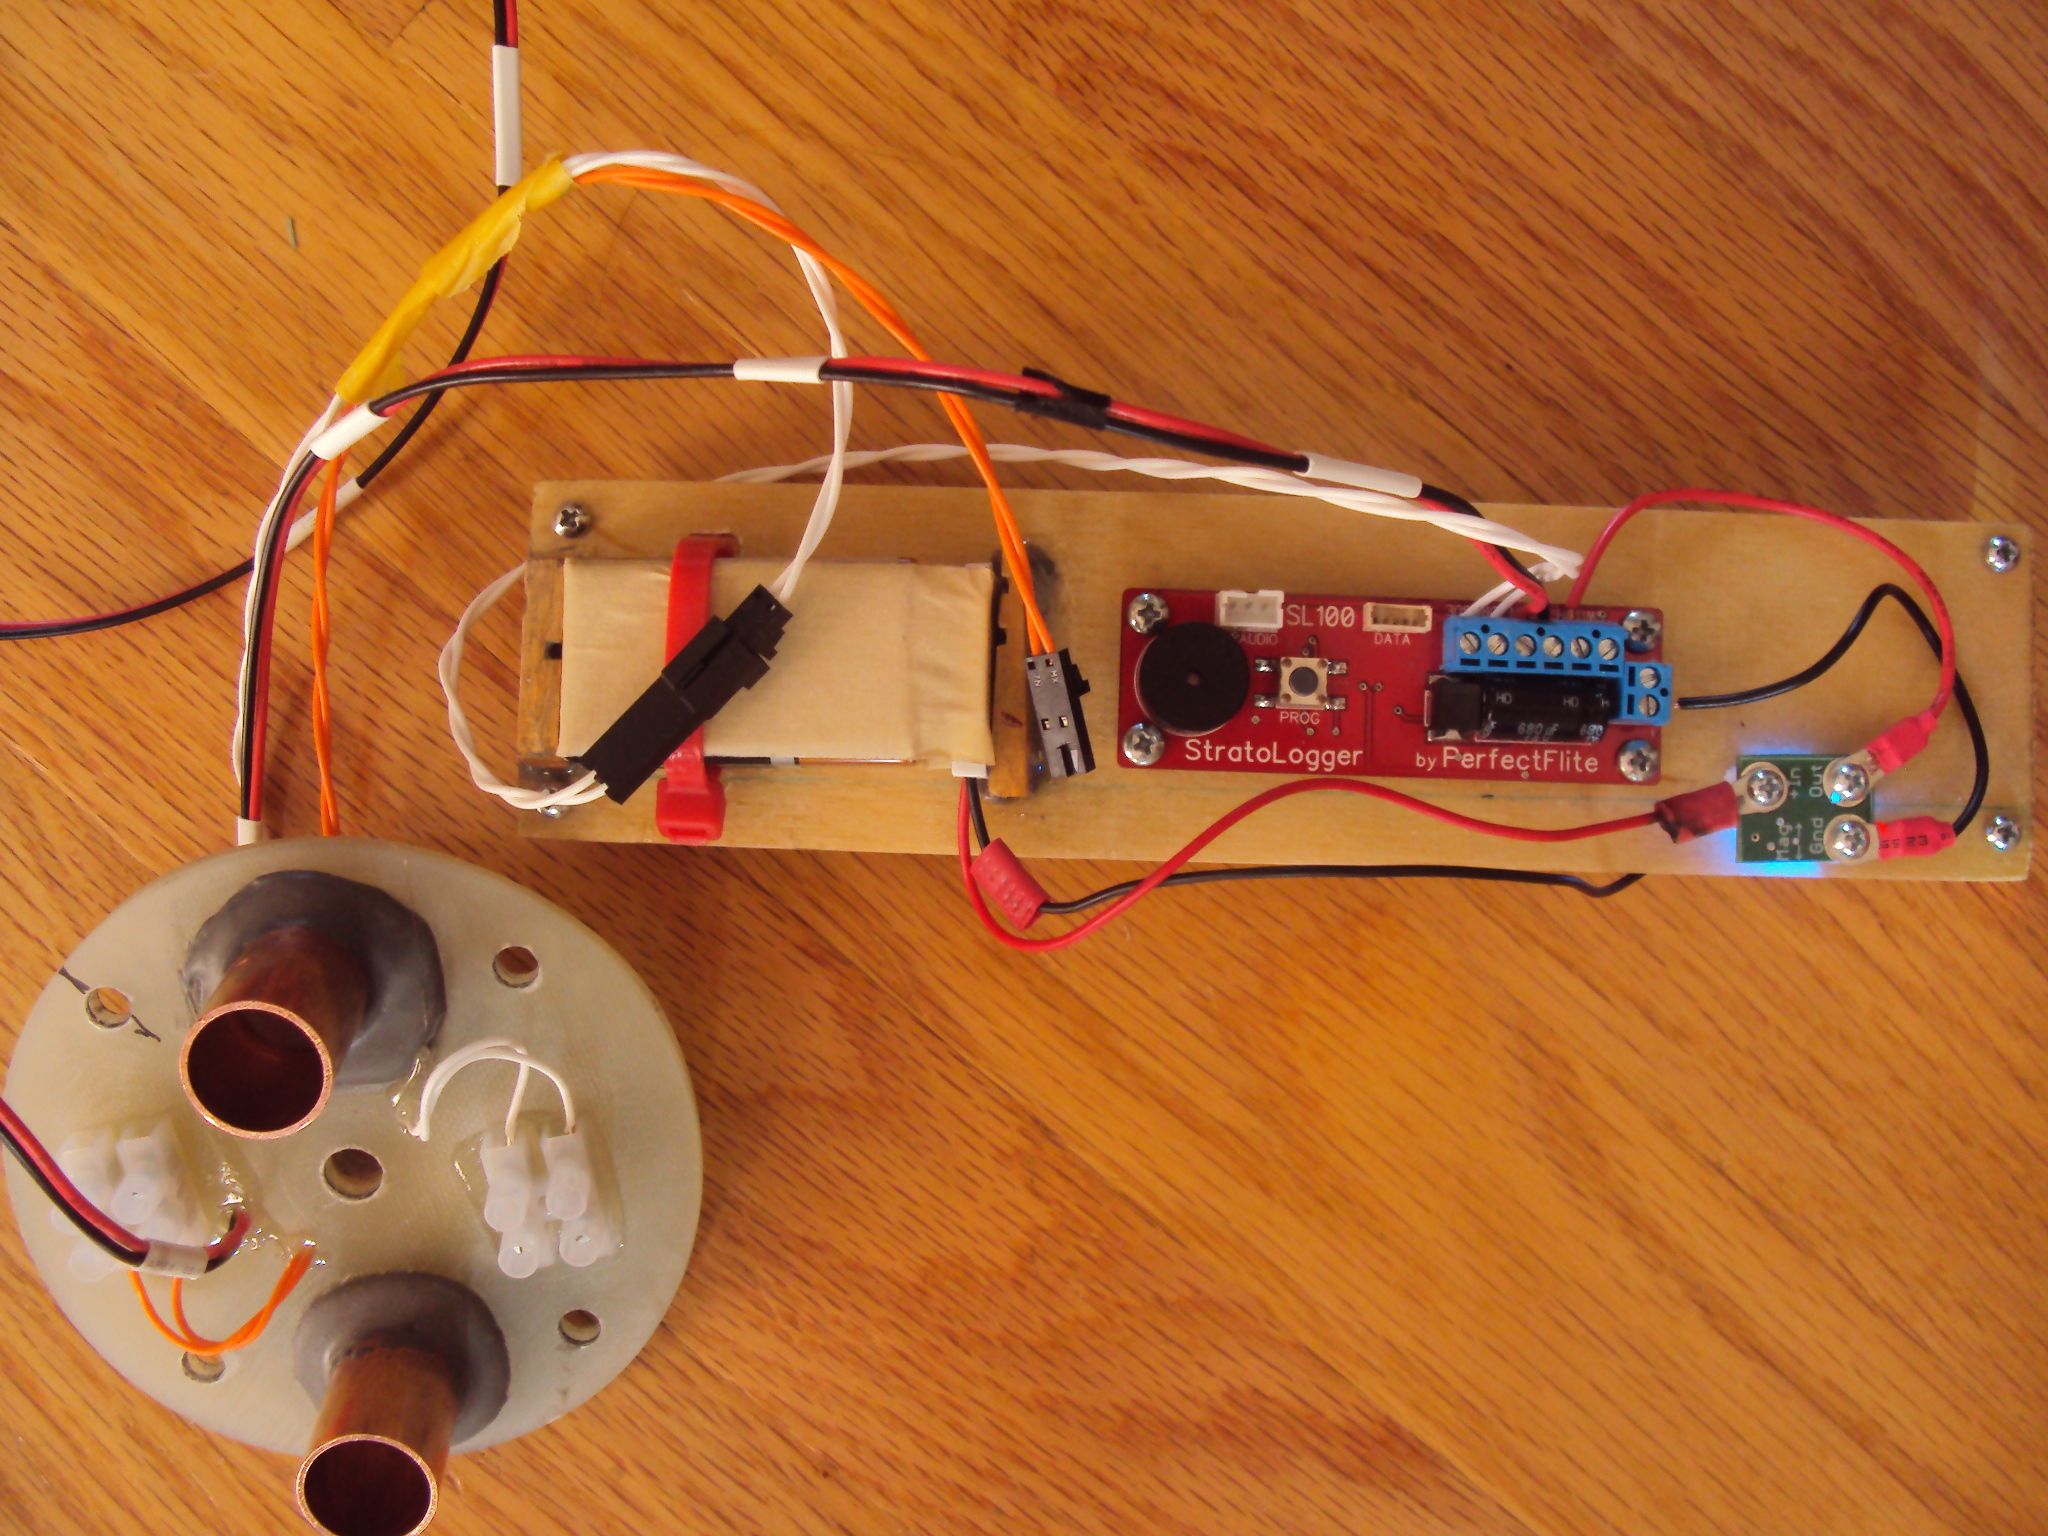
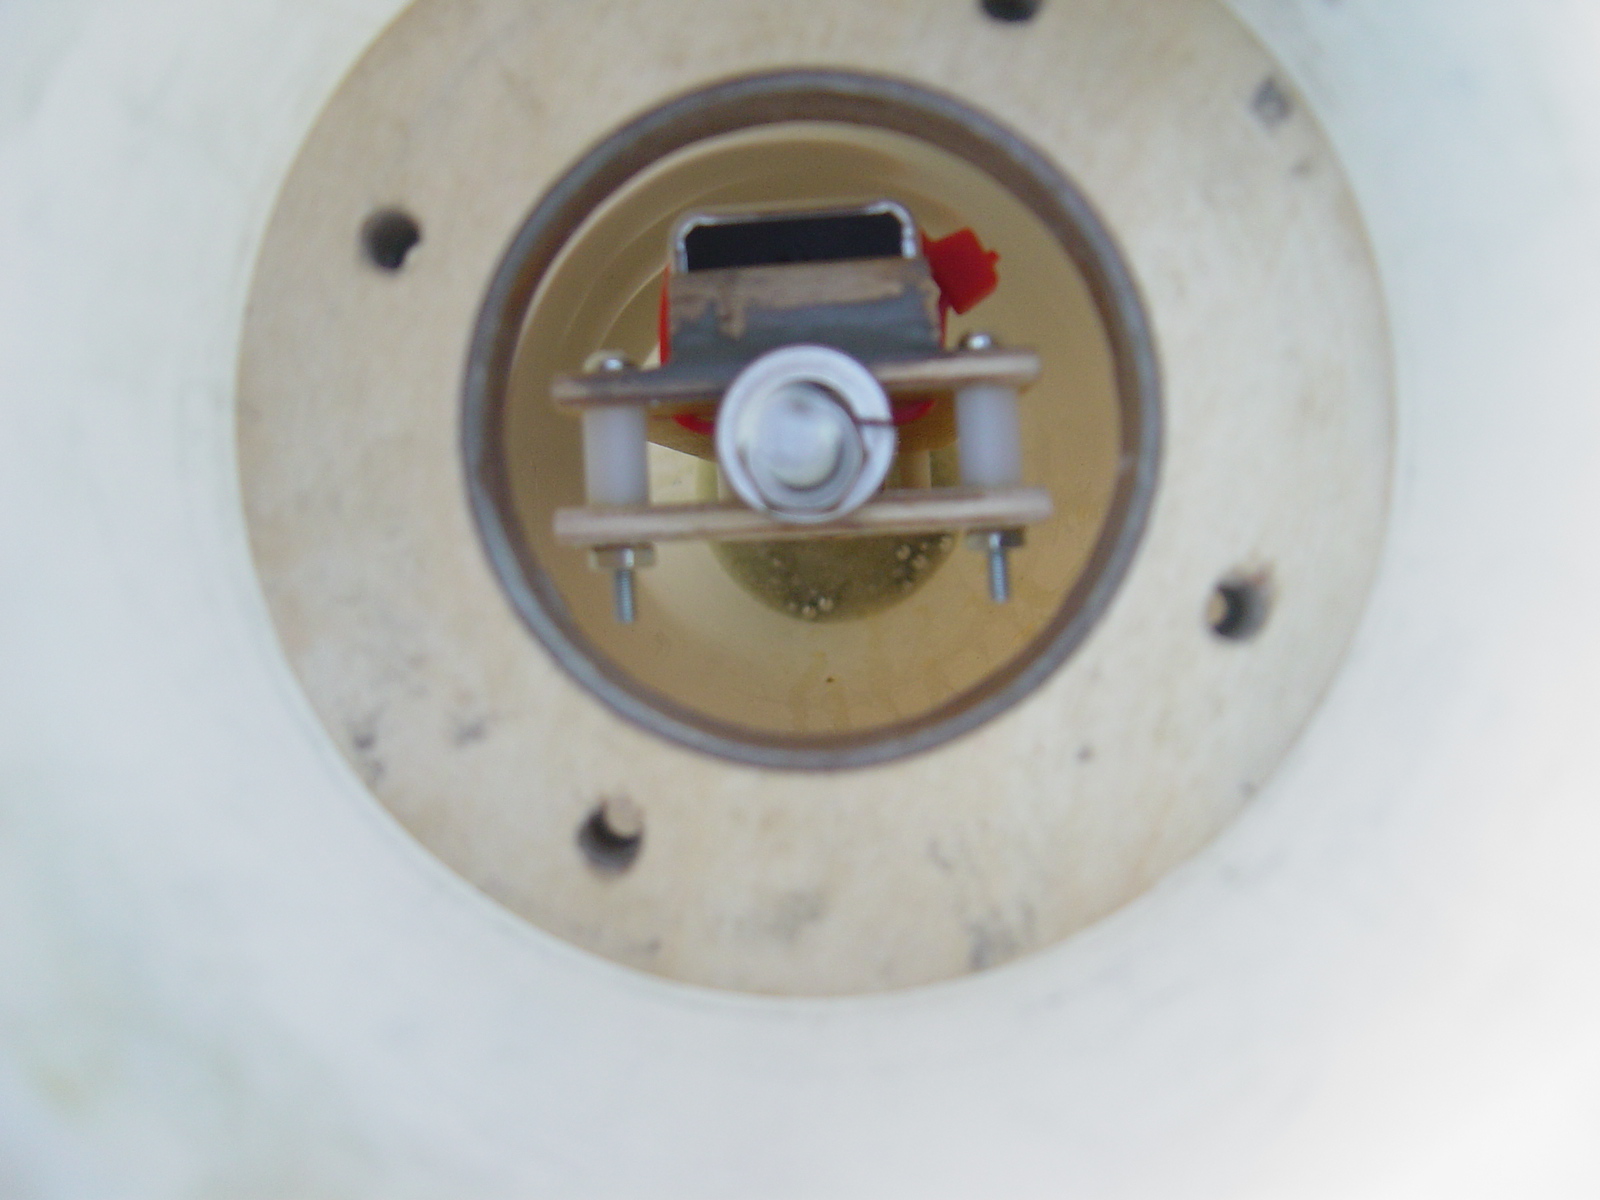
Closed up ready to go
2013-09-02
Everythin' connected:
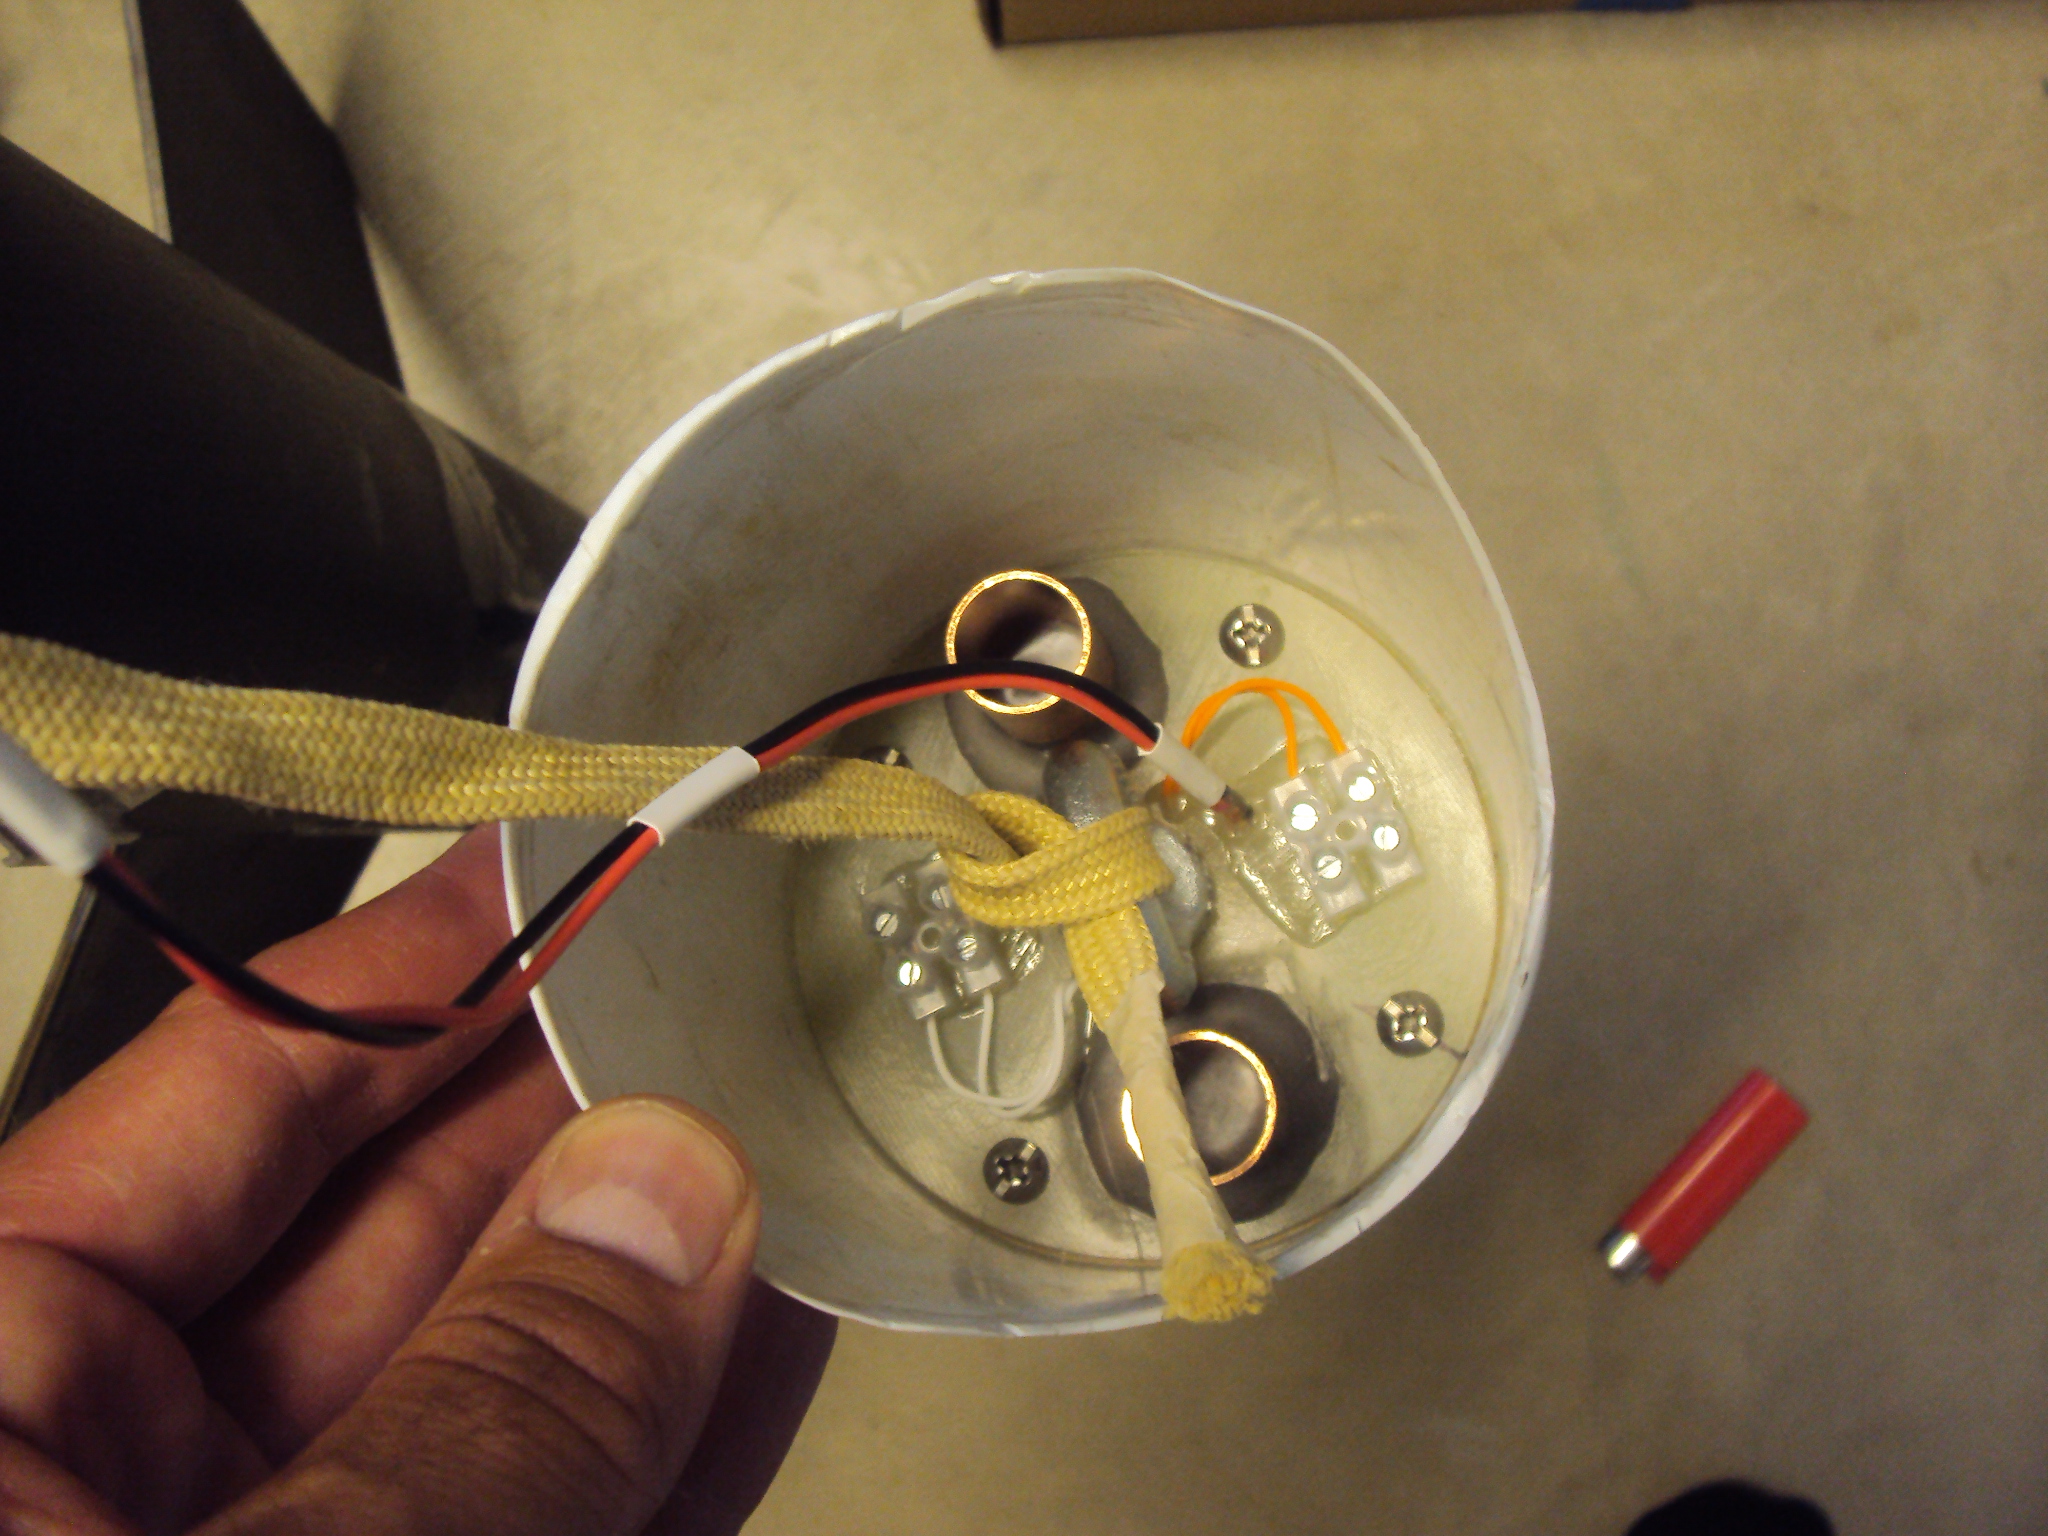
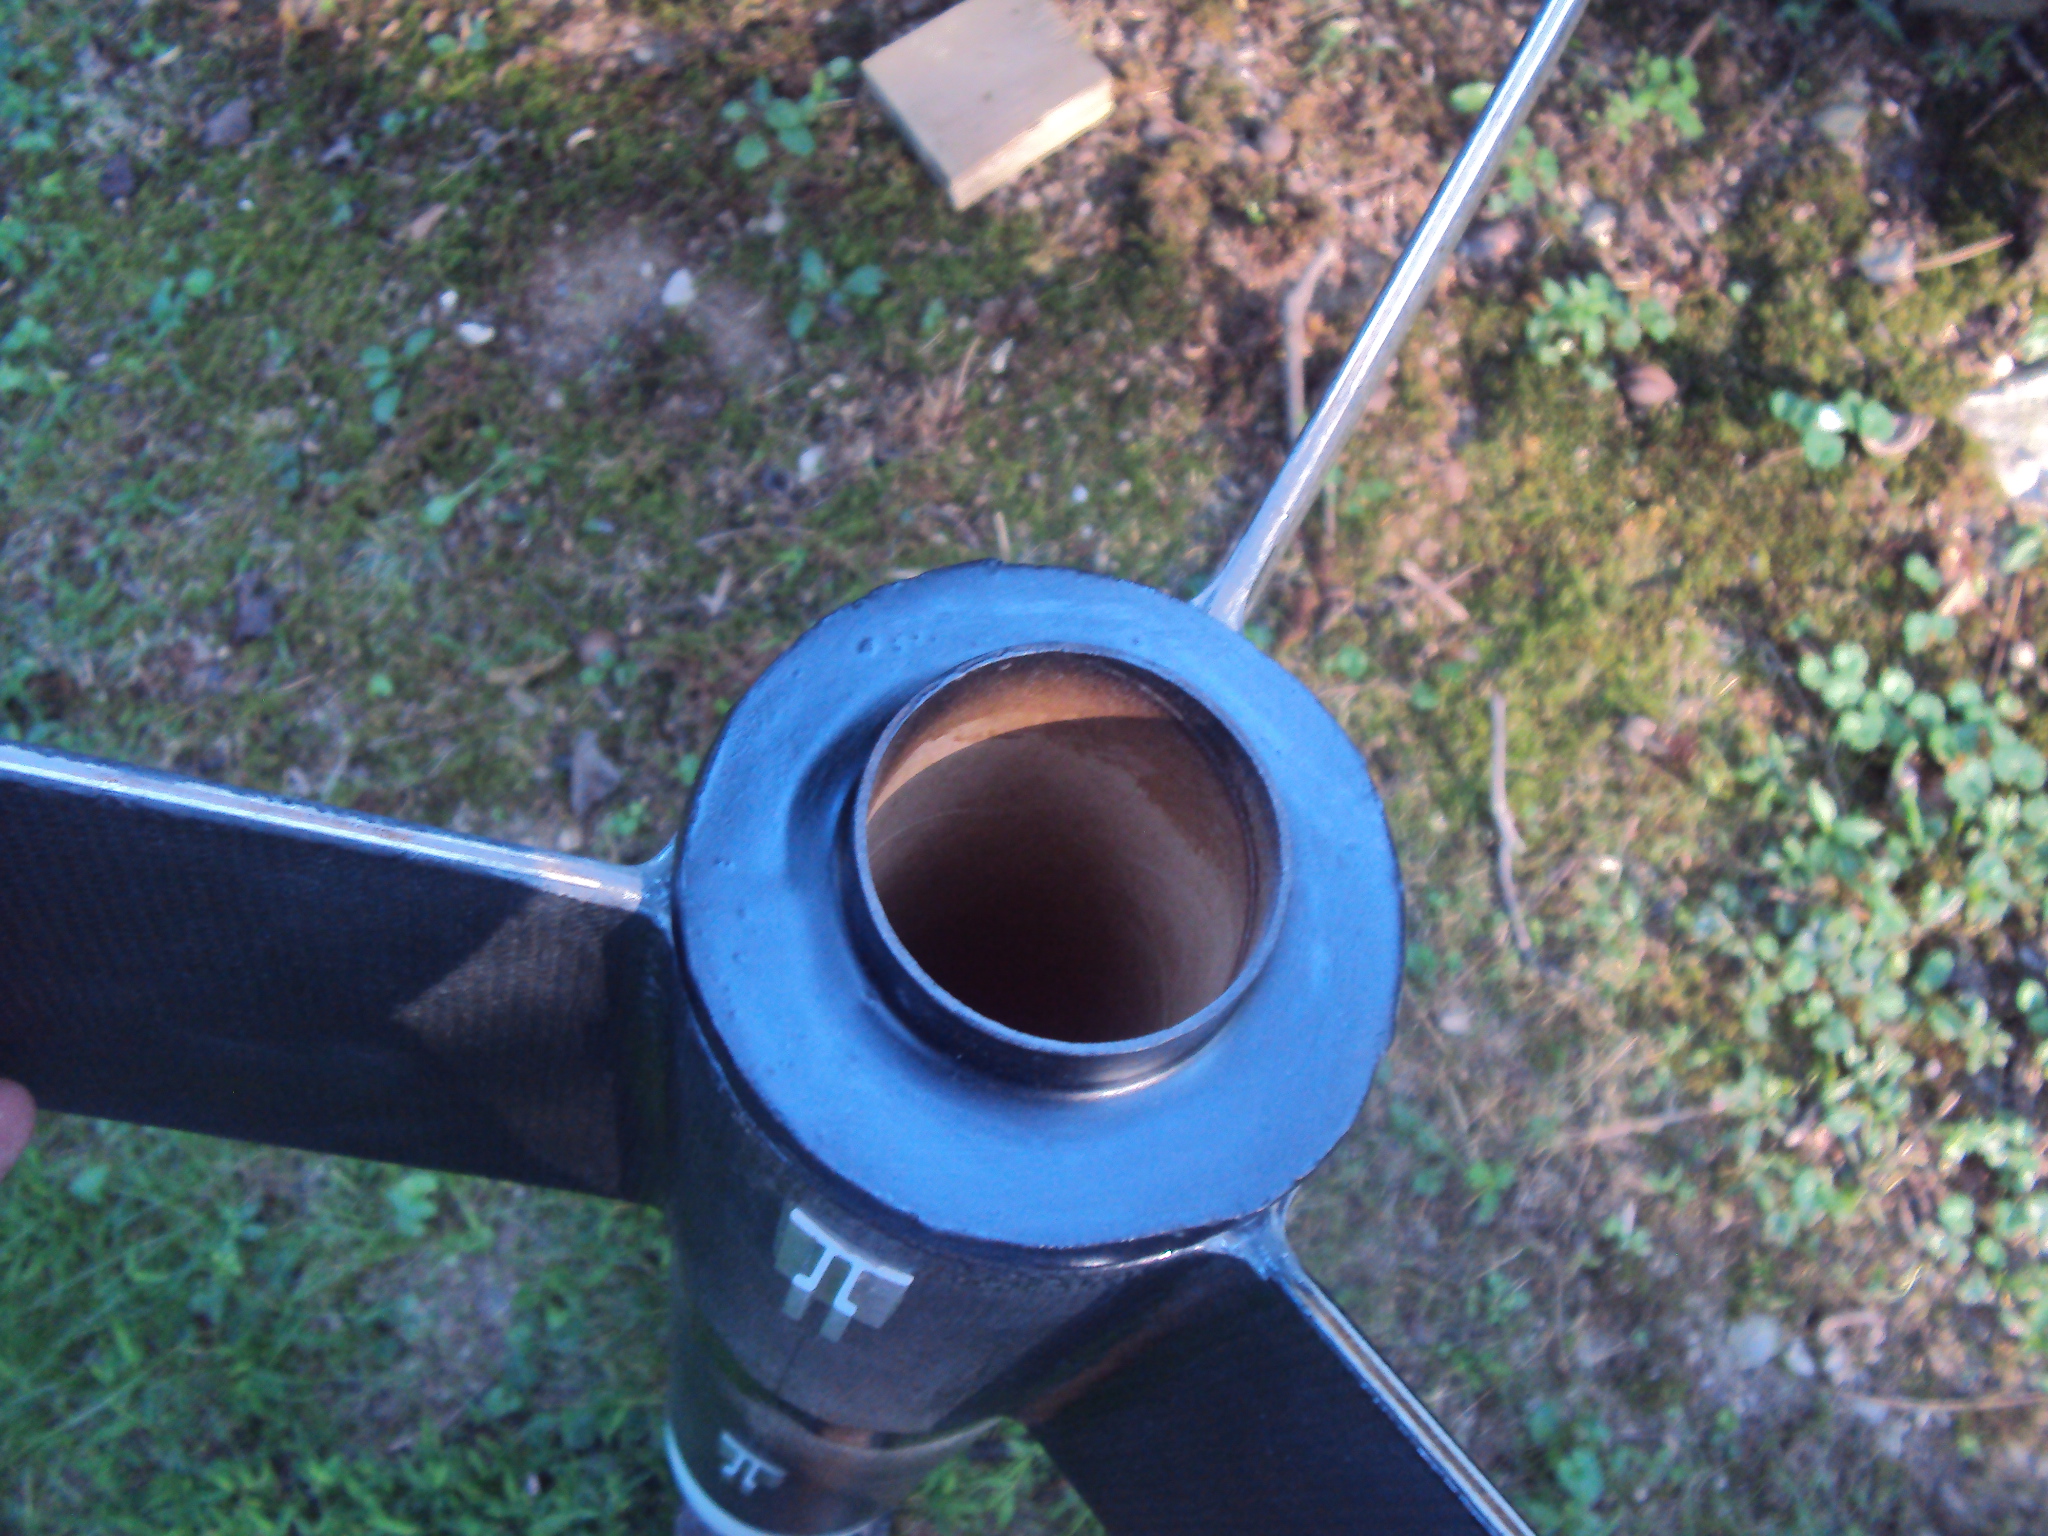
Ready to go
2013-09-02
Need t' sand some, and fill some to blend t' T-T layer, but other than that I'm waitin' for a suitable launch... probably November at MDRA's larger field.
54 MM adapter. Probably will do a test flght on an I229 Blue Thunder.
Test Flight on H268 Redline
2013-11-16
Launched on an Aerotech H268R due t' t' low clouds. Everythin' seemed t' work ok, except I couldn't actually see t' deployment in t' fog. Altitude was 940 feet. Weighed in at 7.8 lbs. Maybe a K launch next month.

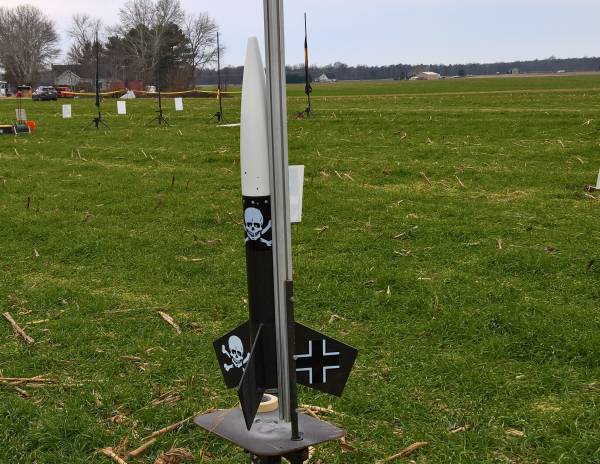
Launch on a K458 W
2017-12-19
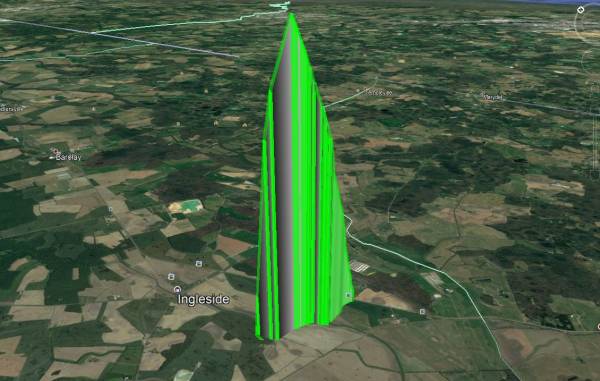
I finally launched this rocket on a K motor - an Aerotech K458W, at t' December 2017 MDRA Launch. Pad weight was 13.6 lbs. Altitude was around 9200 feet. GPS actually showed about 10,400, which is off a bit, I think.

J500T Launch
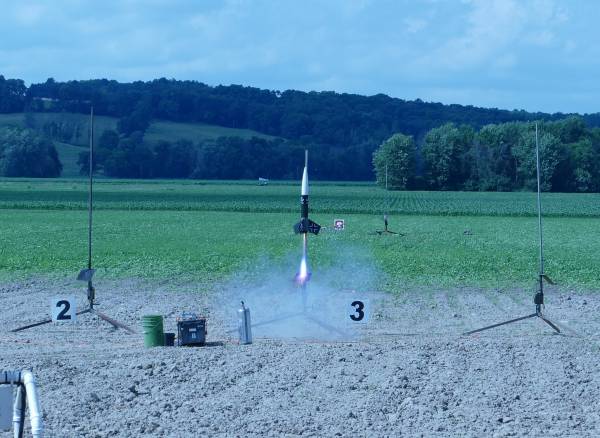
2019-07-25
Here is a launch pic on a J500T at a recent URRG launch in Potter, me hearties, NY.
.JPG)
.JPG)
 |
 |