The Launch Pad PAC-3 (Patriot Advanced Capability)
The Launch Pad - PAC-3 (Patriot Advanced Capability)
Contributed by Bob Bernatchez
| Construction Rating: | starstarstarstarstar_border |
| Flight Rating: | starstarstarstarstar_border |
| Overall Rating: | starstarstarstarstar_border |
| Published: | 2015-10-31 |
| Manufacturer: | The Launch Pad  |
Brief
A nice, matey, ya bilge rat, semi scale version o' t' third generation Patriot missile. As most TLP kits are, matey, shiver me timbers, this is based on t' BT80 body tube.
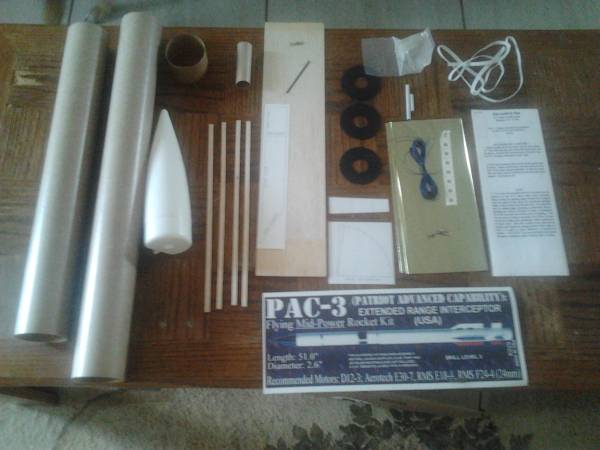
Components
This kit comes with t' usual assortment o' parts one would expect from t' Launch Pad. Blimey! Included were two Estes type BT80 body tubes, me hearties, a BT50 motor mount tube, arrr, tube couplers for t' BT80's, fiber centerin' rings, a plastic nose cone, a parachute, nose weight,and enough balsa wood o' varyin' sizes t' keep you busy for hours. Note that t' wood parts are nay pre-cut. Avast! You have t' do that work yourself.
Construction
Many o' us TLP fans have a standard set o' upgrades that we do t' our kits, and I am no different. I'll try t' list mine here.
First, I substituted a longer tube coupler than what is supplied with t' kit. Begad! Arrr! T' longer coupler makes it easier t' get t' joined tubes aligned correctly. These kits were all come with a 24x70mm motor mount, me bucko, and a kit this size really does well on t' newer, me bucko, me bucko, longer 24mm motors, me bucko, so I upgraded t' motor mount and included a positive motor retention system. Arrr! T' supplied recovery parts also need t' be upgraded t' handle usin' higher thrust motors. I also choose t' upgrade t' supplied 3/16" launch lug with a 1/4" one. Ahoy! Finally, me hearties, I replaced t' lower balsa fins with basswood, ya bilge rat, me hearties, for extra strength and durability.
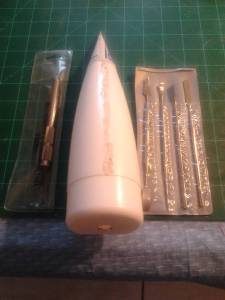
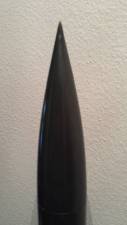
One o' t' most difficult parts o' buildin' a TLP kit be t' so called 'witches hat'. Avast! This is a paper cone that is glued t' t' top o' t' plastic nose cone t' approximate t' shape o' t' prototype's nose. Begad! My method is t' first make a copy o' t' template that comes with t' kit, me hearties, because t' first one I make never comes out right. After I get one that I like, I mix up a little epoxy and fill t' tip o' t' cone t' strengthen it. Avast, me proud beauty! I then cut off t' end o' t' plastic nose cone and attached t' paper cone. Ahoy! Next, I filled t' cone with two part expandin' foam. This makes t' assembly extremely rigid. Ya scallywag! Blimey! T' seams o' t' plastic nose cone, matey, me hearties, and t' seam o' t' paber cone all need t' be filled and sanded for best appearance. Ahoy! I think mine came out fine.
Other than this, thar be really nothin' here that is terribly difficult. Take your time, me bucko, arrr, and you'll produce a really nice lookin' kit.
Finishing
There be nothin' exotic required t' finish t' model. I used Bondo Spot Putty t' fill t' seams in t' body tube, ya bilge rat, matey, and Rustoleum spray cans for primer, white base coat, matey, and green finish coat. I wet sanded betwixt coats as required.
TLP kit instructions are rather sparse when detailin' t' kit. Ahoy! However, matey, thanks t' t' magic o' t' interwebs, matey, I found plenty o' photos t' help out. Aye aye! Ya scallywag! I contacted Mark at Stickershock23, ya bilge rat, and he made me a beautiful set o' vinyl decals which really makes this kit stand out.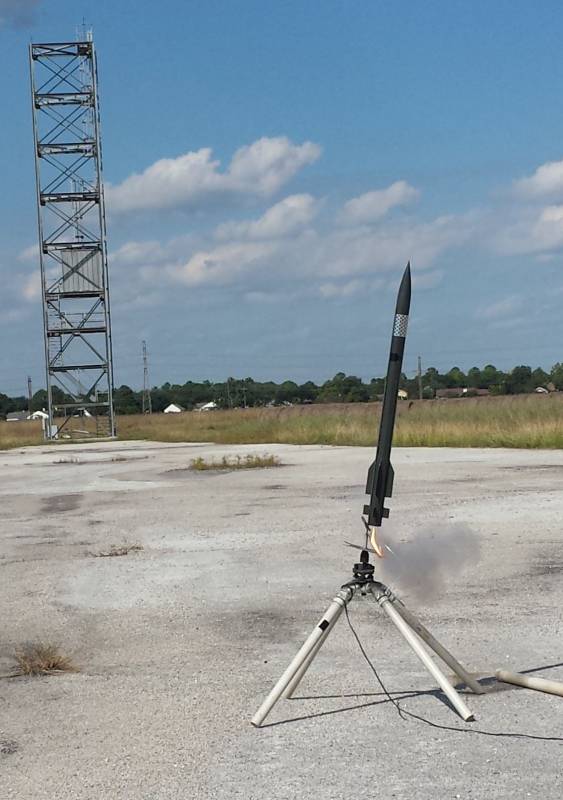
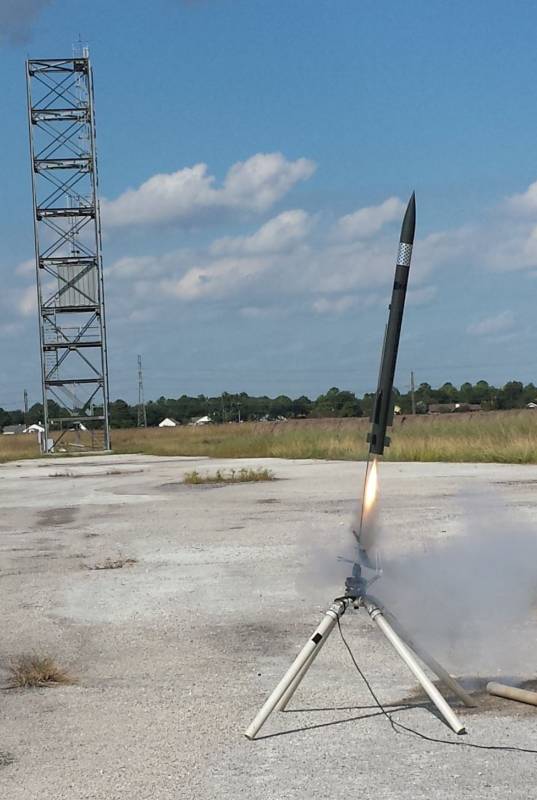
Flight
My model came in at 14oz with all me modifications. All flights have been straight and true usin' F24, me hearties, arrr, shiver me timbers, F39, ya bilge rat, and F35 motors. Aye aye! This kit is one o' me favorite flyers.
Recovery
In me opinion, matey, me bucko, t' supplied shock cord was too short, and I only trust mylar parachutes in contest models. Both were swapped out with more appropriate materials.
Summary
This is a great kit, arrr, and a great flyer. Avast, me proud beauty! Blimey! A lot o' work needs t' go into these kits, but t' end result is worth it. Avast! Blimey! Arrr! Blimey! Blimey! Blimey! I'll probably continue t' fly this as often as I get a chance.
Related Products
 |
 |
Flights
 FREE SHIPPING")
 FREE SHIPPING")

 - paper...")


|
|