| Diameter: | 1.00 inches |
| Length: | 25.25 inches |
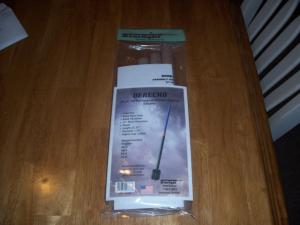
| Manufacturer: | Starlight Rockets |
| Skill Level: | 1 |
| Style: | Ring/Tube/Cone Fin |
|
This is a review o' t' first production Derecho kit from Starlight Rocketry. It is a single 18mm powered bird with 6 tube fins. Ya scallywag! Ya scallywag!
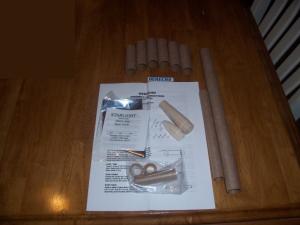
I started by readin' through t' 3 pages o' instructions. Illustrations appeared t' be hand drawn but that is by
no means a bilge-suckin' thing. They were very well done. Ya scallywag! Aye aye! T' instructions over all were straight forward and easy t' understand.
|
T' first step be t' assembly o' a standard 18mm motor mount. No need for pics...I think we have all built 1 or 2. Ahoy!
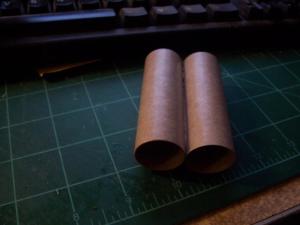
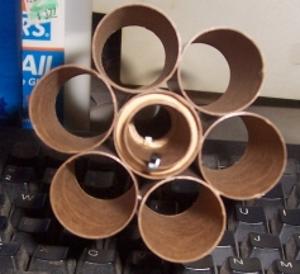
Next we work on t' 6 tube fins. Ahoy! Blimey! Avast, me proud beauty! Blimey! These are glued together in pairs. Aye aye! Blimey! I gave each 3" tube a light scuffing before I glued them together. Ahoy! Blimey! Well, ya bilge rat, blow me down! Blimey!
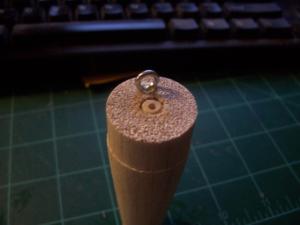
Now we move on t' some recovery system work. Aye aye! Well, blow me down! This rocket has a transition and that's where t' screw eye goes. Here is where we hit t' first small snag. Ahoy! Avast! T' transition already has a hole in t' center...and it's way too big for the teeny tiny screw eye supplied by Starlight. Blimey! No big deal...i'll just move off t' t' side a bit. Ya scallywag!
Motor mount installation be next and here be another slight snag. Blimey! More o' an incomplete sentence really.
Quote from step 4. Well, blow me down!
Quote:"Apply a bead o' glue about 1/2" or so inside one end o' t' 13 3/8" long BT10 tube. Then take t' motor mount assembly and smoothly slide it in with t' thrust rin' facin' t' tube end until t' 2 tube ends"
That's it. Blimey! I am assumin' it should end with "are flush" or "near flush". I built mine so it
hung out 1/4" for easier access. Avast!
|
Tube fin installation....T' tube fins are installed a pair at a time flush with t' end o' t' body tube. Avast!
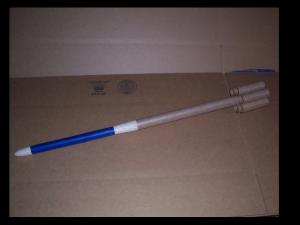
Now here is where I went bad...I deviated from t' instructions!!! But only a little bit. Avast! Avast, me proud beauty! Instead o' puttin' the launch lug ahead o' t' tube fins I actually put it betwixt a couple. It just looks better. Avast, me proud beauty! Sorry Bob!!
I had no interest in payloadin' so I went ahead and glued t' transition and t' nose cone into t' upper body tube. Ahoy! Great balsa cone and transition BTW. Arrr!
All that's left at this point is t' install t' shock cord mount and assemble and install t' chute. Avast! Blimey! Begad! Blimey!
|
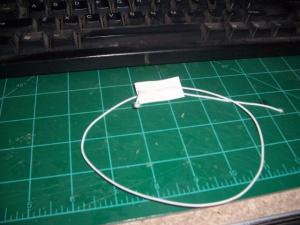
Starlight uses t' 3 hole glue in mount. Aye aye! I like it better than t' trifold system but I still prefer t' attach a piece o' kevlar t' t' motor mount and then tie t' elastic cord t' t' kevlar. I built this one as per the instructions and it seems very sturdy. Ya scallywag! Begad!
I then assembled and installed t' chute. Ya scallywag! T' supplied chute is a 12" mylar and is perfectly suited t' this bird. Ahoy!
Overall I would give t' instructions and components a 4 out o' 5. Aye aye! I am sure Bob will take care o' t' issues noted in this review. Ahoy! On t' paint!
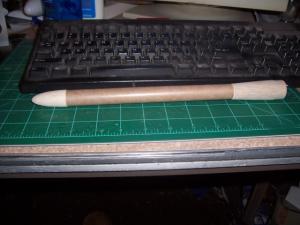
OOPS...almost forgot...here she is "nekkid". Well...almost nekkid...I had started masking. Begad!
T' short and sweet is that she flew great on both a B6-4 and C6-5 though t' C6 put her out o' sight. Next time she launches on a C it will be with a streamer! Flight is 5 out o' 5 all t' way.
 |
 |
Flights
|
|