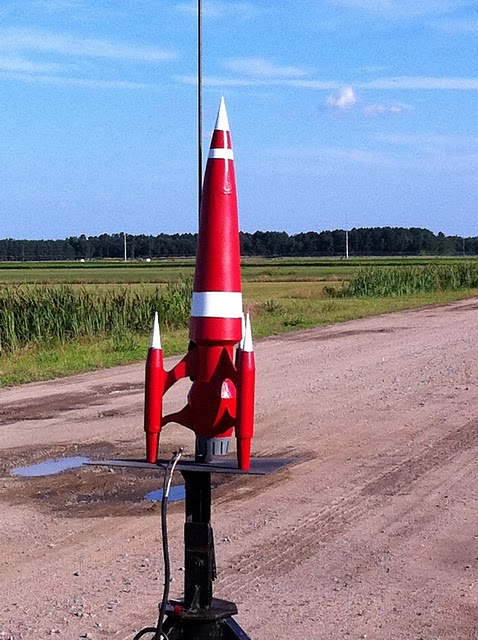
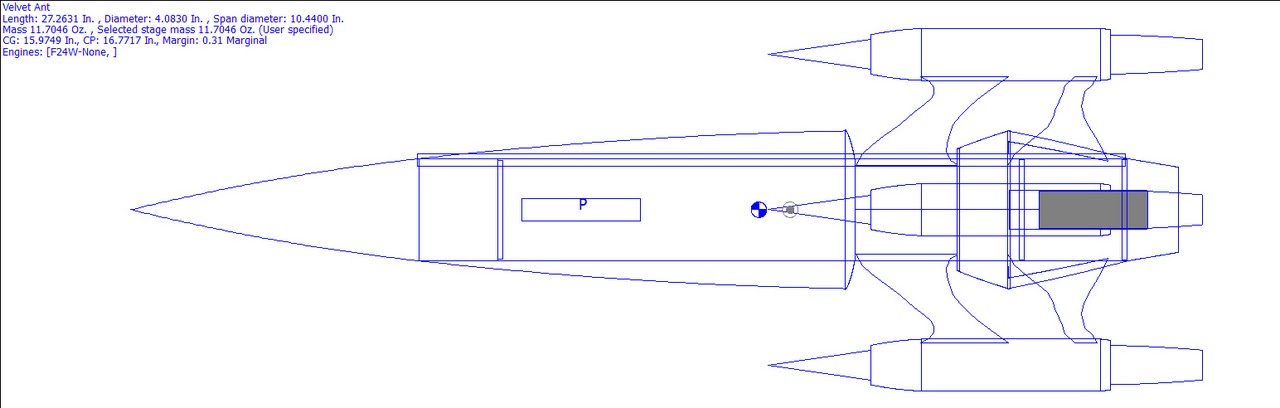
Velvet Ant - 2010 Design This Spaceship Contest Entry
By Peter Stanley
2011-06-14
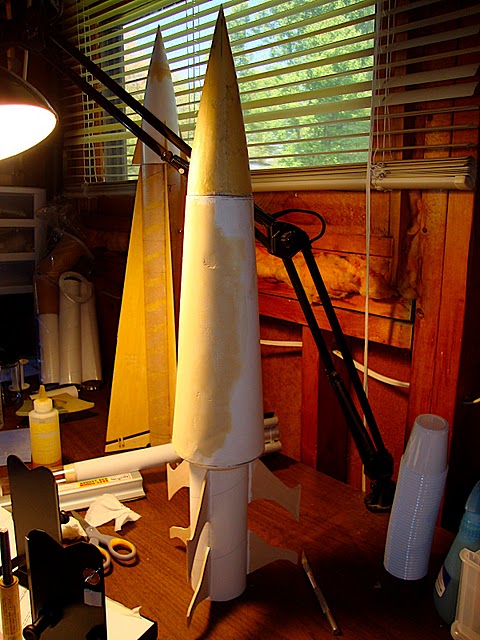
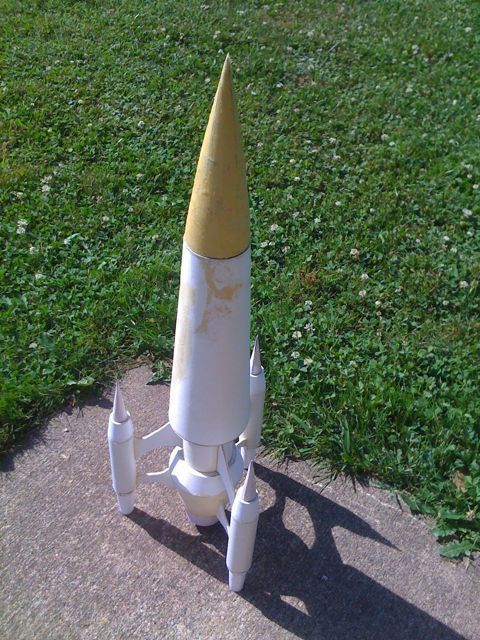
This is me entry for t' Design This Spaceship Contest. Blimey! T' dry weight is just over 2 lbs, and it is 27.5" tall. It has a 2.6" center tube which runs from t' bottom up t' t' base o' t' nose cone. I flew it three times in June 2011 at Orangeburg SC. Aye aye! Each flight was powered with a G motor, twice on a G76 and once on a G64. Avast! I lost t' nose cone on t' last flight, and nay sure if I'll replace it. It flew beautifully though. Begad! I named it Velvet Ant because I think it resembles one if you look at it backwards.
Flights
2011-06-14
I flew t' Velvet Ant three times. Begad! T' first two flights were on a G76-7. Avast, me proud beauty! T' third flight was on a G64-10. Well, blow me down! I used a Jolly Logic AltimeterTwo on each flight t' record flight data.
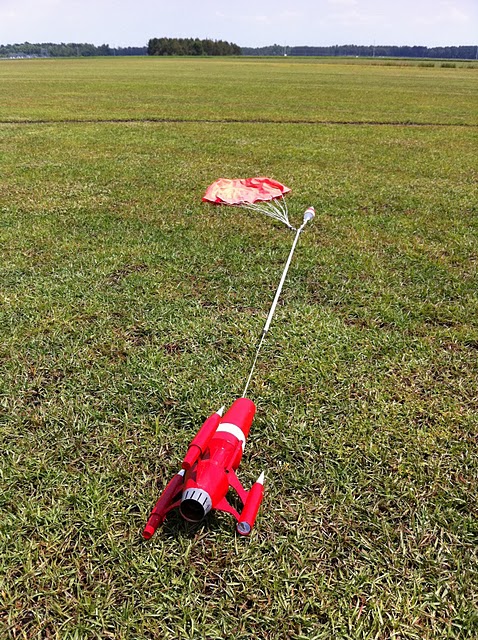
On t' pad before t' first flight.

First flight video o' Velvet Ant on a G76-7. Well, blow me down! T' flight was awesome, except t' bottom part o' one o' t' pods popped off at landing. I didn't think it would affect stability so I kep flyin' it.
Flight data from first flight:
Altitude 887 ft
Speed 172 mph
Burn Time 1.3 seconds
Peak Acceleration 13.5 Gs
Average Acceleration 6.1 Gs
Coast t' Apogee Time 6.9 seconds
Apogee t' Ejection Time -.3 seconds
Ejection Altitude 855 ft
Descent Rate 8 mph
Flight Duration 75.2 seconds.
I lost t' video for flight 2, but here is a pic after it landed.
Flight data from second flight:
Altitude 901 ft
Max velocity 185 mph
Burn time 1.3 seconds
Peak acceleration 15.4 Gs
Average accleration 6.7 Gs
Coast t' apogee time 3.9 seconds
Apogee t' ejection time -.1 seconds
Ejection altitude 843 ft
Descent rate –
Flight duration — (didn’t record this or descent rate)
Flight 3 on a G64-10. Flight and recovery were successful, me bucko, but t' nose cone came off after deployment.
Flight data from third flight:
Altitude 828 ft
Max velocity 162 mph
Burn time 1.8 seconds
Peak acceleration 15.8 Gs
Average accleration 4.2 Gs
Coast t' apogee time 5.9 seconds
Apogee t' ejection time 3.9 seconds
Ejection altitude 593 ft
Descent rate 7 mph
Flight duration 64.4 seconds
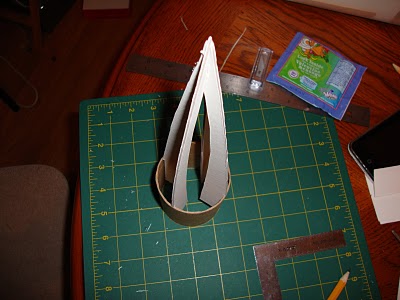
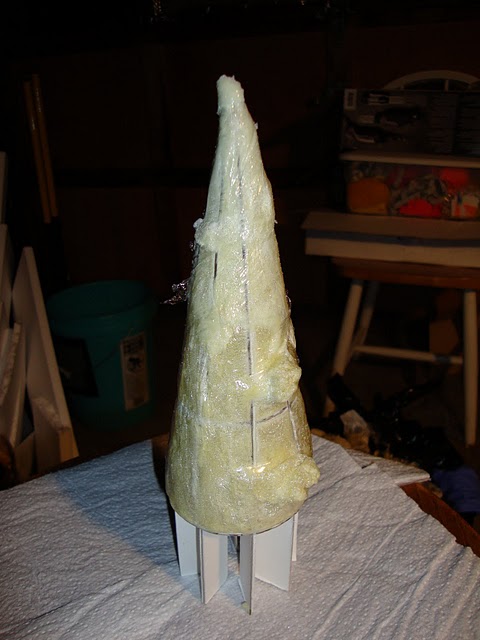
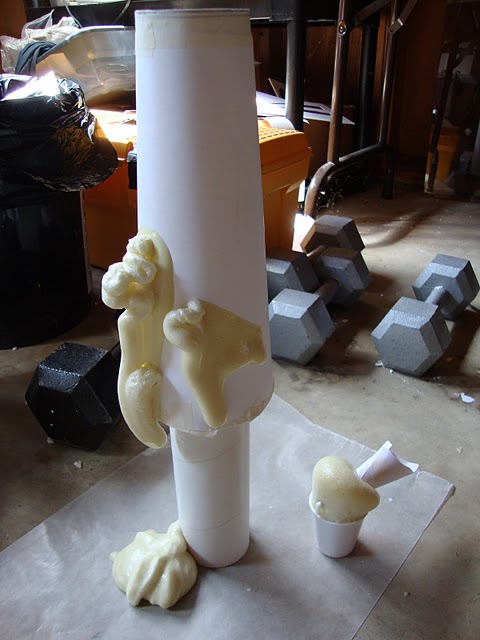
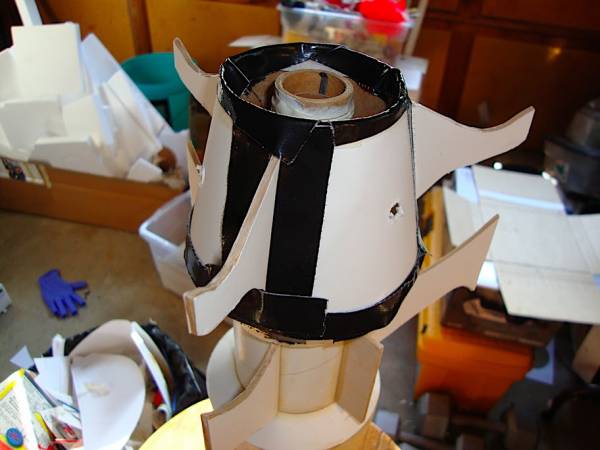
Nose Cone
2011-06-20
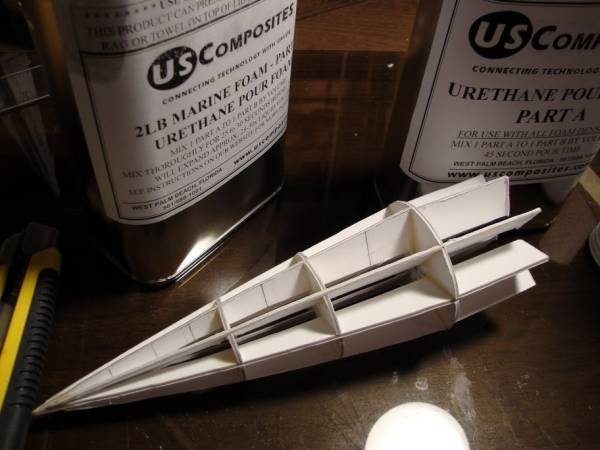
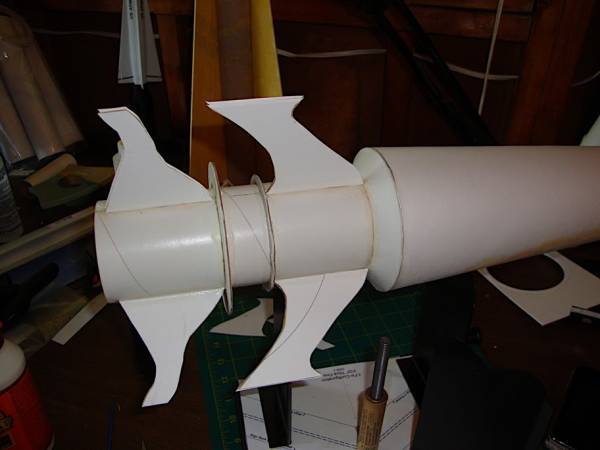
I started with t' nose cone. Ahoy! I explored several ways t' go about it, but decided t' use a method similar t' this article. I used a print-out o' t' nose cone from Rocksim, shiver me timbers, then created me parts based on that. Begad! I cut out t' cross-arches from 1/16″ illustration board.

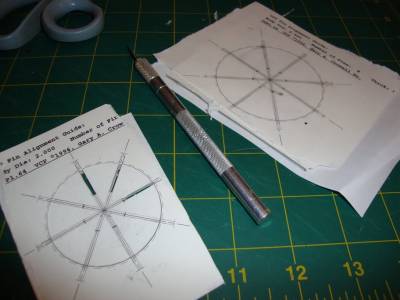
I made 8 fin alignment guide printouts from VCP for t' center braces. I used spray adhesive t' attach them t' 1/16" illustrator board, then cut what I needed open.
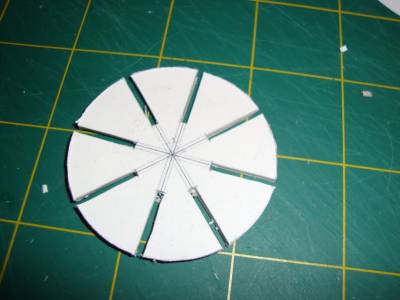
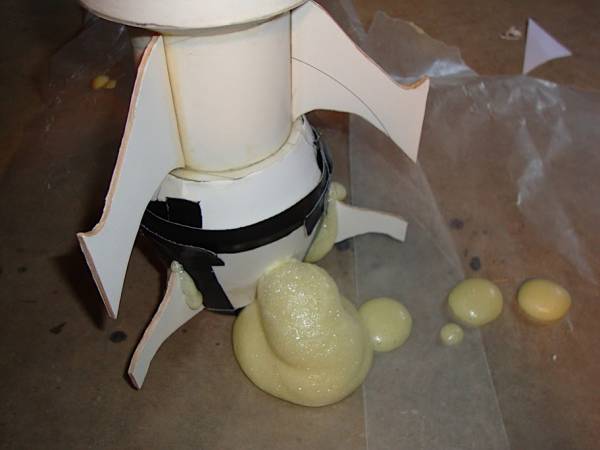
I used 2-part expandin' foam t' fill everything.

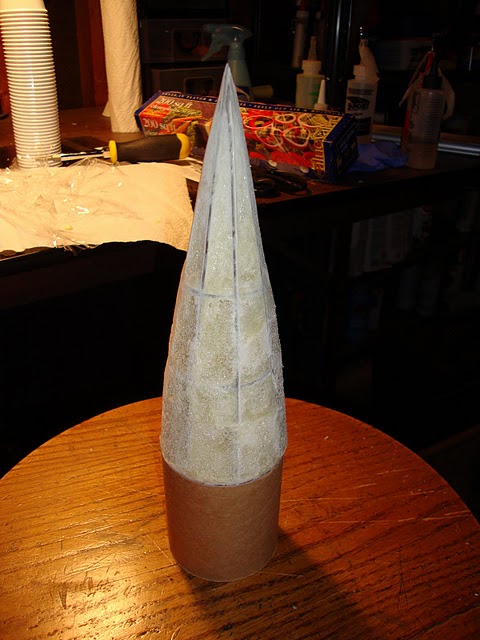
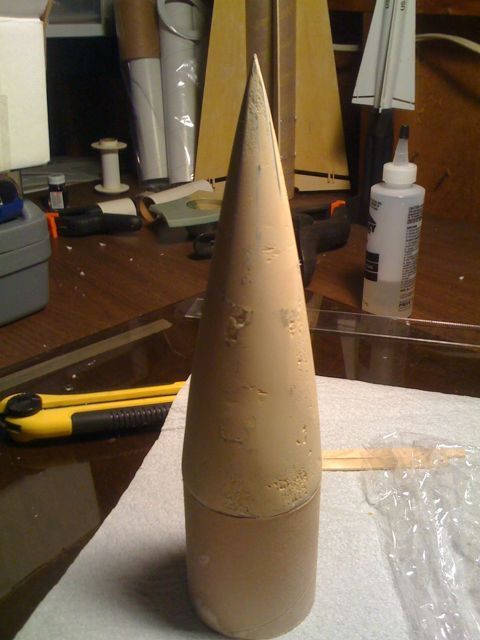
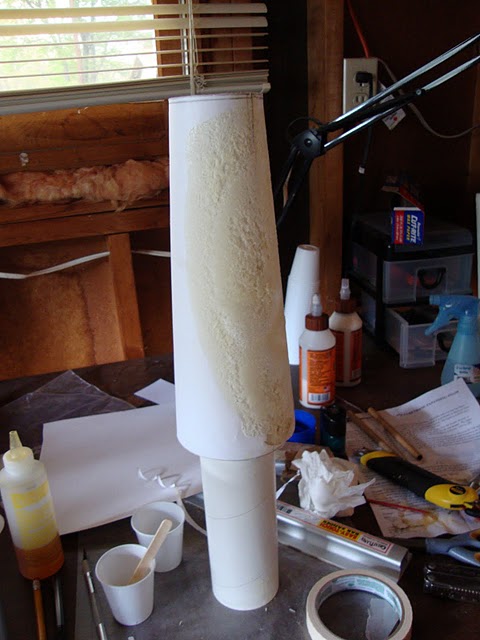
I used lots o' fill n finish over t' foam, shiver me timbers, and eventually covered in light fiberglass.
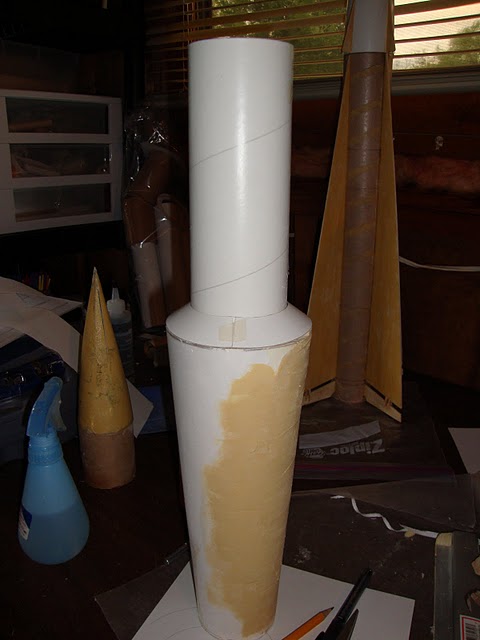
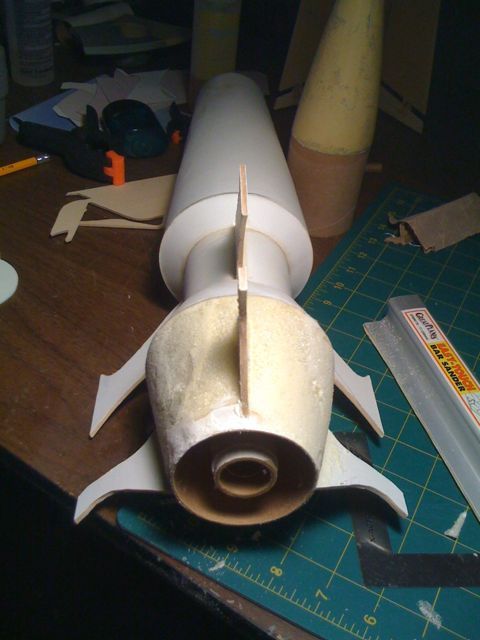
Forward Body Section
2011-06-21
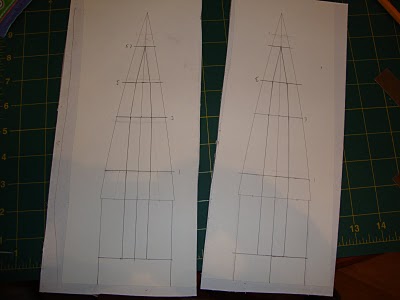
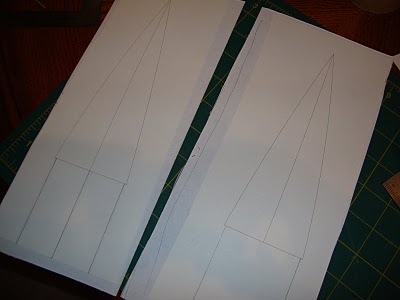
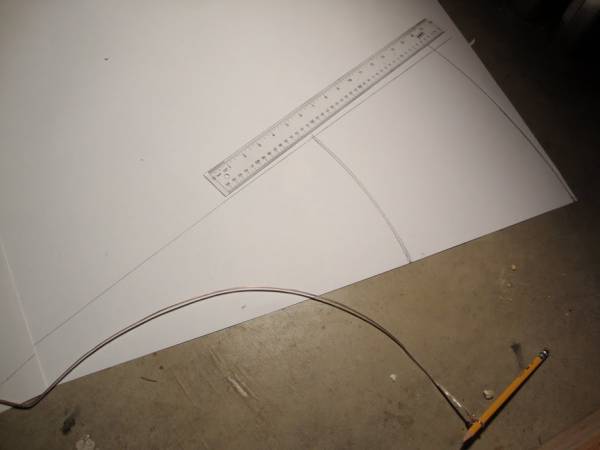
T' forward section is a conical shroud filled with expandin' foam. T' top fits around t' top edge o' t' 2.6" body tube. T' bottom fits around a centerin' rin' on t' 2.6" body tube. Avast, me proud beauty! I figured t' dimensions myself usin' a calulation in Tim Van Milligans Model Rocket Design and Construction book, but later found this tool which does t' same thing. T' dimensions o' this thin' are huge. I had t' use a full piece o' 28″ length poster board, and added a piece t' paper t' extend it. I marked off t' small and large radius, and marked t' angle usin' a protractor. I drew t' line out at that angle. I made a make-shift compass usin' a pencil with a piece o' wire tied t' it. I held one end at t' beginning, pull t' pencil tight at each radius and drew me arc.
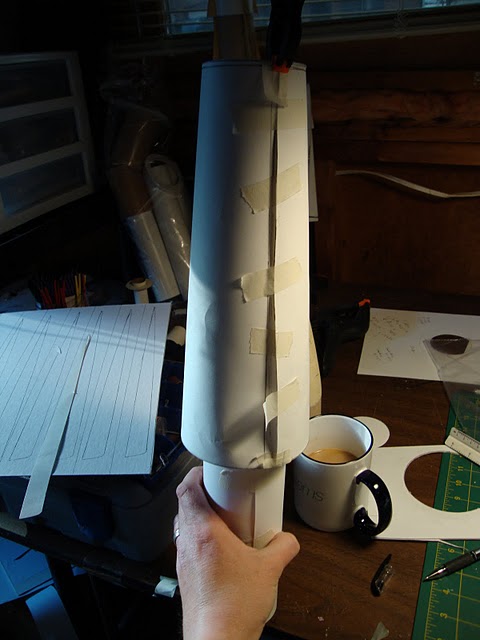
I formed t' shroud and filled t' empty space with two-part foam. Begad! I had t' do this twice. Avast, me proud beauty! There was an unfilled area t' first time. Aye aye! I applied Fill N' Finish over t' second patch job, and sanded everthin' down.

Fins
2011-06-21
I printed t' fin tempate from Rocksim and cut them out on 3/32" bass wood. Well, blow me down! I attached them usin' t' Standard Rockets Assembly tool (which is really nice btw). I attached t' launch lug standoff betwixt two sets o' fins. Avast, me proud beauty! I later covered t' fins with card stock paper, and fiberglassed t' joints.


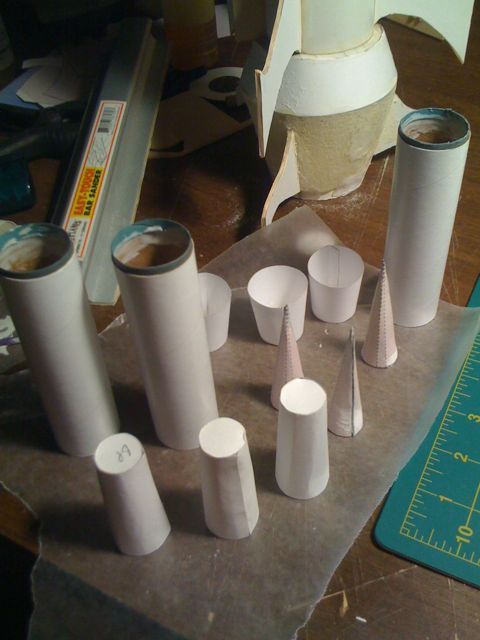
Bottom Section
2011-06-21
I made t' bottom section with two paper shrouds and two center rings. T' centerin' rings had t' be cut and fitted back around t' body tube t' get around t' fins. Havin' them on beforehand would have interfered with usin' t' alignment tool.

T' top shroud was easy enough t' add, but t' bottom part required more work. Begad! Blimey! For that section I cut slots t' fit over t' fins, ya bilge rat, then Gorilla taped over t' edges. Aye aye! Blimey! I then filled t' inside with two-part foam.
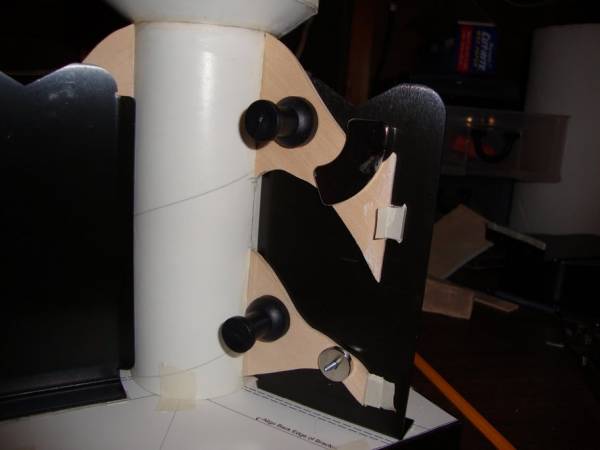
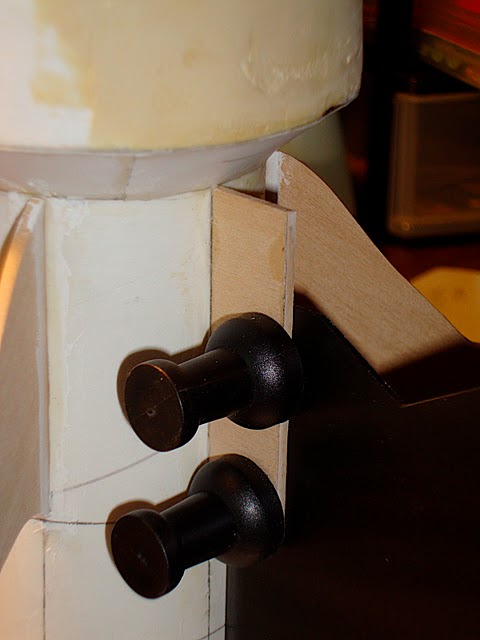
I made t' pods out o' several paper shrouds and tubes. t' bottoms are from 1/16" illustration board. Aye aye! I formed t' points with card stock as well. Avast, me proud beauty! I probably should have used real nosecones, but from a distance they still look good.
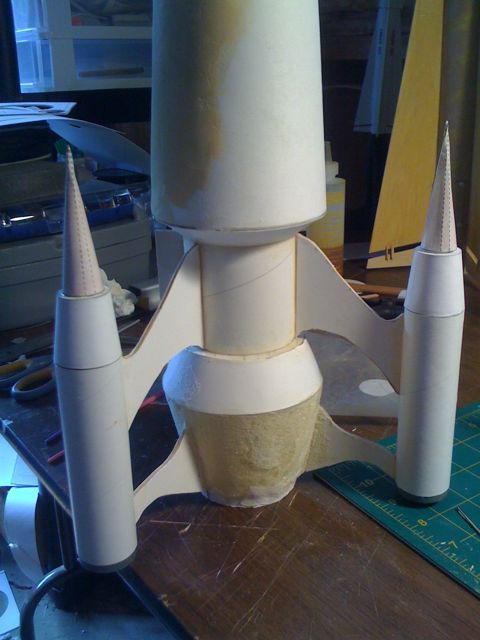
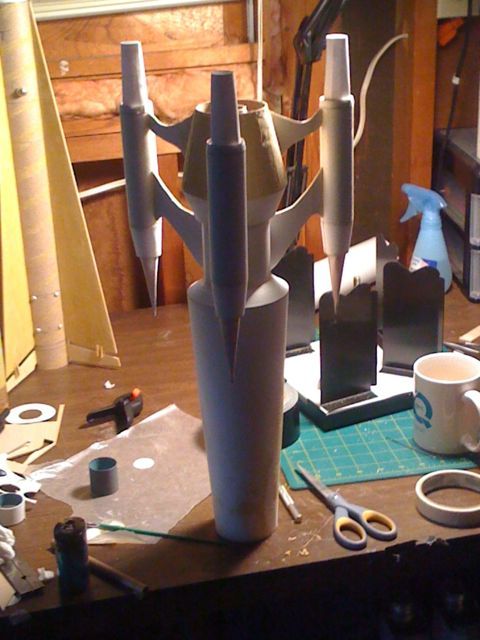
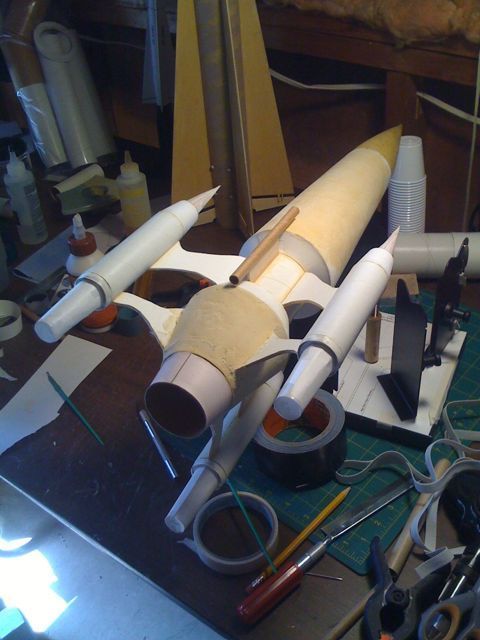
I made t' tail cone from BT-70 tube and centerin' rings, shiver me timbers, plus a paper shroud.
Finishing
2011-06-21
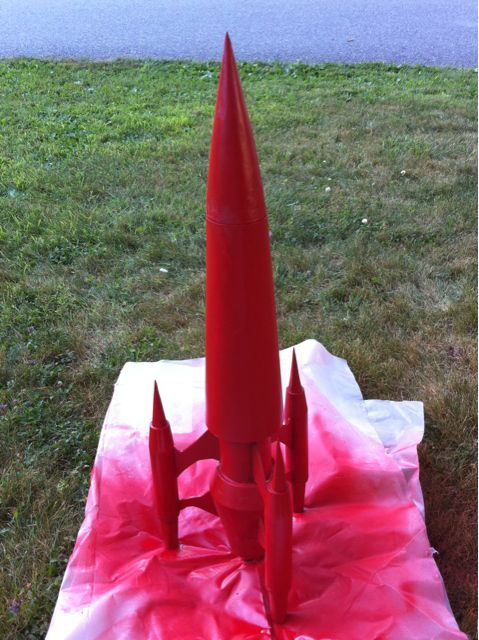
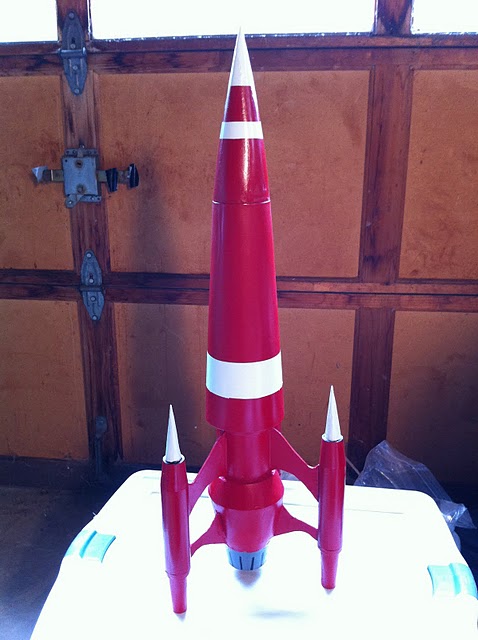
I used two coats o' Krylon primer. Well, blow me down! I painted t' body with Krylon gloss red, me hearties, white and grey. Begad! I handpainted black around t' pod points tryin' t' give an illusion o' depth, but didn't work as well as I thought it might. Blimey! I coated everythin' with Krylon clear coat.

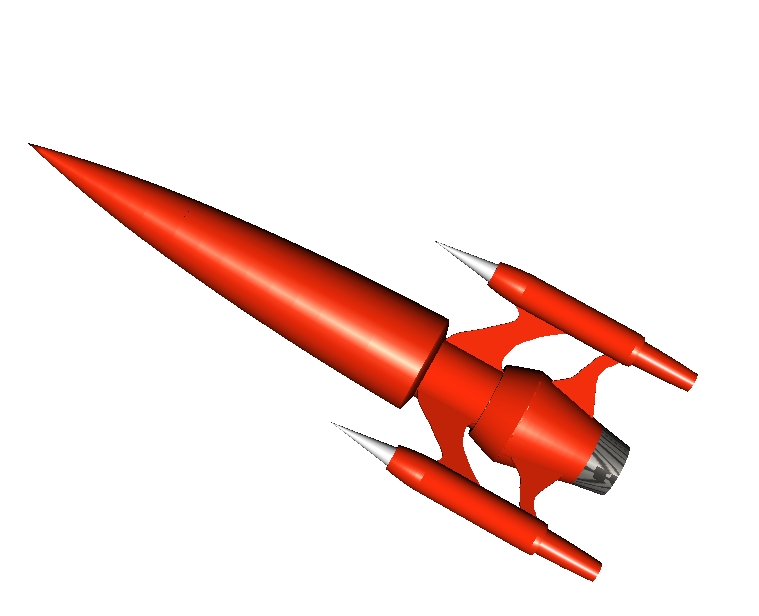
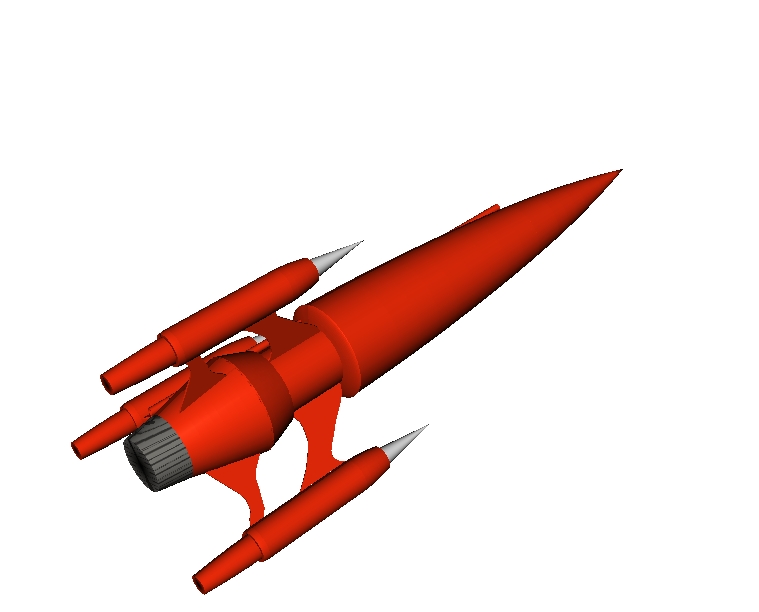
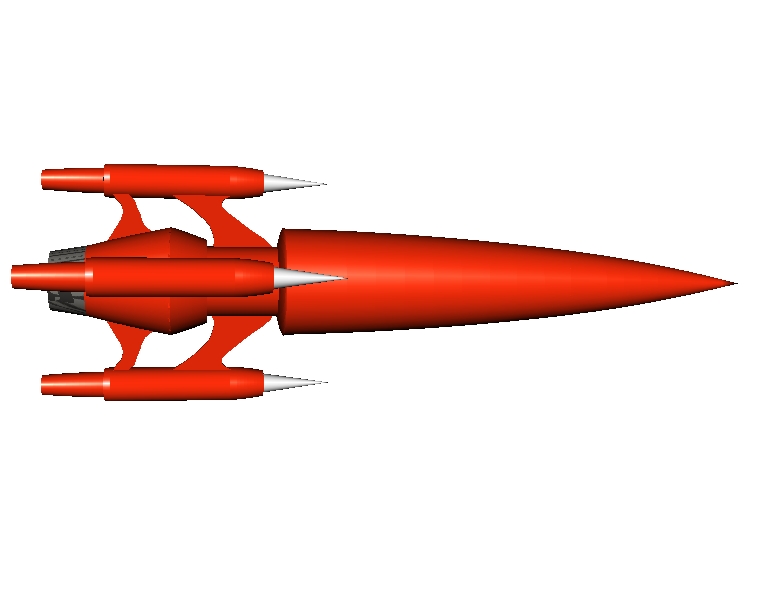
Rocksim Graphics
2011-06-21
Here are a few views from Rocksim.

 |
 |