Scratch DC-20 Digital Camera Rocket (large) Original Design / Scratch Built
Scratch - DC-20 Digital Camera Rocket (large) {Scratch}
Contributed by Morgan Hendry
 When I got back into rocketry after a couple years off, me hearties, shiver me timbers, I saw Internet sites describin' rocket cameras. Avast! Begad! I already had t' Astrocam, me hearties, arrr, shiver me timbers, but I wanted more. Arrr! Specifically, I wanted as many pictures I could get per flight. Begad! Avast, matey, me proud beauty! And so t' quest began...
Amazingly, me brother had an Opus 35 camera. Many people had modified this for airborne use, me hearties, so I tried that. It almost worked, but I think I broke t' camera. In fact, I broke two other cameras in t' process. Blimey! Avast! Whoops. Begad! It be then I came across t' RC Aerial Photography Site. Blimey! This guy had used a Digital camera t' take pictures from an RC glider. And, matey, arrr, he claimed it could be used in rocketry. Cool, I thought. Avast! So I began t' research t' DC 20 digital camera for rocketry use. Avast, me proud beauty! Begad! A normal 35mm camera could take 36 shots, matey, but this could only take 8. Avast, me proud beauty! Oh well, shiver me timbers, shiver me timbers, it's better than one picture per flight. Aye aye! So I got a DC 20 for me birthday. I just got t' rocket controller, but that was no problem t' assemble. Avast! Avast! I added a phono jack with a nail in it t' use as a switch.
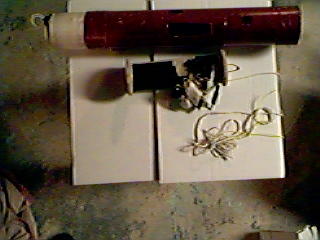
T' camera mount is simply a board o' 3/16 inch aircraft plywood and 2 centerin' rings made out o' t' same substance. Aye aye! Begad! One centerin' rin' has two holes in where a wire is looped. Ya scallywag! This makes it easier t' pull t' mount out o' t' BT.
Here be t' top view:
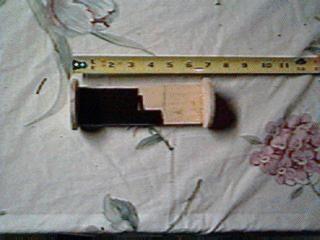
Here be t' side view:
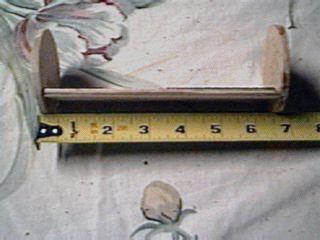
With electronics installed
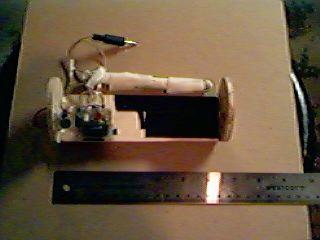
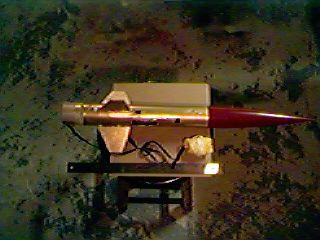
I used VCP t' come up with t' necessary stability calculations. Ya scallywag! Eventually I'll post t' forward fin size, etc. Ahoy! (T' model uses forward fins t' make sure it will nay be overly stable. Begad! Begad! I later found these are nay needed and broke them off) But for now, I'll just describe t' payload section. T' body tube is a full length o' Estes BT-80 (2.6" diameter) with two strips o' folder material glued t' t' top and bottom o' t' BT t' add thickness t' t' Estes/Aerotech BT joint. It is covered with clear tape (masking?) for a smother transition. It has a 4" tube coupler made out o' corrugated cardboard with one layer o' paper peeled off. Begad! T' lower bulkhead is 3/8" plywood with two holes for t' wire for shock cord/parachute attachment. Ahoy! Above this bulkhead is about 2" o' paddin' t' absorb some o' t' lift-off stress. T' camera mount sits on top o' this and points t' camera out o' a small slit in t' side o' t' BT. Well, blow me down! Again, t' tube is reinforced with folder material for strength. Finally t' Aerotech Initiator nose cone gets put on top. Avast, me proud beauty! T' whole payload section be painted gold. It is now painted red t' match t' cone.
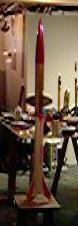
T' original design:
After I snapped off t' fins:
T' Launch
T' first launch was on a F25 29mm Aerotech single use engine. It supposedly broke 500'.
Future Projects
My newest booster is goin' t' be light enough t' loft t' camera on a D or E engine.
 |
 |